
You will have a 250 kg engine hanging on one mount. At step 24 the only things holding it are one engine mount and your jacks or crane. Hydraulic jacks can leak and drop their load, so back everything up and take it steady. You will also have no working handbrake, so chock the front wheels. Check every bolt, pipe and cable on the way back in before you drive.
This guide is for a Getrag F23 on a Z20LET in a VX220 Turbo, written in 2011 and originally shared as a Word document. The files on the author's own site, and the links later in the thread, have come and gone, so this guide is built from the PDF copy of that document plus the thread comments. The process is very similar for NA owners, but it was written for the Turbo, so check anything that differs on yours.
If you are fitting a limited-slip differential, the gearbox has to come out first. See fitting a limited-slip differential.
Help wanted
There are no manual torque figures here other than the author's estimate for the gearbox bolts, and the guide has nothing on which bolts are which length. If you have done this job, tell us your car's year and engine, your oil quantity, and the bolt sizes and torques you used. We also don't have the NA version of the steps, or the photos some owners mention.Summary: the job isn't technical, but it is time consuming because there are so many things to take off and put back.
Tips from the thread before you start
- Pipe clamp: clamp the clutch pipe to the slave before undoing it. It saves most of the fluid loss and makes bleeding easier.
- Car floating: with the car on axle stands the front can lift because of the weight at the rear. Carefully resting a rear wheel over the radiator housing fixes it, but you only need it if you are working alone. Step 4 says to rest a front wheel gently on the front end.
- Pressure bleeder: not really needed unless you are alone. Keep the reservoir fluid high, because the clutch feed is quite high in the reservoir.
- Two jacks on the gearbox: if you are working alone, refitting the box is much easier with two jacks, one each side as seen through the wheel arch, because there is nowhere central to keep it level with just one.
- Locking the flywheel: put two of the old pressure plate bolts back in the flywheel and rest a 1 m breaker bar across them with the other end on the floor.
- Hidden bolt: one gearbox bolt is under the water pipes. One owner couldn't see it or get his hand to it, and photographed it with his phone. That photo isn't available. He covered the clutch pipe hole in the bleed turret with tape to keep dirt out. Two people makes it a lot easier, but he did it alone.
Taking the gearbox out
- Take both rear floor pans off.
- Crack open the bolts on both rear wheels.
- Put bricks or similar in front of and behind the front wheels. There won't be a working handbrake and a lot of weight will shift, and you don't want the car rolling.
- Jack the car and put axle stands under the end stubs of the rear main frame. They need to be quite high so that there is room to drag the gearbox out under the rear bumper and clam later. If the car floats (front lifting), rest a wheel gently on the front end.
- Make sure the handbrake is off. Loosen the handbrake tensioner nuts (welded to the sub-frame) to release the tension. Detach the small triangular centre bracket where the two cables join, by pulling out the split pin.
- Take all 10 wheel bolts out and remove both rear wheels. Slide them under the sills as a backup against a jack or stand failure.
- Remove each rear coil-over from the wishbones (a 15 mm and a 17 mm nut at the top and bottom). With Nitrons, don't lose the small rubber washers that keep grime out of the bushed spacer. If the car has had a corner-weighted geometry set-up, label left and right so they don't get mixed.
- Remove the 8 mm nut holding the rubber brake pipe to the trailing lower wishbone arm, so the pipes don't overstretch when you lift the wishbone beyond its normal range. Do the same on the other side.
- Disconnect the downpipe from the exhaust. You can lower the exhaust to the floor if the clam has enough clearance around the tail pipes, or take the whole exhaust off for easier access.
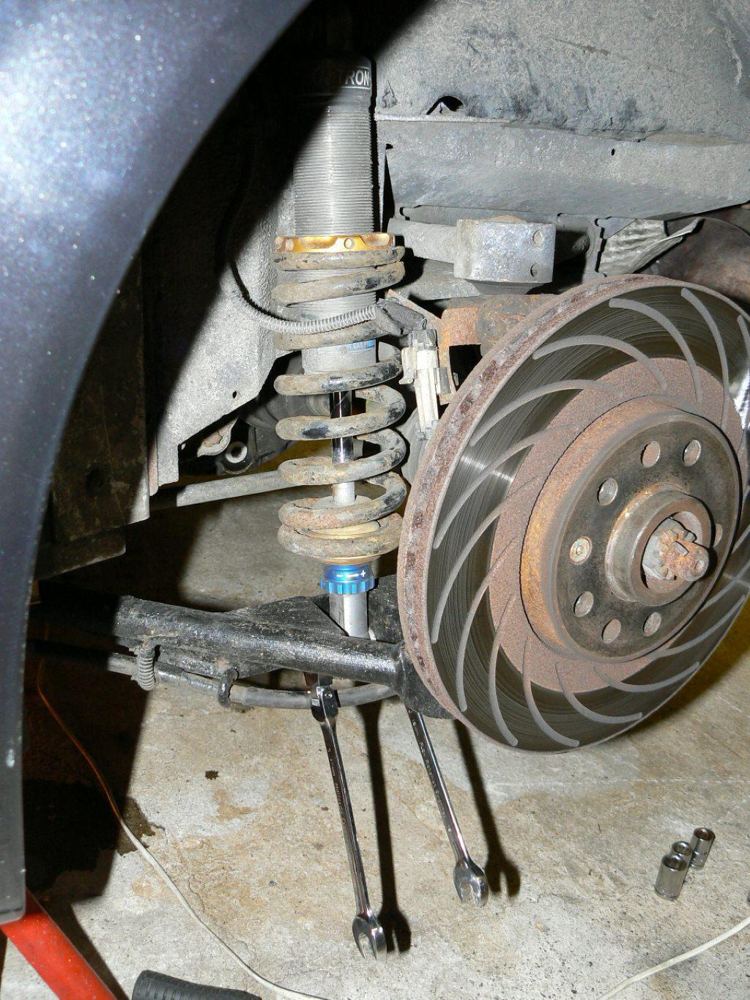
Two options at this point. One is to remove the rear clam, which the author can do in about an hour and finds worthwhile. If you don't know the job or expect it to take over an hour and a half, don't bother. See the rear clam removal guide. The other is to rub down and paint your wishbones with rust inhibitor and something tough, which adds an hour or two and will prolong their life.
- Drain and remove the coolant tank. Don't forget to unplug the water level connector on the bottom before you pull the tank out of the engine bay. See the cooling system flush for refilling afterwards.
- Carefully loosen the captured nut on the end of the clutch hydraulic pipe where it joins the aluminium bleed turret on top of the gearbox. Loosen the bracket securing the pipe lower down on the side or bottom of the gearbox, then move the pipe aside towards the bulkhead. Expect a cupful of clutch fluid to seep out (avoid contact with skin). A plastic bag can reduce it. The pipe clamp mentioned above reduces it more.
- If you have an aftermarket or homemade gearbox breather, detach it.
- Drain the gearbox oil. The drain plug takes an Allen key and is low on the box, facing the inside edge of the passenger side rear wheel. About 1.5 L comes out. Throw it away if it has not been changed in three years or if the car is tracked or raced.
- Unplug the reversing light connector. It is hard to see, near the inside edge of the passenger side rear wheel.
- Prise the two gear selector cables off the gearbox control turret using a thick screwdriver. Then remove the spring clip securing each cable to its bracket on the gearbox, so you can move the cables out of the way.
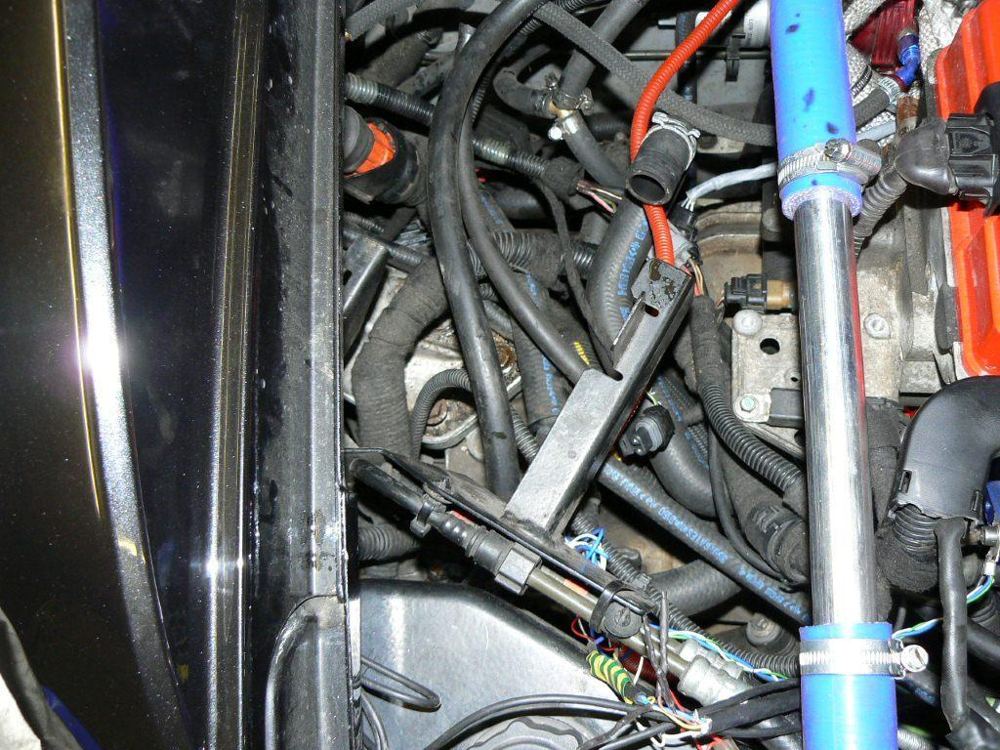
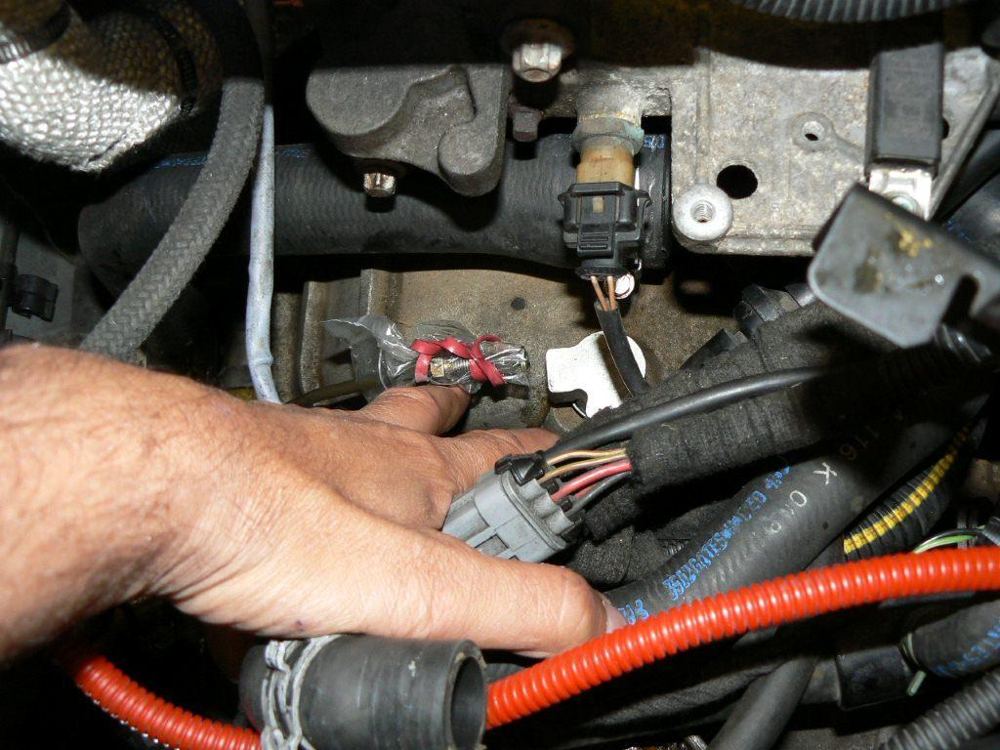
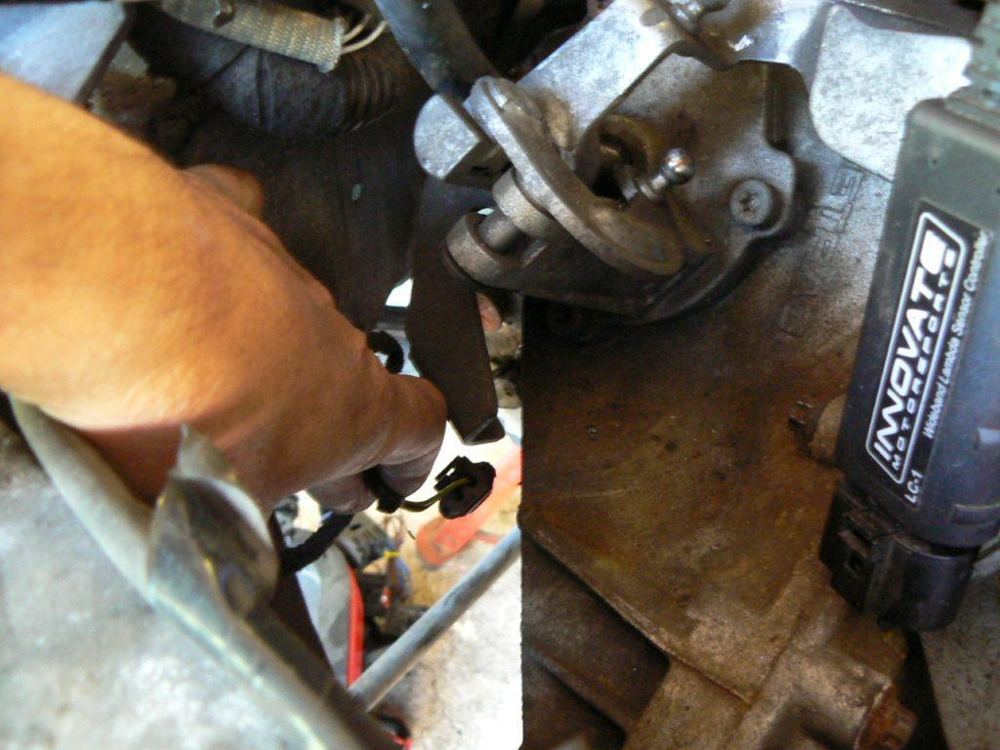
- Take out the bottom two bolts holding each lower wishbone arm (the upper wishbones can stay connected). The bulkhead side bolt should have a rectangular soft-metal security tab, so don't lose it. Do this on both sides. Rest each disc and bearing on a stand of some sort, because letting them droop under their own weight can crush the CV boots and driveshaft.
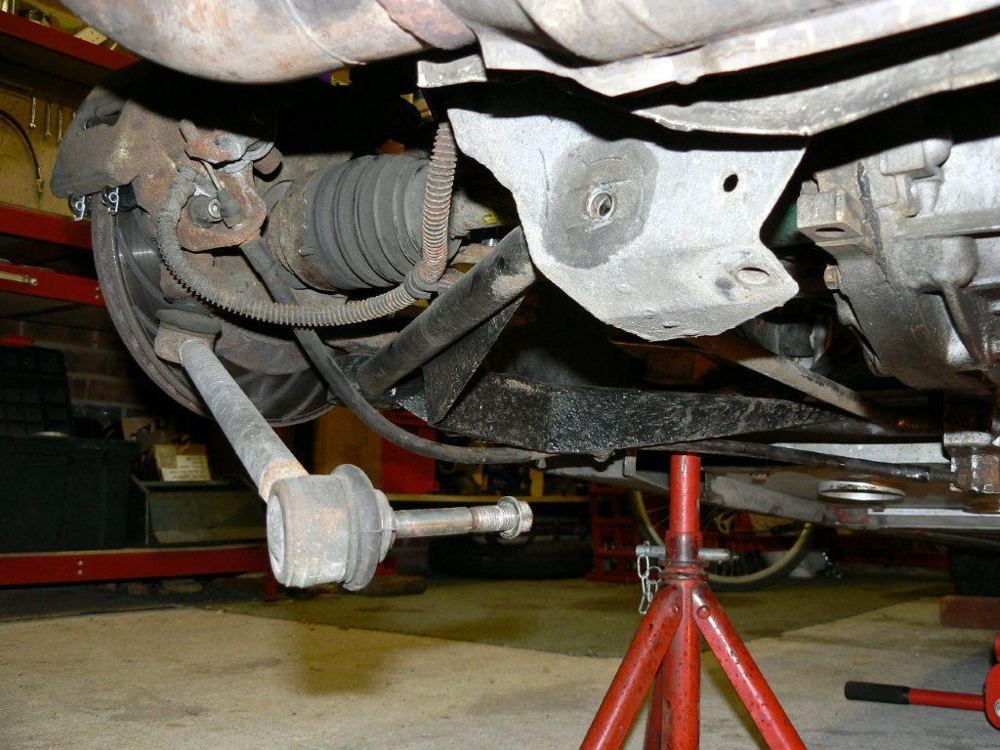
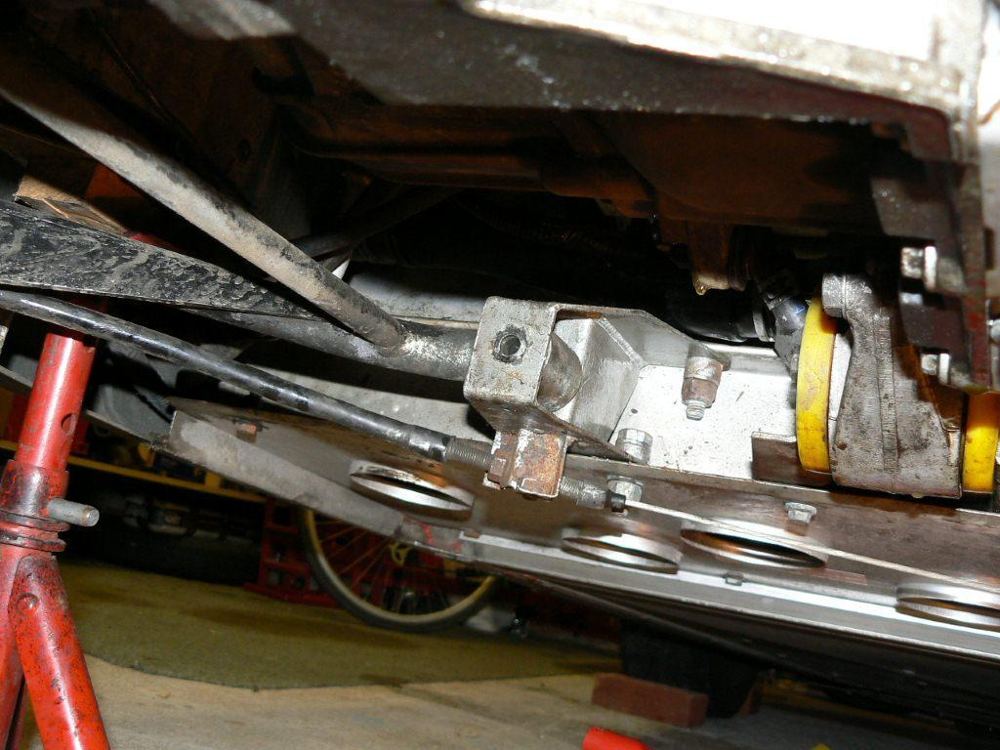
Optional: you can also remove the whole nearside wishbone assembly, upper part included. It is more likely to affect your geometry, but you can leave the calipers on and cable-tie them up so that there is no strain on the hoses. It lets you extract the gearbox from the side, through the wheel arch. That is useful if you don't have enough height at the back, and gives more room when putting it back.
- Use a longish piece of wood and a hammer, or a screwdriver, to tap or prise the green driveshaft end out of the gearbox. It takes some force to "crack" it open by 1 or 2 cm, because the shaft ends have a securing ring seated in a bevelled recess in the differential. Do both.
- Get a helper to lift an entire wheel assembly to its maximum height. This tends to pull the driveshaft out a bit, and you will need to help with the hammer or screwdriver to tug it out of the differential. Be careful not to damage the delicate gearbox seal. Do the other side.
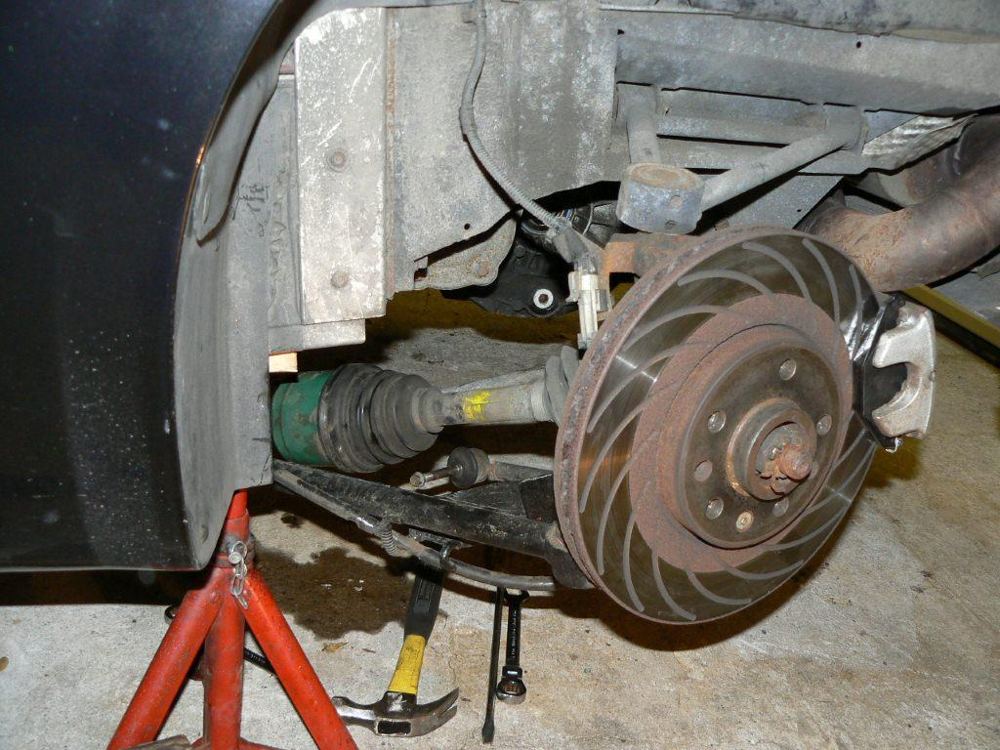
- Crack open all the numerous bolts joining the gearbox to the block. Several are hard to get to, and you will need to loosen and move pipes and parts of the loom aside. Also loosen the passenger side gearbox mount (3 bolts) and both lower engine mounts. Compare with the engine mount guide.
- Detach the rubber boost pipe from the bottom of the turbo and pull it aside. It may not be vital on an original set-up (the author's car has a different turbo and location), but check that the pipe won't be crushed on the wishbone mount when the engine tilts.
- Support the engine and gearbox. The author used the crane for the bulk of the engine weight from overhead, one jack under the sump and one under the gearbox. Hydraulic jacks can leak, so back everything up and make sure it is safe.
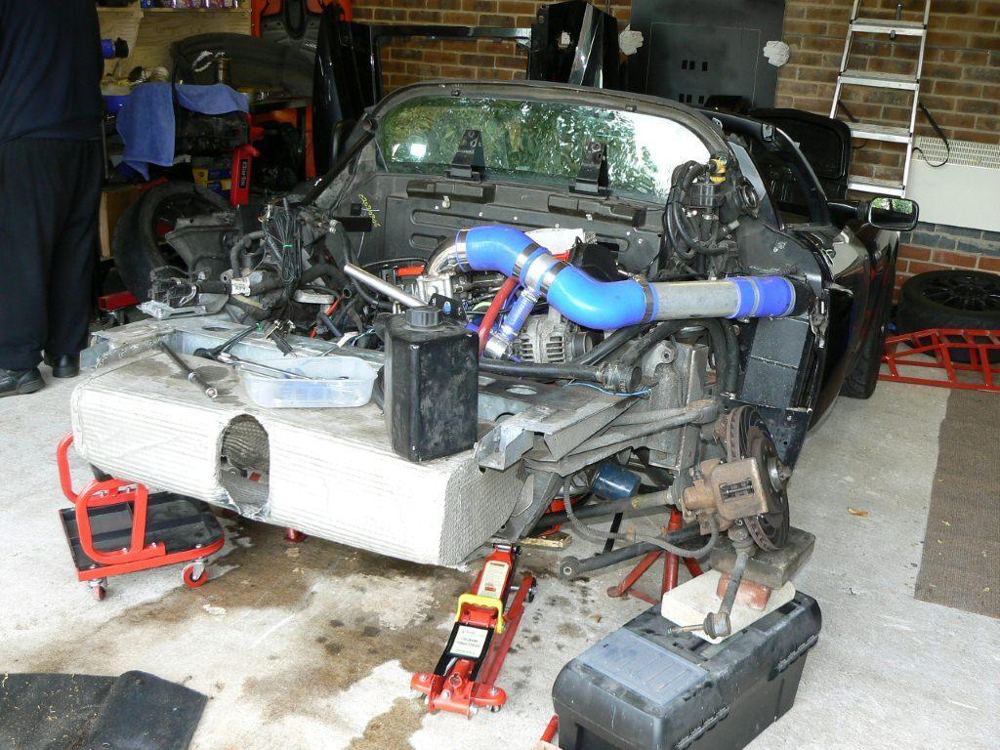
- Take out all the bolts you loosened in step 19. They differ in length and head size, so label them for refitting.
- Use a screwdriver to prise the gearbox away from the block by 1 to 2 cm. This leaves the gearbox splines partly inside the engine, so the two stay roughly together. There are two locating lugs on top of the gearbox which must clear the edge of the block, and they help when you refit.
- Lower the jacks and crane slowly, in stages, so the engine and gearbox droop by about 5 to 10 degrees towards the passenger side. The only thing holding the engine is one side mount and your jacks. Make sure no wires, cables or pipes get trapped or stretched.
- Pull the rest of the gearbox spline out of the engine. The gearbox is then free and can be jacked down to the floor. Don't snag it on pipes, cables or the chassis, which it misses by about a centimetre.
- Once on the floor, drag the gearbox out.
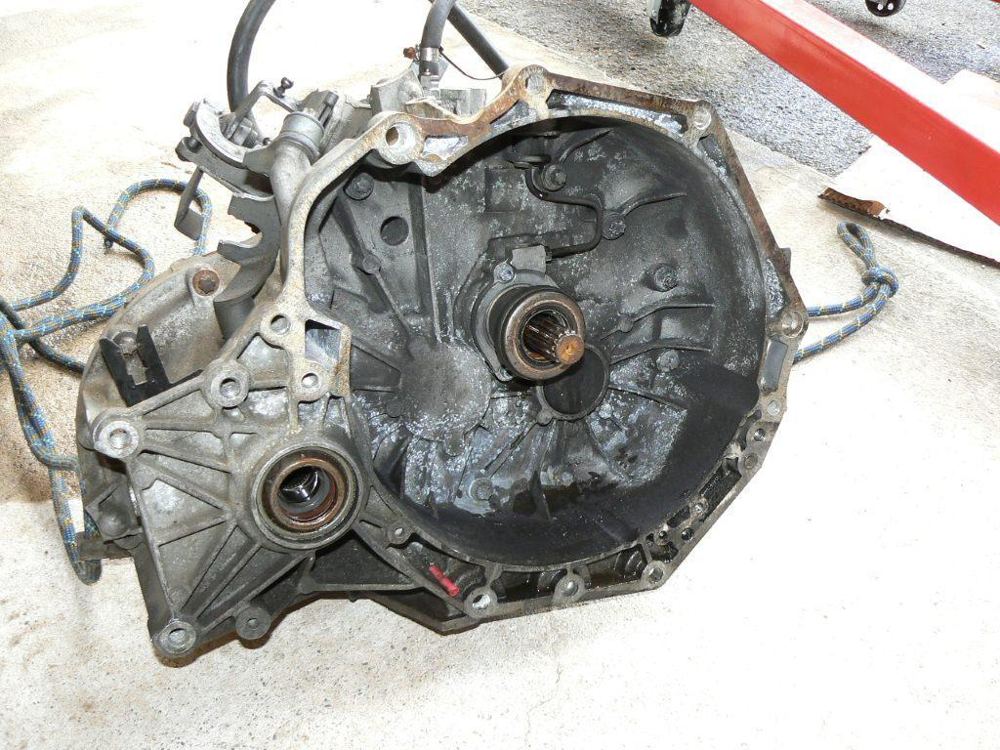
Removing and fitting the clutch
- Undo the 6 bolts holding the clutch cover. Inspect the cover for pitting, scoring and blueing. If it is badly worn, replace it.
- Pull off the clutch plate and check the friction material on both sides. More than about 2 mm is OK, but you are likely to want to replace or upgrade it anyway.
- Inspect the flywheel for bad pitting, scoring or blueing, and replace if necessary. Don't reuse the flywheel bolts. Replace them with ARP ones, a one-use item, and use thread lock.
- Fit a new slave cylinder. Undo the captured nut on the slave cylinder's hydraulic pipe, then the 3 star bolts holding it to the gearbox. Use locking fluid on the bolts when you refit, because vibration is strong and they must not come loose.
- Place the new clutch plate in the very centre, hold it with your fingers while you clamp the cover over it and tighten the 6 bolts, then double check it is centred, or the gearbox spline won't line up.
Refitting the gearbox
Reverse the removal, with these extras:
- Lining up the splines can be tricky and slow. Be patient, and a helper may speed it up. If it won't go, rotate the splines a few degrees with a long screwdriver and nudge the gearbox about.
- Don't overtighten the bolts into the aluminium housing. About 40 Nm (30 ft·lb) is fine.
- Refill the oil through the Allen-headed filler bolt on top of the gearbox. Some F23s need more than 1.5 L, so use the level plug that faces the rear engine mount to get it right. See also the gearbox oil replacement guide, where one owner's gearbox failed a week after he refilled it with less oil than came out. The original document left the grade as "SAE xxx/yyy", so check the factory manual.
- Bleed the clutch. You need about 1/4 to 1/2 L of fluid, and DOT 5.1 is recommended for a hard-driven car. The VX220 doesn't bleed well with the pedal and gravity alone, probably because the reservoir sits low and the pipe leaving it is quite high, so keep it well topped up. A pressure bleeder, run from spare wheel air pressure, worked well. See the brake and clutch fluid guide.
- Test the reversing light and anything else you disturbed.
- Double-check everything before you drive off, take it easy for the first few miles, and let the engine and box settle by driving slowly over some bumps. After a short while, look under the gearbox for fluid.
The aluminium bleed turret is easily disturbed. It seals with a small rubber grommet on top of the hydraulic pipe leading down to the slave cylinder. If the turret is twisted or disturbed, the grommet can misalign or come off the pipe, and fluid then drains down into the gearbox and out of the bottom. It looks like a leaking slave cylinder when it isn't. To fix it, remove the split pin holding the turret, reseat the grommet, and refit the turret so it sits naturally, without leverage from the hydraulic pipes. The same applies if it drips after the first few miles: either the slave is leaking or the grommet has slipped.