
The clam weighs about 24 kg. Support the car properly on stands, check that every fixing is out before you lift, and get a second person if you can. It can be done alone, but it is awkward.
Two owner guides are combined here. The 2017 photo guide (the "long way around", the safe method) has detailed photos of every step, because most earlier guides had lost their pictures or were cryptic. The earlier guide, from 2009 (called the "PDF guide" below), covers the same job in a different order, and fills in a few extra details. It seems to have been written for a left-hand-drive car. Where the two differ I've said so. This also applies to the Speedster. For the front, see Front clam removal.
Help wanted
There are no torque values for refitting, and the two guides don't always line up bolt for bolt. I've matched them where it seemed clear and marked the rest. If you have done this job, corrections would be very welcome.Interior: seats, liner and roll bar cover
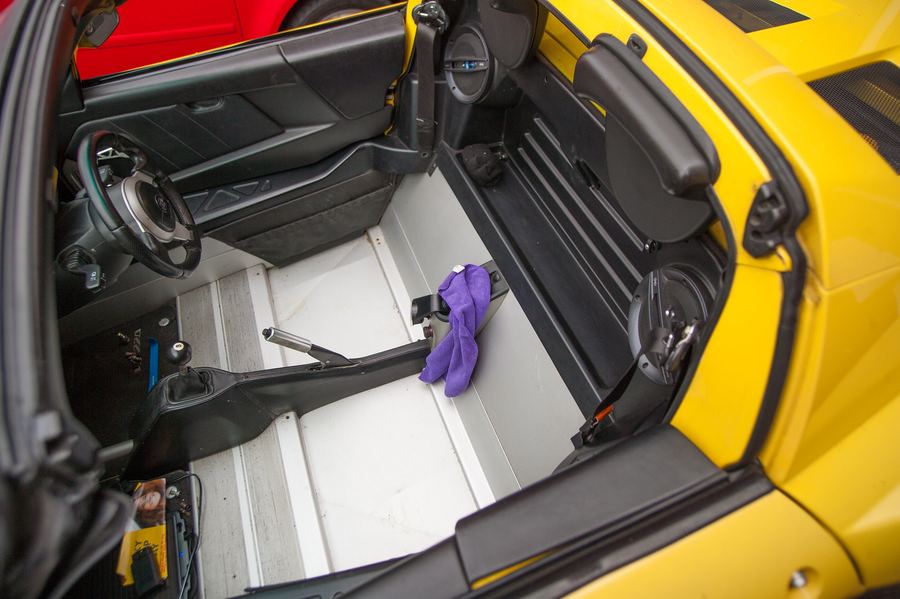
- Seats. Remove both seats. Use long extensions end to end to reach the passenger's rear Allen screws, and disconnect the seat belt from the seat before lifting it out of the tub (17 mm socket). It is also a good chance to clean the tub. The PDF author says that if the black plastic liner has already been removed you can leave the seats in, but the 2017 author tried this and found one 13 mm bolt (under the headrests) he couldn't reach, so the seats had to come out.
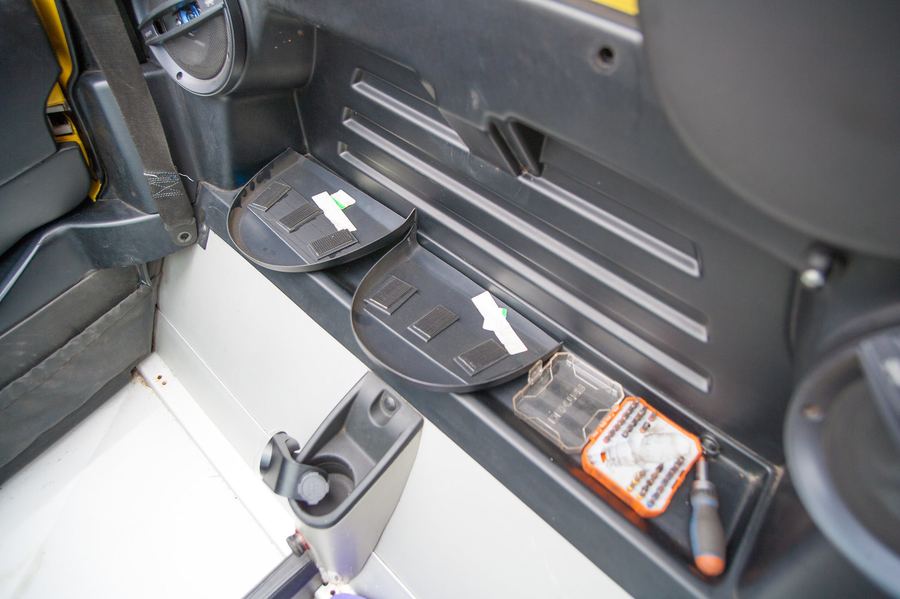
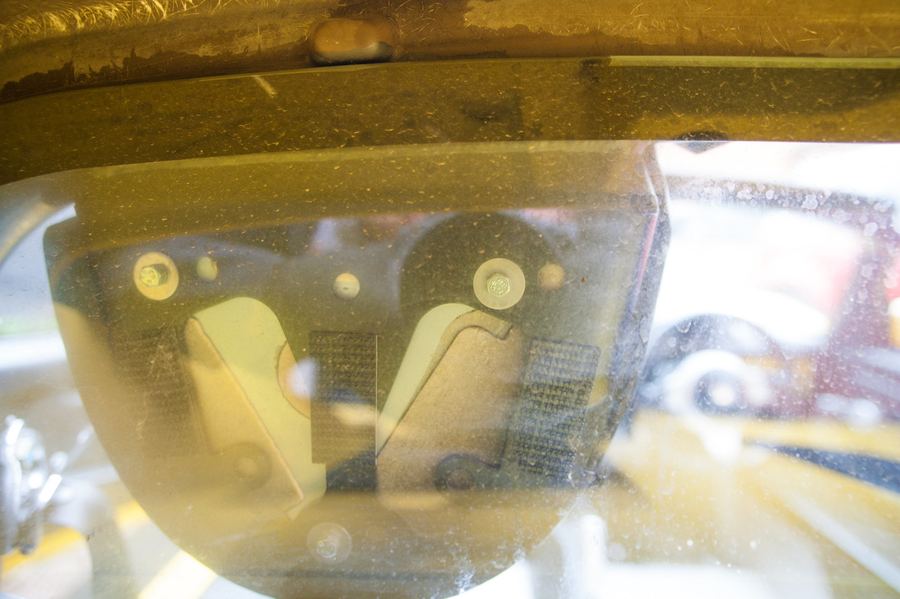
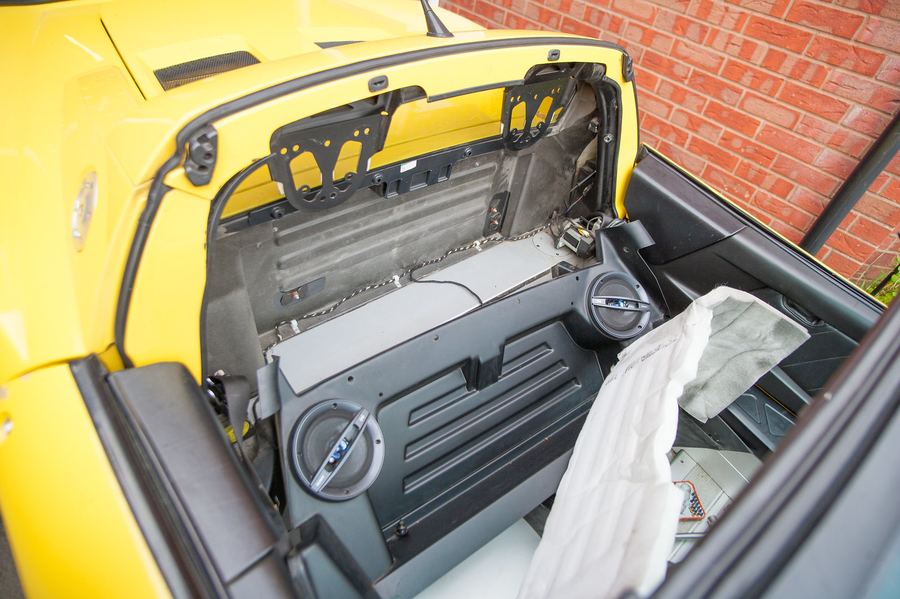
- Headrests and rear speakers. The headrests have to go so that the roll bar cover can tilt forward. Wiggle the hard plastic cover behind them towards the back window. It is held with a sort of Velcro. The headrest has three 8 mm hex screws behind it, which you will probably only get at with a flat spanner. Also start removing the plastic rivet screws holding the central liner in place. The black panel behind the seats is glued at its base, and is hard work to unstick the first time. A steel rule slid underneath helps to prise it off.
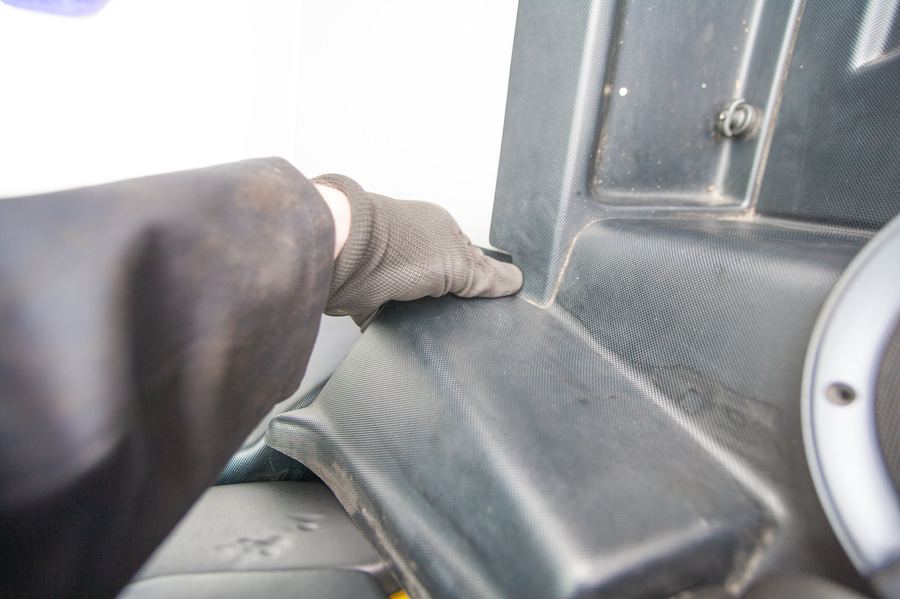
- Liner. Work with the doors open. Remove the top seat belt mounting bolts (careful not to lose the spacers) and the small tab near each top point. Pull the liner out by pushing three fingers down where the photo shows and flexing it out. Pull it down a bit, then gently remove the soundproofing foam. This is a good time to spray rusty bolts with PB Blaster or Plus Gas and check the antenna connection on the passenger side.
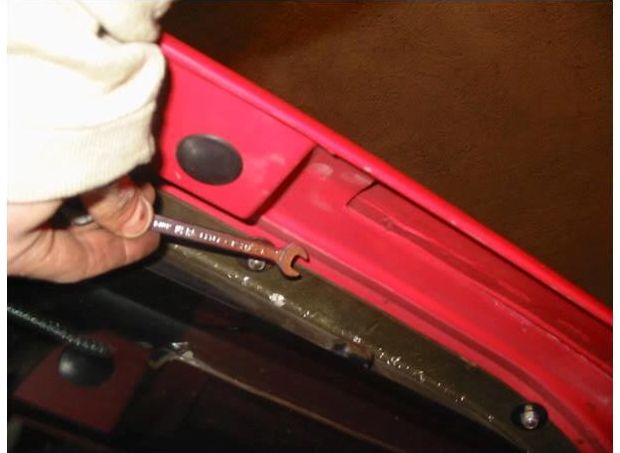
- Roll bar cover. There is an 8 mm nyloc nut in each corner. You may not fit a ratcheting spanner there, so use patience and a flat spanner. The first 10 mm nut beside it may not take a ratchet either, but a ratcheting spanner should fit. The central 10 mm bolt can be undone with a socket and ratchet. You may need to remove the soft top mounting points to get to these. Then gently tilt the roll bar cover forward to clear the 8 mm stud and the dimple, and take care not to lose the gasket fixed under the cover.
- The PDF author lists the roll bar liner (about 2.5 kg) as having two hidden 8 mm bolts at its two underneath ends, and four more bolts running under the third brake light. These probably correspond to the roll bar cover fixings above, but I can't be sure of that, so look for both.
Boot and rear lights
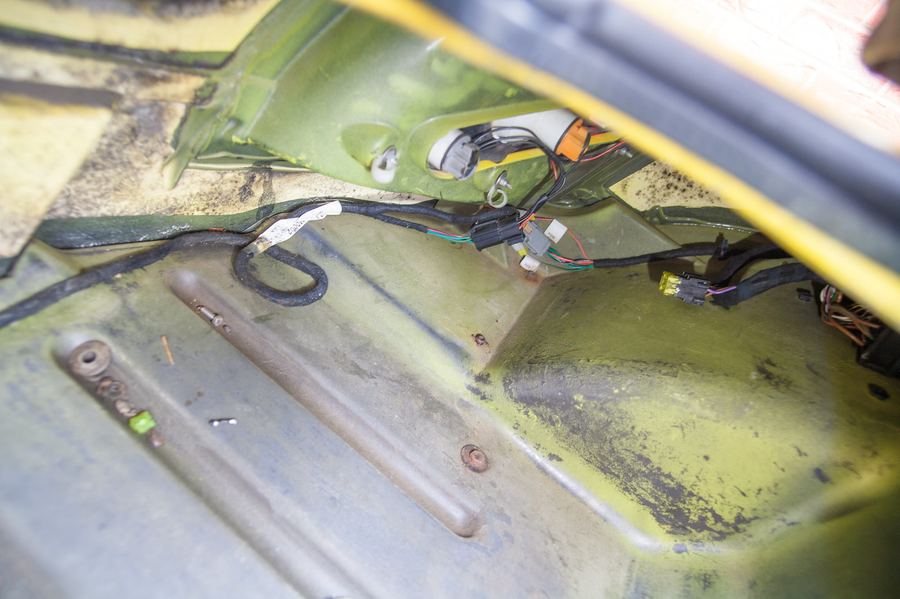
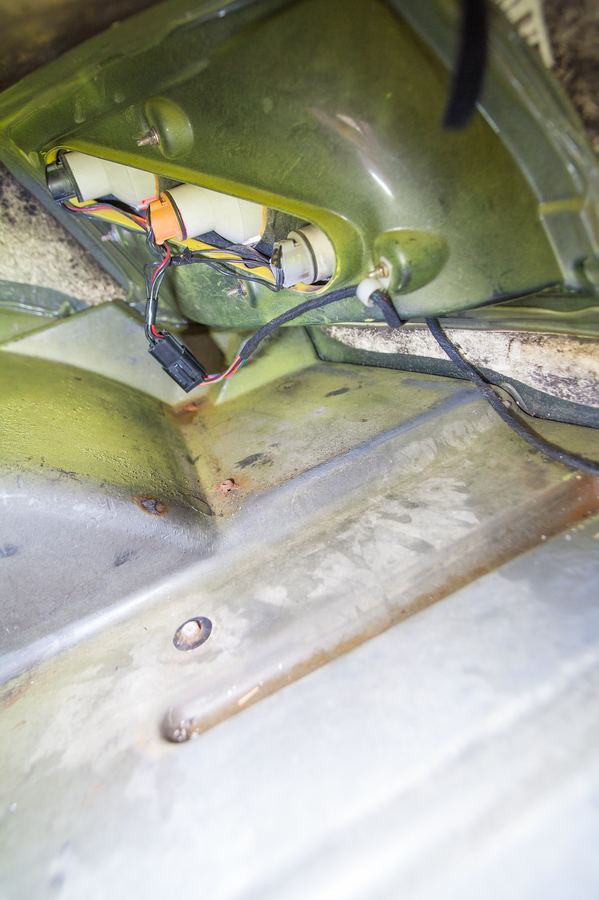
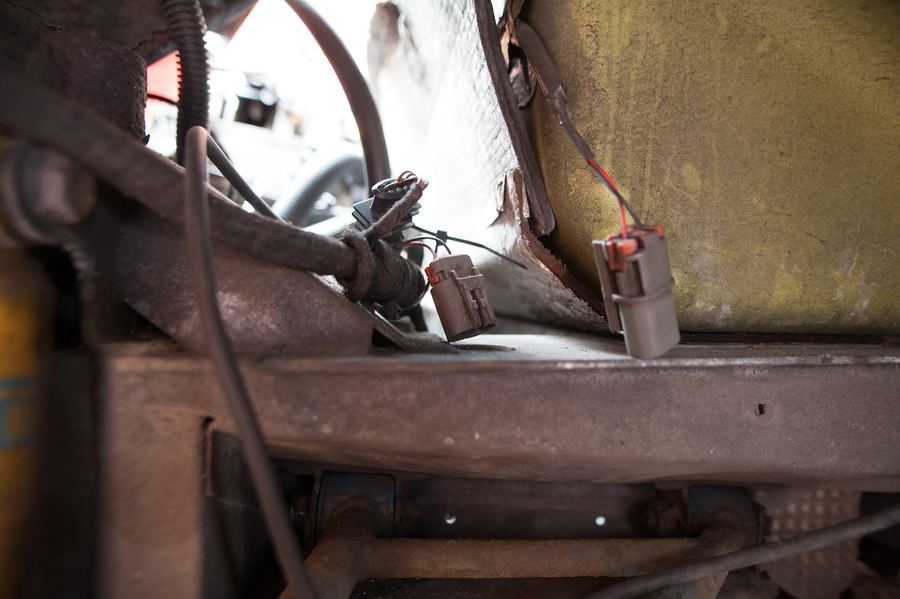
- Look at the wiring and disconnect all the connectors. The harness for the driver's side lamp and the number plate lamps can stay in the boot if you disconnect the grey and black connectors (press and pull) and the rear and fog lamp connectors (lift the tab and pull).
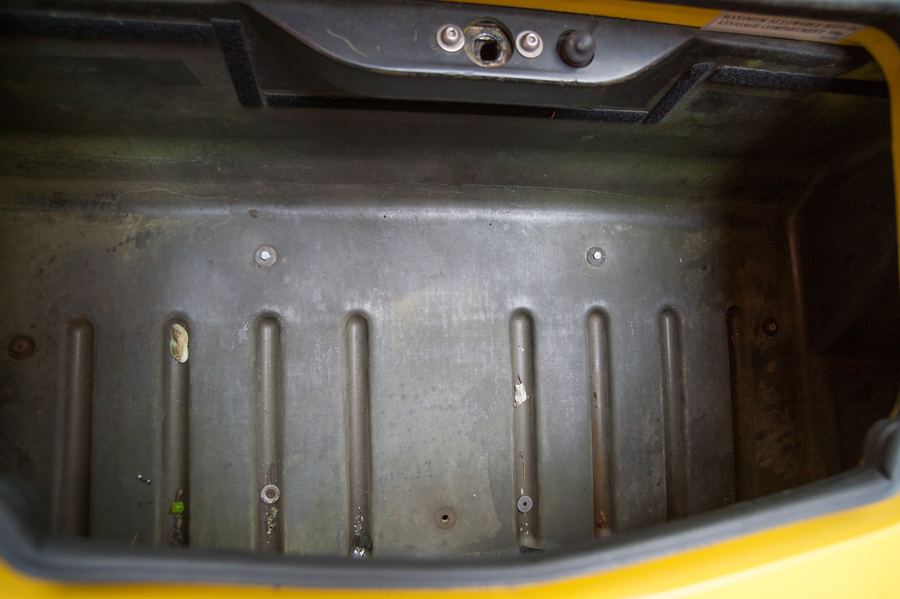
- Remove the four 10 mm boot bolts. The forward central ones should come out easily. On the 2017 car the two outer ones both broke, and a stud puller gets the stems out afterwards. Another owner had two of the four just turn without undoing, and had to cut them off.
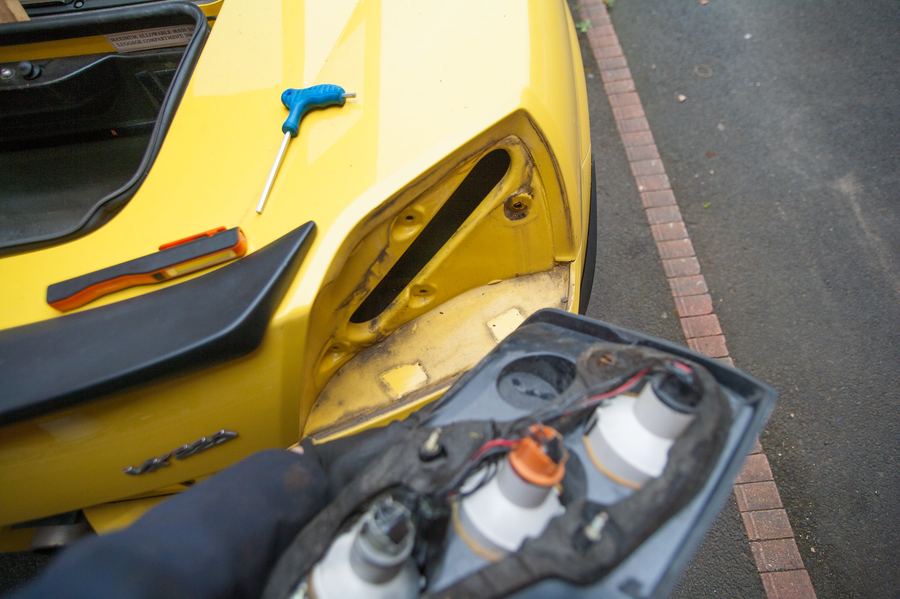
- Remove the rear lights, being gentle with the 8 mm bolts, because the plastic mounts shear very easily. Another owner points out you don't need to remove the lights at all, because the mounts are weak and best left alone. The reasons for taking them off (2009) are that it makes the clam lighter, gives you a good place to hold it, saves damaging the lights, and is an excuse to polish the paint behind them. The 2017 author took them off to avoid scratching the lenses when the clam is stood upright.
- The PDF author also removes the boot carpet and takes out three bolts under each engine lid hinge.
Jacking and the arches
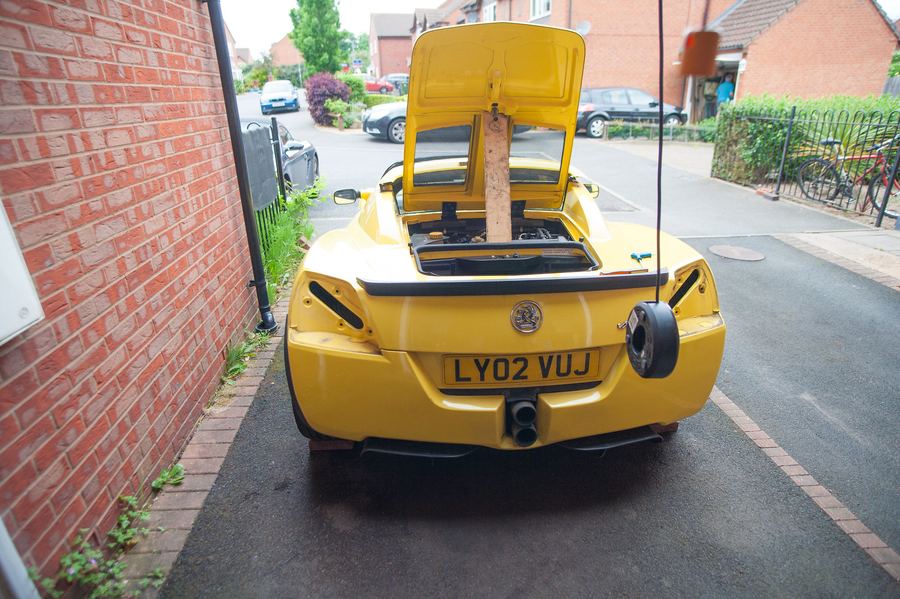
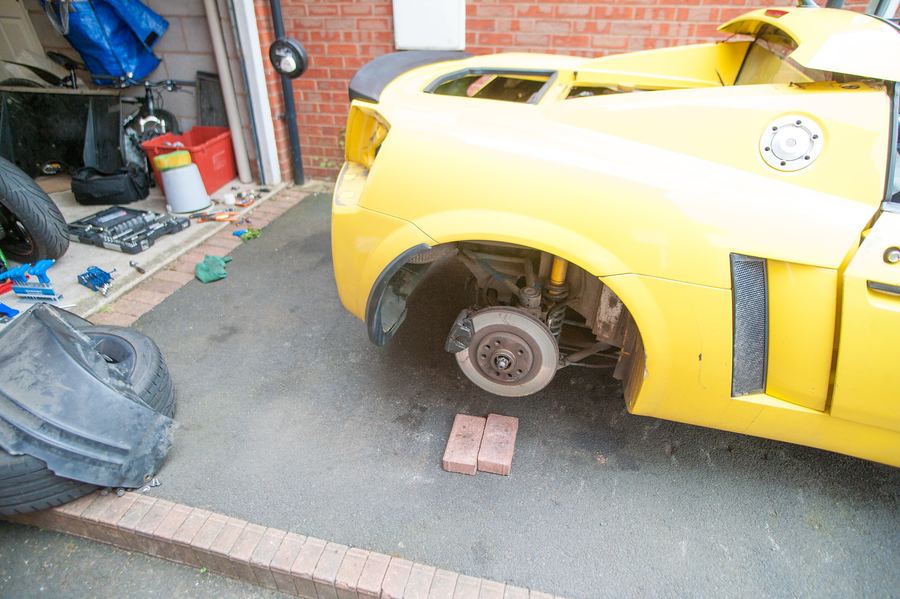
- Remove the rear diffuser, then jack up from the elbow under the door. Put an axle stand under each of the two rear suspension mounts, with a hockey puck between the stand and the mount for a gentle contact. The PDF author adds that a safe place for a stand is along the longitudinal crease next to the jacking spot.
- Remove the wheels and the wheel arch liners (four screws each).
The remaining bolts
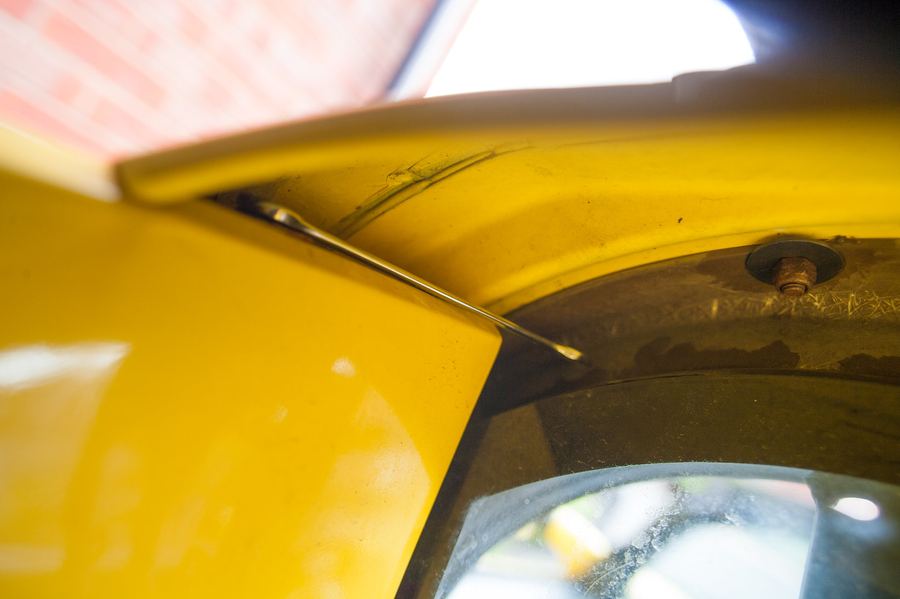
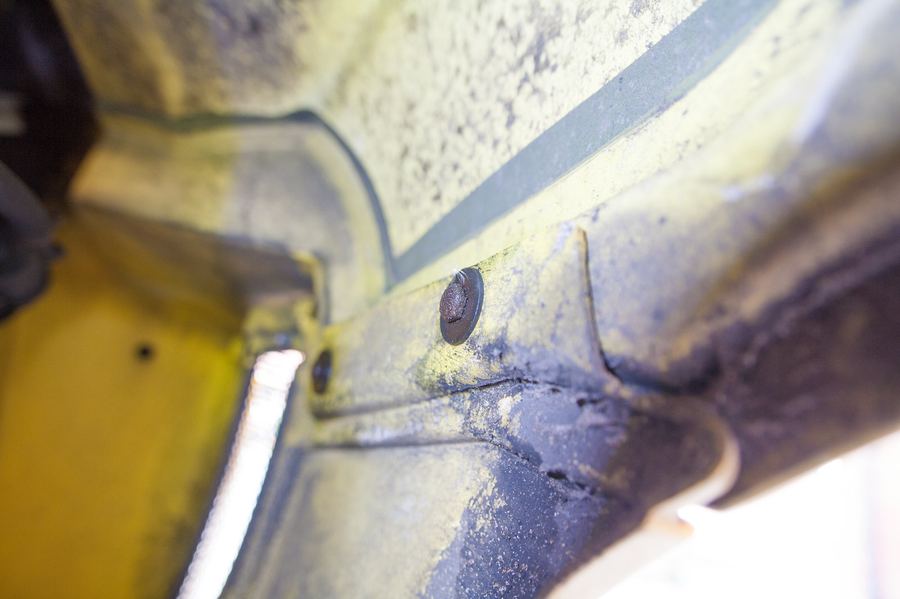
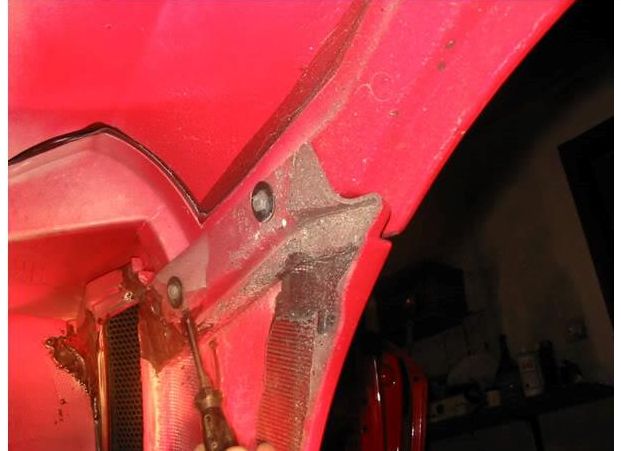
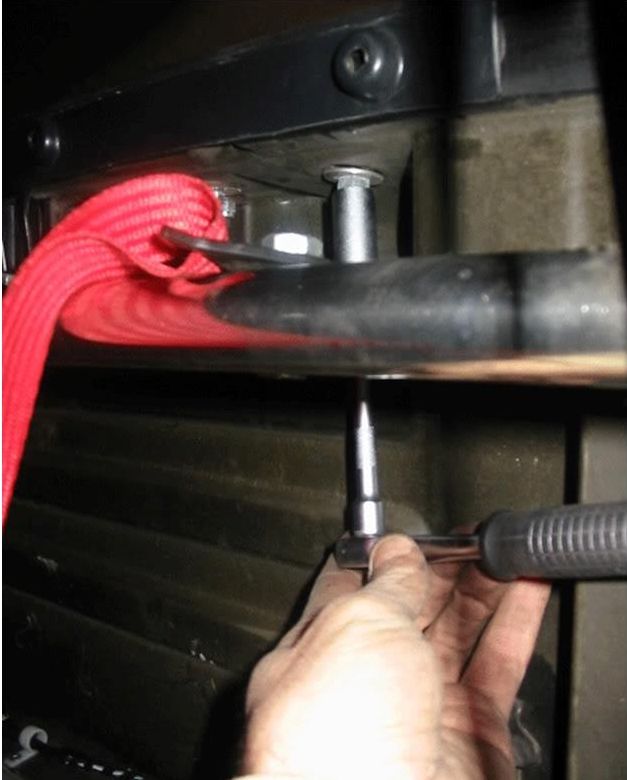
- Behind the side vents. Look into the car forward of the wheel: there are two 10 mm bolts, not very tight, but rust on their heads may stop a normal socket catching them. Use a brass brush and a flat spanner to clean the edges and remove them gently. (This matches the PDF's "two bolts inside the wheel well, behind the side vents".)
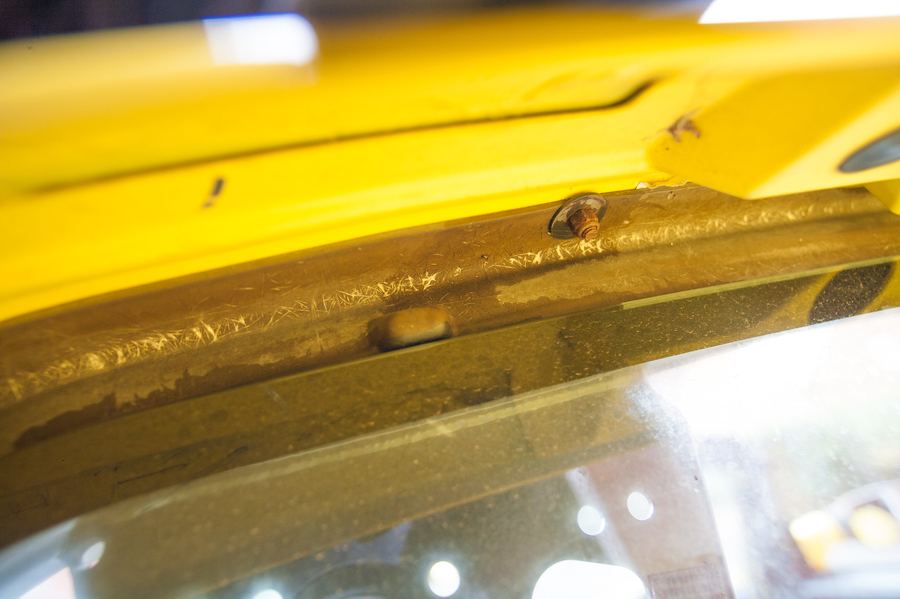
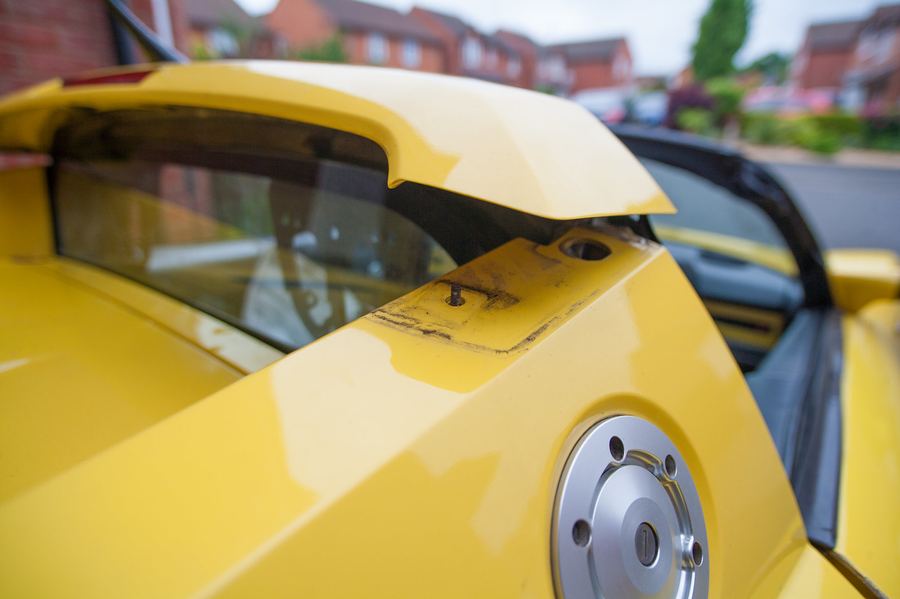
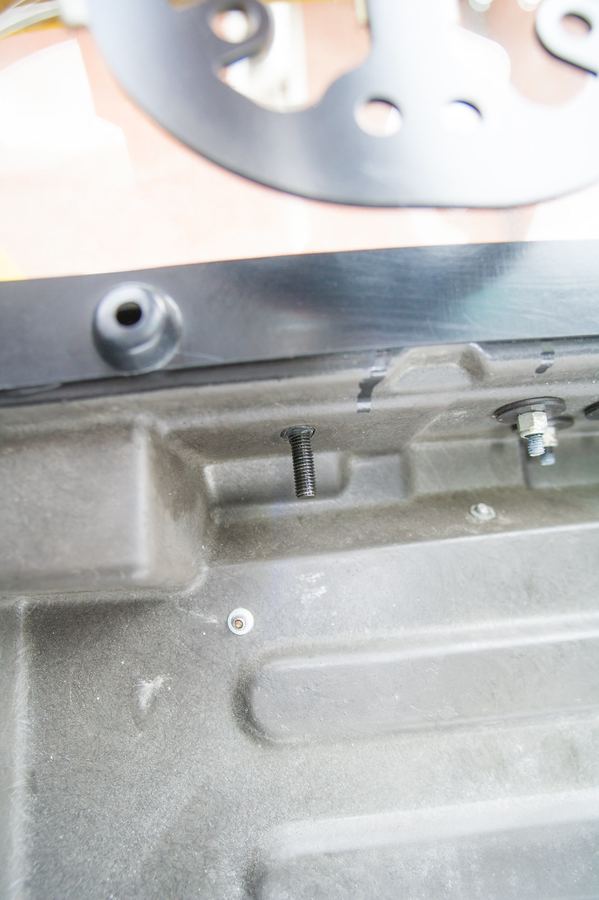
- Headrest studs. Under each headrest, remove the 13 mm nyloc nut and washer on the black stud. When refitting, don't overtighten these or you will break the stud, as the 2017 author did. The PDF's "two bolts holding the clam down" below the rear window are probably these.
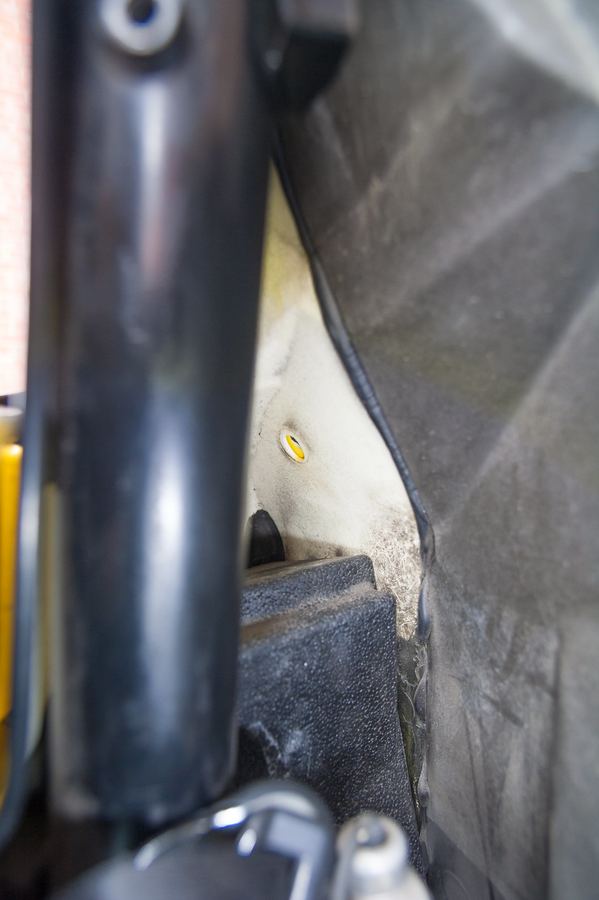
- Behind the door pins. In the cavity behind the door pins, on each side, there is a 13 mm bolt. Remove those too. These are the PDF author's "two trickiest bolts": you reach with your hand behind the roll bar and the door-pin area, and they took some serious investigating to find.
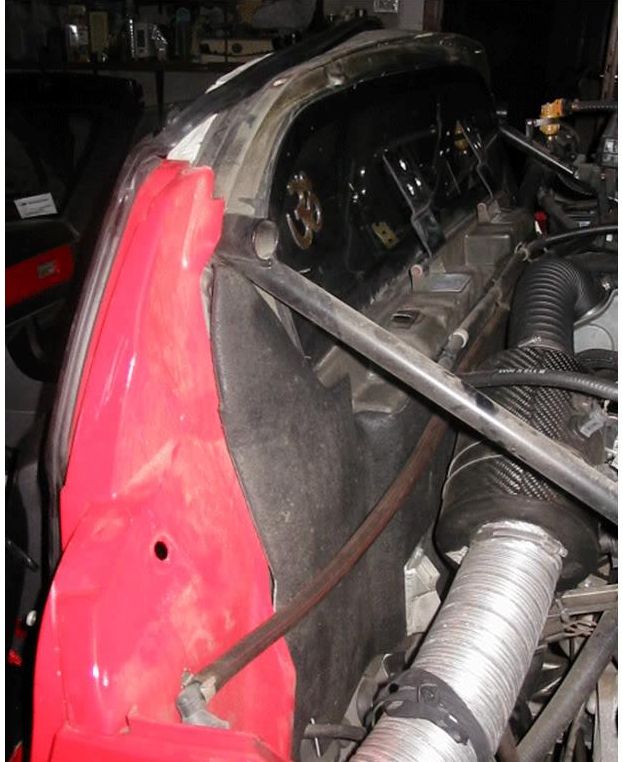
Harness, relays and fuel filler
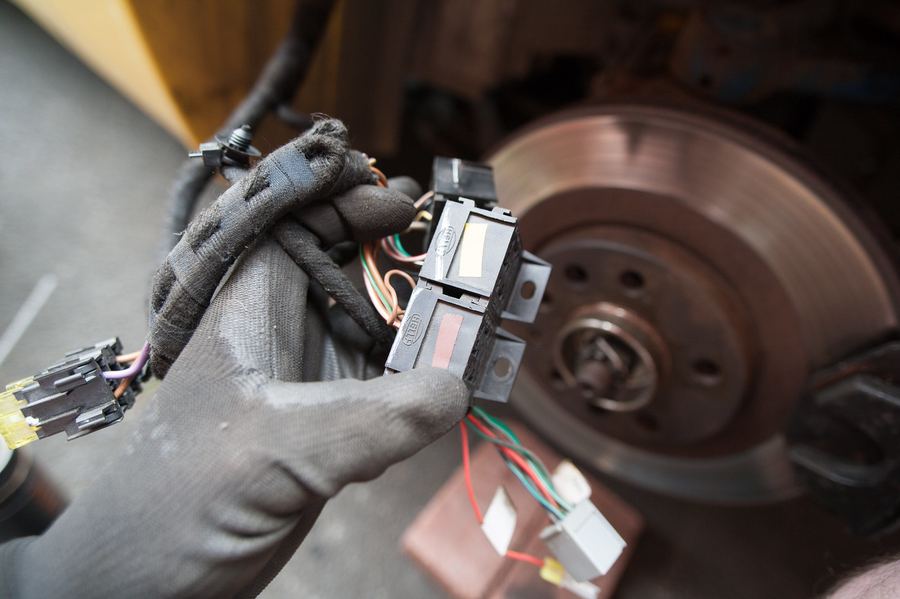
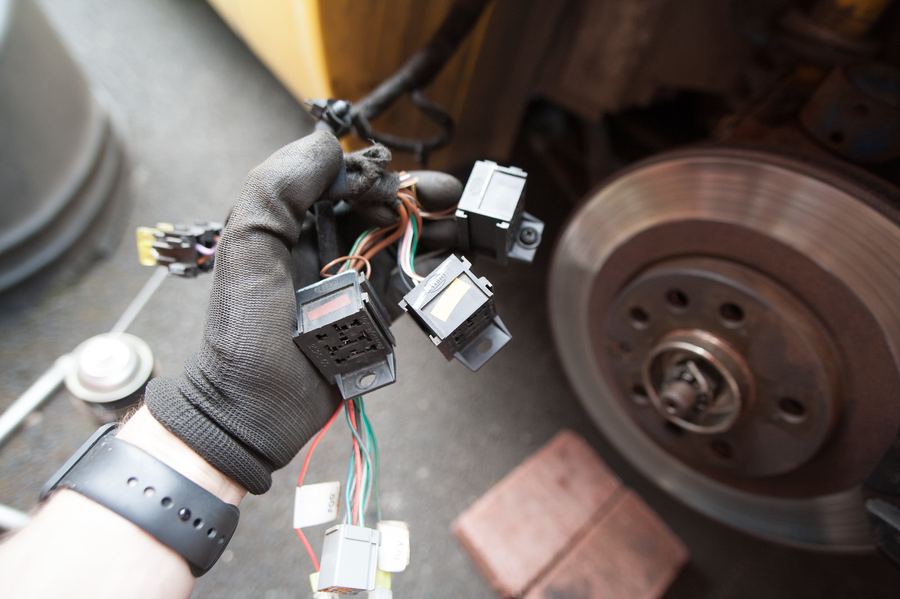
- Harness and relays. Undo the relays and the screws holding their supports. These are rawlnuts, so check from inside the wheel arch that they aren't spinning freely. Push the gasket from the inside out and feed the smaller parts through the hole: the grey and black connector first, then the fog and rear light connectors, then the two yellow fuses (10 A, probably). The relay holders slide apart, so disassemble them and feed them through sideways, one by one. One owner calls getting the relays out one of the difficult jobs: each must come out to reach the fixings, and you are doing it by feel. The PDF author also had to disconnect the three big fuses and the rubber cap, and found a black plastic cover over the fuses that he had left off long ago.
- Disconnect the boot opening sensor, next to the lambda sensor connector. The PDF author also disconnects the boot lock cable from the big bundle on the steel frame. The lock mechanism has to come off because it is attached to this cable mechanism. It runs together with the loom behind the insulating liner, which has to be detached from the clam enough to pull the cable off.
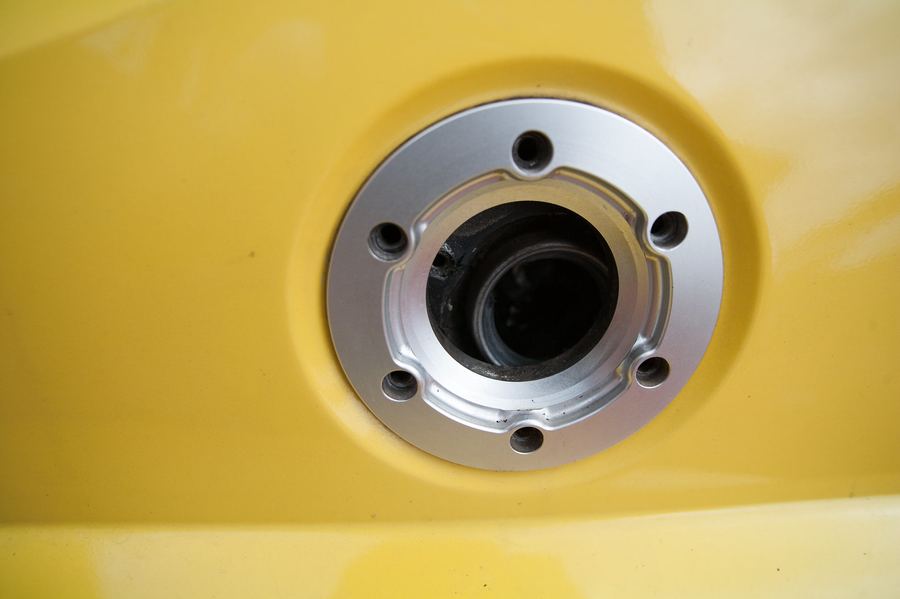
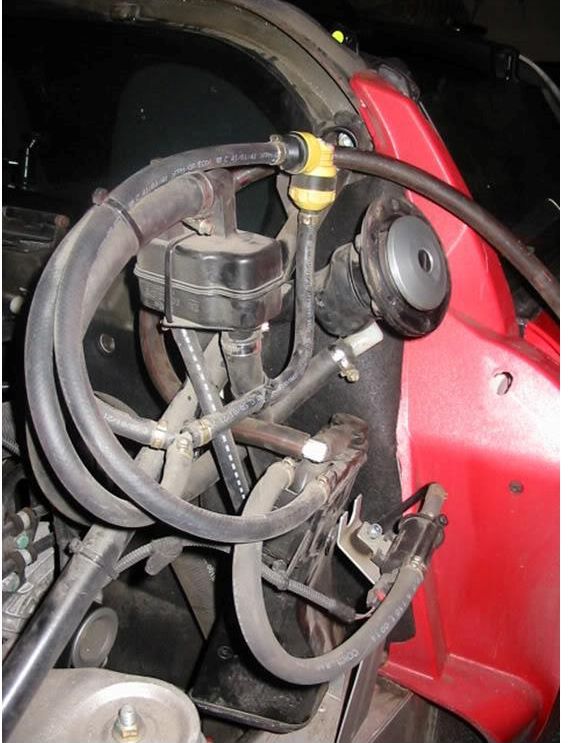
- Fuel surround. Remove the fuel cap and the six Allen screws, then push the filler neck ("swan neck") in a little. The PDF author's correction is that these Allen bolts must come out, and the alloy surround can stay on the clam. Fit the fuel cap back afterwards. If you plan to simplify the fuel vapour hoses and canister while the clam is off, see Removing the fuel vapour system.
Of the two small yellow connectors, one is the rear light and one is the fog light. The PDF author refitted them the wrong way round and had the fog light come on when reversing. Note which is which.
Boot lock, hinges and lifting off
- Remove the two boot lock screws. Be very careful about how many washers go on each bolt, especially the thicker ones, which sit below the shell. If any washers are stuck to the sensor or the lock plate by grease, leave them there. It makes refitting easier. Stow the lock sideways on top of the engine.
- Mark the hinge positions, then remove the boot (engine lid). Keep the shims on the hinges, and leave the hinges in the horizontal (closed) position.
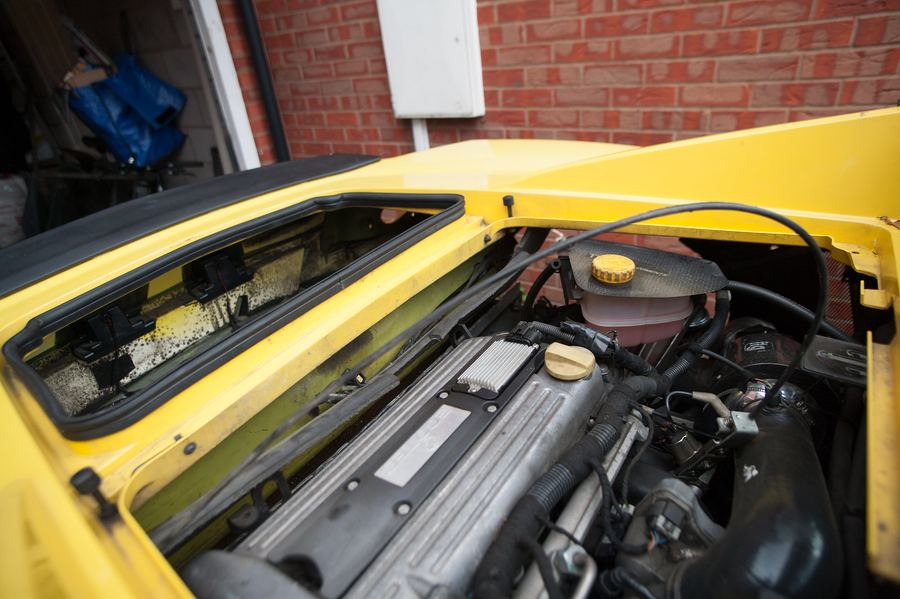
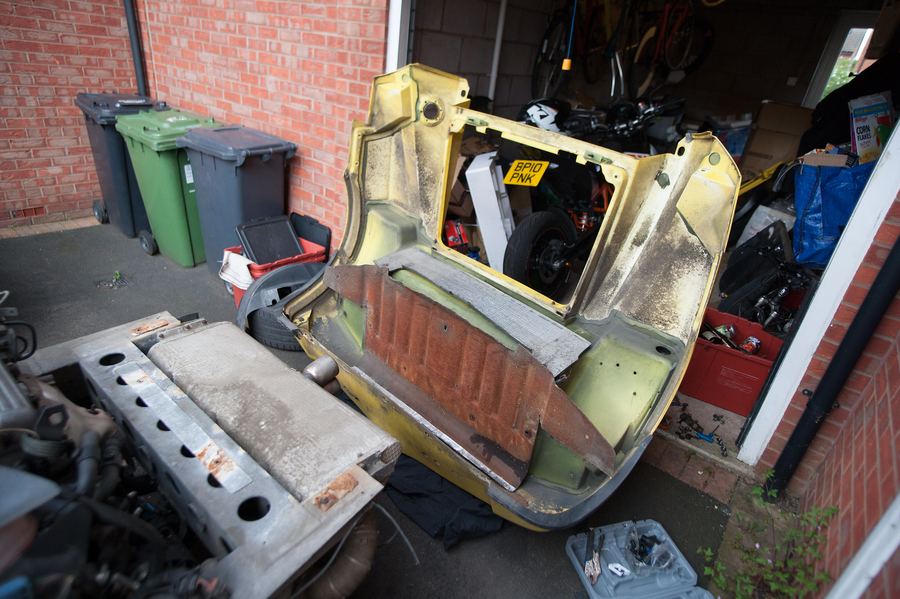
- Lift the front end of the clam gently, then slide it backwards while lifting it up. Wiggle it around a bit first to make sure it is loose from every angle. Check especially the two bolts by the rear window that hook it down (from the PDF guide). Doing it alone is possible, but easier with two.
What other owners found
- Time: one owner took about 5 hours in total, over two weekends, and reckoned it would be about 2 hours the next time. Another careful amateur took 12 hours to remove and 7 to refit.
- Broken fixings are common. Two of the four boot bolts turned or sheared on several cars, and one owner had two roll bar cover bolts shear (the M6 on the nearside). Fixing those would probably mean cutting the stem out of the fibreglass and bonding a new one in. One owner found a fuel cap surround nut turning. You can just reach these with some difficulty after taking off the offside rear arch liner. Stainless fixing kits for both clams are available.
- Missing nuts: one car had no nuts at all on the two small side fixings (M4 or M5). They are easy to skip on a refit because they seem non-essential, and they are awkward if the washer or nut escapes your grip.
- Shims: the steel shims between the clam and the chassis had rusted so badly on one car that it was hard to tell their thickness. Keep them in order if you can.
- Use the access. With the clam off you can do other jobs: one owner changed the fan belt, oil and air filters and the spark plugs, and refreshed corroded fixings with copper grease. Expect a little paint scratching.
- Rust (2011): one owner on a four-year-old car found the original guide badly underestimated the rust. On the filler cap the last two bolts just spun, and the nuts were captive in the inner lining so they couldn't be drilled out. The number plate lights wouldn't come off, and two of the four boot floor bolts snapped. He also found many jack nuts rusted in, and some parts, such as the rear number plate lights, missing from the car. He felt you can't replace the roll hoop without taking the clam off first. This is his opinion, not something confirmed by others.
- Running with the clam off: it will start and drive, as long as the relays and fuses are seated correctly. On the Turbo, make sure the ECU earth wire is connected. One owner whose car wouldn't start with the clam off, with the engine light on and no priming sound, fixed it by going over every relay and connector, cleaning and refitting them. He never found which one it was.
- Refitting on runners or hinges to make later removals easier has been done, but the 2017 author says it looked difficult.