
The engine's side mounts (damping blocks) split with age and mileage. A split shows as a rubber cone cracked at the bottom, and a knock when you apply power. This guide is the original write-up of the near side, with the extra tips other owners added over the following years. The factory manual (TIS) has the basics, but it's never quite as simple as they make out.
Help wanted
The near side is from a 2006 thread and the off side from a 2010 one. Neither gives separate torques for the Turbo, and the off-side photos are poor. If you have done the off side, clear photos would help a lot.The threads disagree on whether the engine needs supporting. The factory manual says to support it, and some owners did the near side without. For the off side, some owners support the engine, and one asked a struggling owner whether his engine jack was set too high or low. But others leave it unsupported, using a breaker bar to lift the engine a few millimetres to line the bolts up, and one says it isn't needed on the Turbo and possibly not on the NA. If you aren't sure, support it. Use axle stands on the car, never just a jack.
Near side (passenger side)
- Jack up the passenger side and remove the rear wheel and the wheel arch liner. This gives you access to the mount. The undertray doesn't have to come off for this side. Refitting the stiff arch liner was the most annoying part for at least one owner, and another had to cut off ruined liner screws. While the liner is off, consider replacing the screws with stainless steel allen-head ones.
- The factory manual says to loosen the coolant expansion tank, but it can be done with it in place. Another owner simply unclipped the coolant bottle and moved it aside.
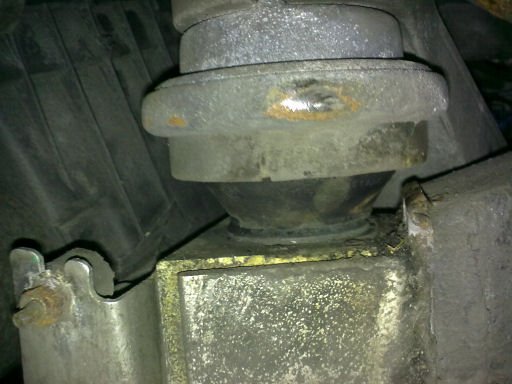
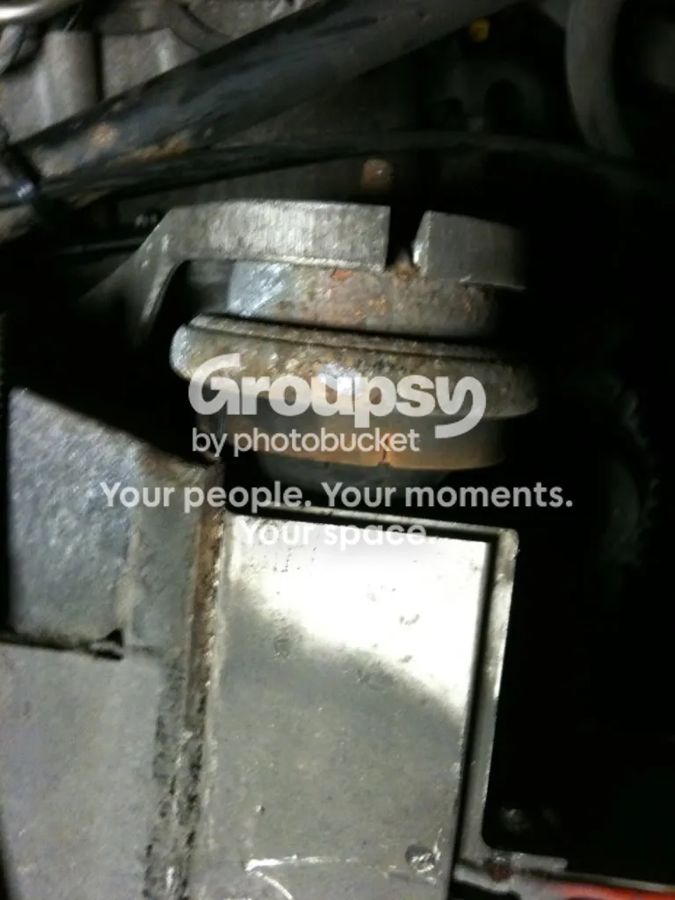
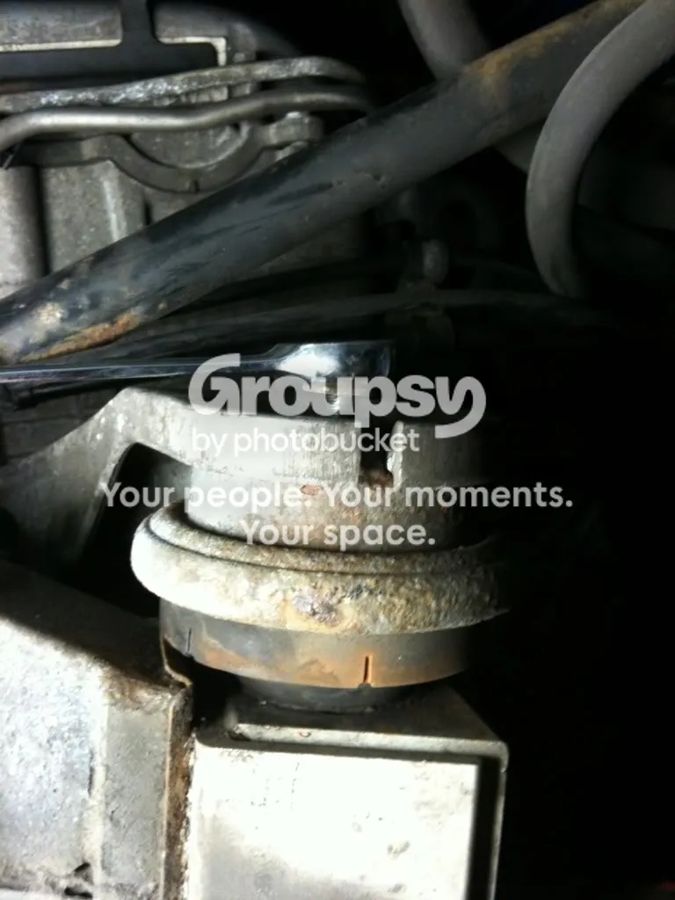
- Undo the mount's bolts. The order doesn't matter, but the easiest start is the ones either side of the mount, so that the bracket holds it in place. The top bolt is shown below with the socket on it. A deep 15 mm 6-point socket on locking extension bars worked well for another owner.
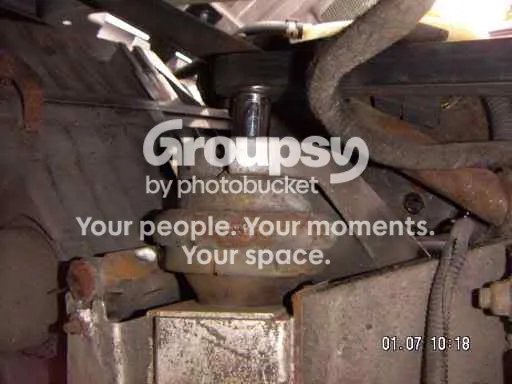
- The bolt at the bottom of the mount is reached from underneath, ideally with a 40 cm extension bar. The bar below was not quite long enough to clear the wishbone.
- Tape the socket to the extension. The access hole to the nut is in a box section, and a socket that gets knocked off is hard to get back out. One was only recovered by taking the airbox off.
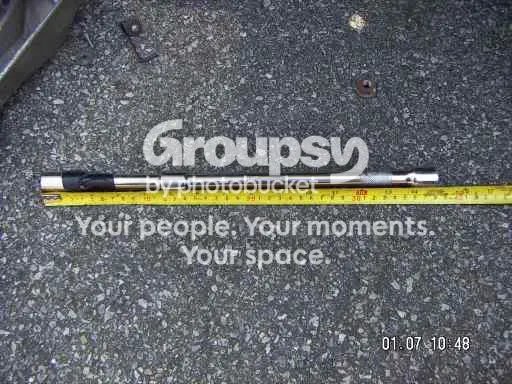
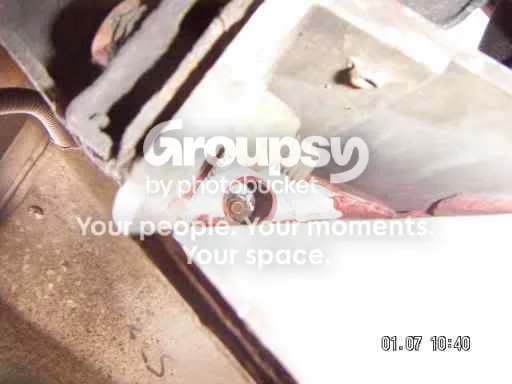
- Remove the bracket that attaches to the engine: three bolts on the top, then the bracket. It is best to use the long extension bar and work from above, in the engine bay, rather than through the wheel arch as in the photo, because you get more force on the bolts and less chance of rounding the heads.
- Take out the old mount, fit the new one and reassemble, tightening everything to 45 Nm.
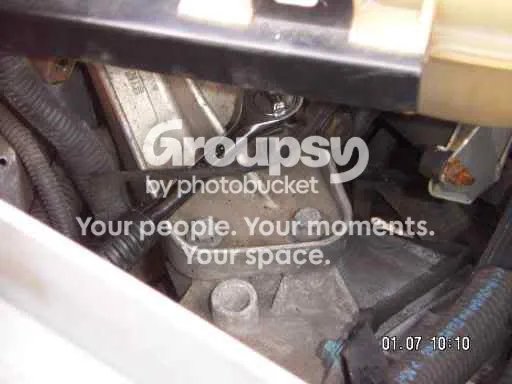
Off side (driver's side)
Very similar, with these differences. Reports on how hard it is vary a lot, see the section on stuck bolts below.
- This side holds the engine up, so remove the undertray and support the engine with a second jack or blocks. Put the car on axle stands front and back on one side, then use a trolley jack under the engine, somewhere solid, with a piece of wood to spread the load.
- On the NA, the bracket bolts to the side of the engine with two bolts on the left (as you look at it) and one on the right. The one on the right and the bottom one on the left take a 15 mm socket from underneath, but you will need a spanner to finish them off.
- The top left bolt is too close to the sub-frame for a socket, so it needs a spanner from inside the wheel arch. If it's tight, put the spanner on the nut at about 10 o'clock and use a large spanner at 90 degrees to it, along the back of the engine block, as a lever. A ring spanner to loosen, then a ratchet spanner to save time, works well.
- One of the NA bracket bolts is too long to come out without tilting the bracket, so undo the others first. It's largely done by feel rather than by sight.
- On the Turbo the bolts are on top of the bracket, which one owner found slightly easier. He also said the bracket is very heavy.
Off side method (2010)
This method was written for a friend by an owner who accepts no responsibility for mistakes made following it.
- Wheel off and arch liner out.
- Put a long extension with a 15 mm socket up the chassis rail directly under the engine mount. There is a nut up there to find by feel. Undo it.
- Undo the 15 mm nut on top of the engine mount.
- NA: there are three 15 mm bolts holding the bracket to the engine, in the vertical plane of the engine (so the bolts are horizontal), hidden by the subframe, so you undo them by feel. One or two are longer than the space allows a ratchet to turn them. Slacken them with the ratchet and extension, then finish with the spanner. Once they are out, jiggle the bracket until it lifts out.
- Turbo: there are three 13 mm bolts, vertical, which are easy to reach unless the charge cooler pipework is in the way. Undo them and lift the bracket out. Take care, because all the extra Turbo weight is believed to be on this one bracket, and it is very heavy.
- Fit the new mount and jiggle the bracket back. Lift the engine back up with a breaker bar as a lever, do the bolts up by hand first, then tighten with the spanner or ratchet. Another owner did the same without a jack: all nuts and bolts hand tight, then the mount-to-chassis nut, then the top mount bolt, then the bracket bolts.
- Refit the 15 mm nuts at top and bottom of the mount, the liner and the wheel.
Stuck, rounded or seized bolts
This is the biggest source of trouble in the thread. Old bolts are often rusted along the whole thread.
- Use 6-point (flat drive) sockets. Ordinary serrated sockets rounded a stubborn bolt, and a 6-point socket and an 18" breaker bar shifted it with a crack. These grip on the flats rather than the corners. 6-point ring spanners exist too.
- Over-tightened bracket bolts. One car's three bracket bolts had been done up so hard that one started to round and another did round off. The fix was welding a large washer with a 14 mm hole to the nut, building up weld on top, then welding a large nut on top of that, so lots more torque could be applied. That is not a job for a plastic car on the driveway, so it was done at a workshop. Heat from a blowtorch is also an option in some places, but not in confined spaces or near plastic.
- Off side horror stories (2010 to 2011). One owner's three bracket bolts were seized solid. He snapped three extension pieces on the bolt that goes up through the channel, cut the lower part of the mount out with a hand grinder, and it took him two days. His view: the passenger side is half an hour and the off side needs a grinder on the tool list. Two others gave up after hours of levering and took their cars to a garage, and another rounded the top nut (despite the 45 Nm torque) and ground it off. One drilled at a bolt with two new HSS bits without getting it out. On the other hand two owners found the bolts came off easily, so it depends on the car.
- Glue in the access hole (2012). A 15 mm 1/2 inch socket wouldn't go through the hole in the chassis rail to the lower nut, because red glue had squeezed out of it. A 3/8 inch socket is the same diameter, so don't waste money on a 3/8 set. The excess glue was trimmed off with a file for stone tiles (metal files were too long) and a knife, which worked a treat, and afterwards the socket no longer needed taping. A 21 to 22 mm HSS drill, hand drilled, was suggested instead of a wood bit, and the outside of the socket is a little over 20 mm. Another owner, whose longer socket wouldn't fit through the hole, had the same problem. A Halfords 1/2 inch 15 mm 6-sided deep socket fits a treat.
- Penetrating oil. One owner suggests soaking the bolts holding the top of the mount to the engine with WD-40 for 24 hours or more. Another did that, twice, and they still wouldn't move. Others say WD-40 is poor for this and recommend a proper penetrating oil, naming Plusgas and Krost.
- Tools that helped. A small battery impact wrench on the off side, as it fits above the bracket. A 3/8 inch drive ratchet with a low-profile 15 mm socket on the NA off side, with the jack handle slipped over the ratchet handle as a long breaker bar. One owner spent 2.5 hours on one evening with the wrong sizes before finding a 1/2 to 3/8 inch adaptor at Machine Mart.
- Use the leverage you have. One owner got a smaller ratchet over the bolt and used a long bar over the ratchet handle to undo it from underneath.
Notes from other owners
- Parts and upgrades (2009): the mounts were a Vauxhall-only part at the time, and the price quoted then was about £50 to £62 each. Poly inserts existed for the front and rear mounts but not the side ones. A 2021 post mentions a car already fitted with Vibra-Tech race mounts, so check what is on offer now.
- Extra access (2011): one owner took the intake pipe off the intercooler to reach the off-side bolts, and unclipped the header tank to get to the near side. Another fitted poly bush inserts front and rear at the same time as the side mounts. The clang after a heavy foot was gone once both sides were changed.
- Replace both? Several owners found one side had gone and the other was fine, but replaced both anyway since the car was already up and the tools were out.
- Symptoms: a knock when you apply power, and an engine that visibly lifts when jacked, point to split mounts. One owner has had the rubber cone shear cleanly apart. Owners reported failures at anywhere from 27,000 to 50,000+ miles.