
The 2017 write-up was done in sections as the work went on. It assumes the gearbox is already out of the car (see F23 gearbox removal and clutch replacement), and takes no responsibility for mistakes. It doesn't list every tool. The thread doesn't say which car it was done on. The gearbox is the F23. The 2013 thread is written up in the same steps, as it describes the same job.
1. Remove the plug and the 8 mm bolt
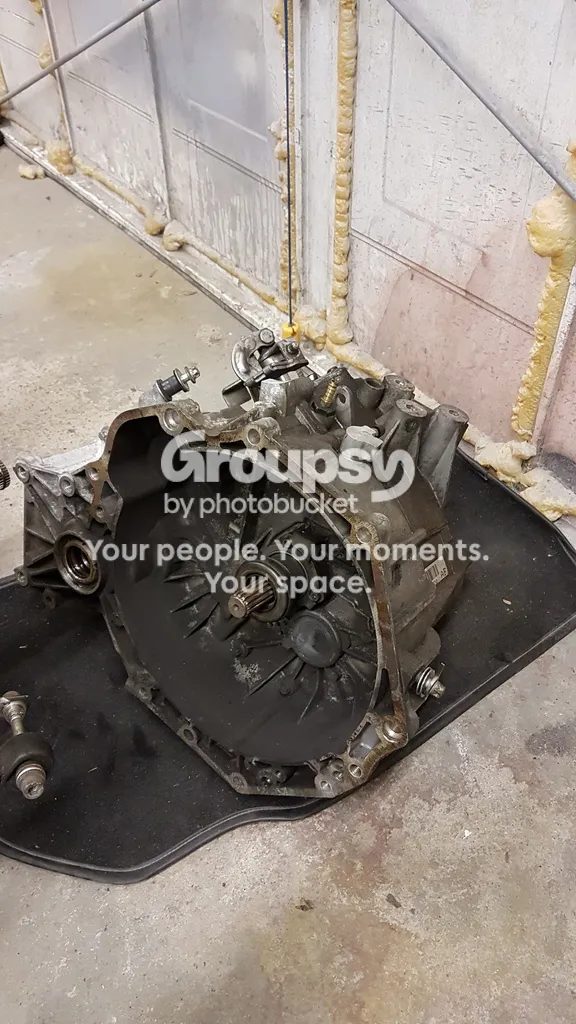
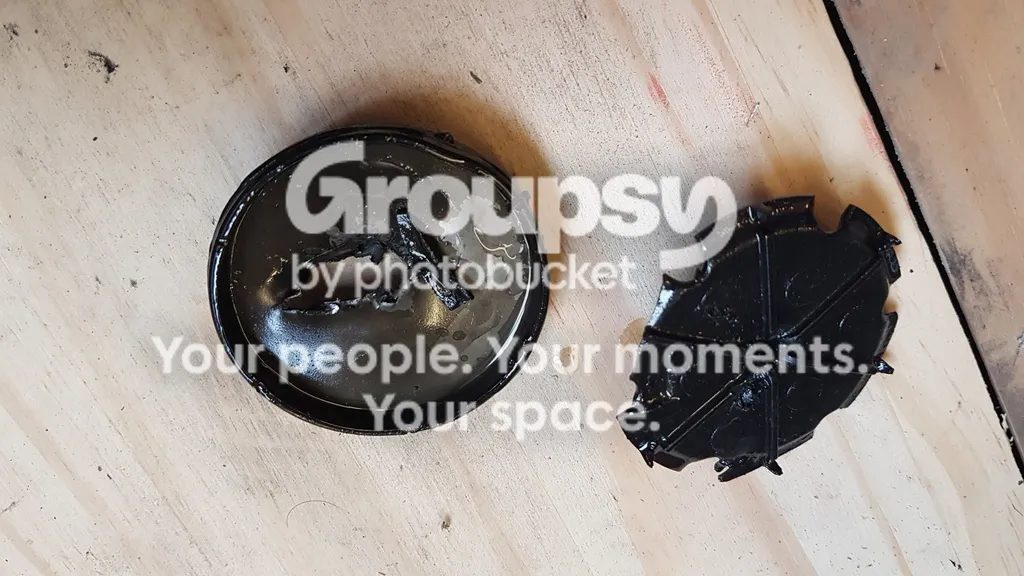
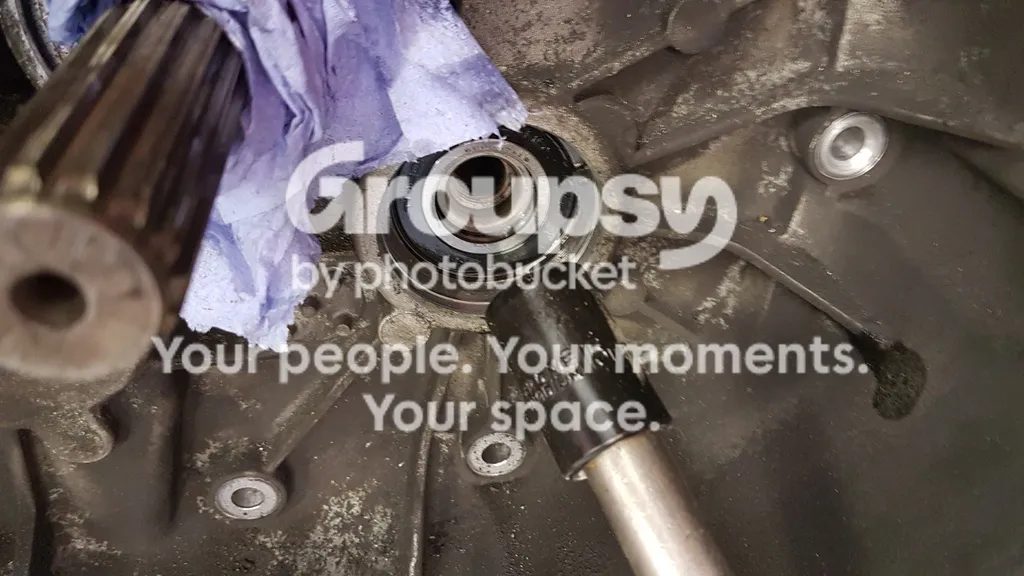
- Remove the plug over the end of the intermediate shaft, in the bell housing. GM recommend a slide hammer with a self-tapping screw attachment. That didn't work for the 2017 author, so he drove a screwdriver through the middle of the plug and levered it out. There is a large sealed bearing behind the plug, held by a big C-clip, so don't go mad and damage it.
- Throw away the plug and the plastic cap behind it. The parts list (above) needs one new metal cap, and a new plastic cap only if you broke the original.
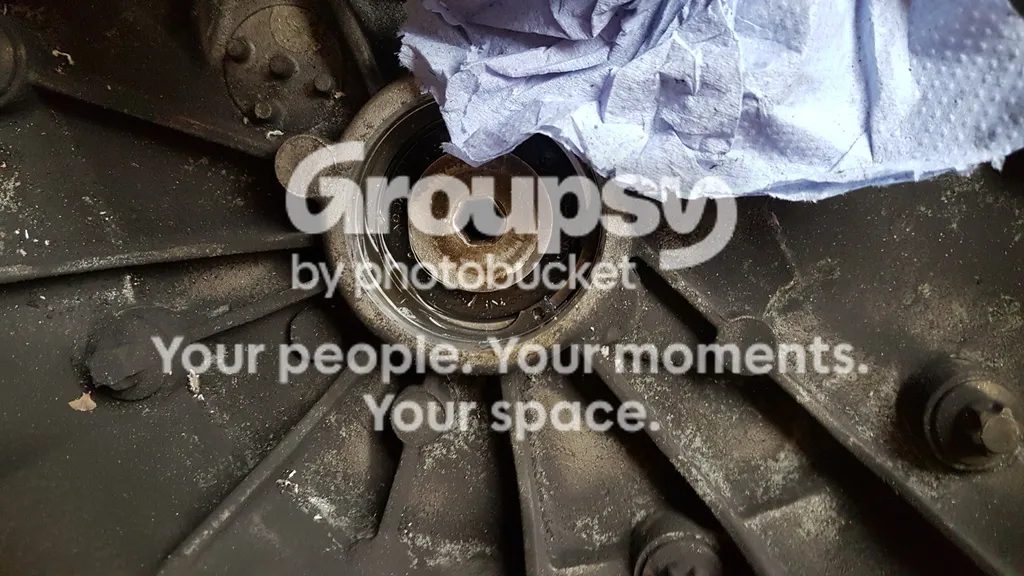
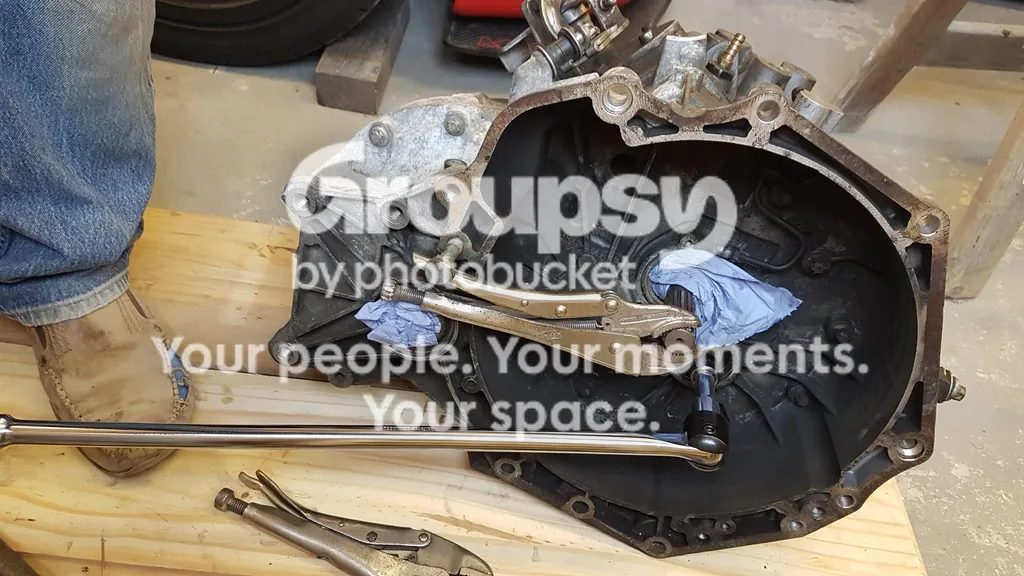
- Undo the 8 mm Allen bolt that is now exposed. You need a strong key. One owner broke a 3/8 inch drive one and bought a 1/2 inch drive one from Halfords. He used a 24 inch breaker bar and didn't need a scaffold pole. Another owner also snapped a key on this bolt.
- Stop the shaft turning while you undo it. GM have a special tool. The 2017 author used round-jaw mole grips on the input shaft, with one of the bell housing bolts put back in to give the grips something to bear against, and the box in first gear. The shaft is hardened, and the mole grips didn't mark it. If you have an old clutch, you could make up a better tool from its spindle. The 2013 author made his lock tool from an old clutch driven plate.
Another way to hold it
One owner says you can instead remove the cover plate on the back of the box, where there is another 8 mm hex hole. It turns the opposite way when you turn the front one, so you can put a breaker on it to stop it rotating. The 2017 author wasn't sure: he thought it was 50/50 which end undoes, and that it needs to be the bell housing end, and that GM's published method is to lock the input shaft. The reply was that it is just the back part of the half shaft, but it was over five years since he did it. The thread doesn't settle it.
2. Split the case
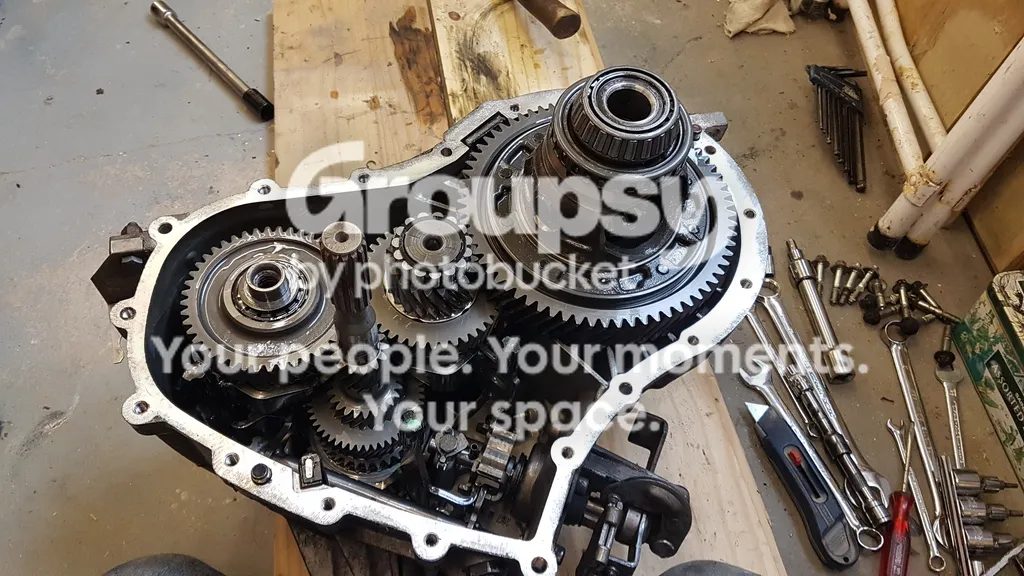
- Undo the bolts that hold the two halves together. From memory, there are 19 in total, with 7 of them inside the bell housing. They are all the same size, so if you find any that are different, put them back where they came from.
- Drift the intermediate shaft out of its bearing as you split the case. It isn't a simple case of parting them. Use a 1/2 inch drive 15 mm impact socket and an extension with a copper or brass-faced hammer, and avoid a steel hammer. Make sure you are drifting the shaft and not the bearing.
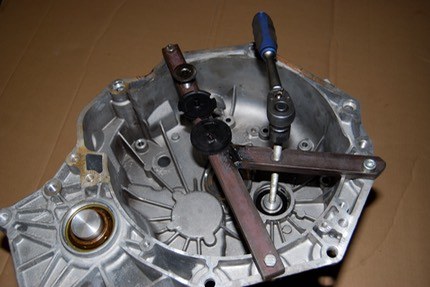
- A light tap with a soft-faced mallet at the diff end may be needed to break the seal and free the locating dowels. The 2013 author made a tool to push the shaft out of the bearing so the case can split (see the photo below).
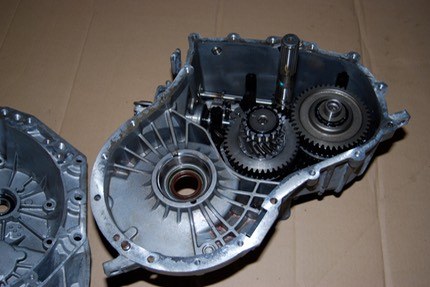
- The diff is not held in. Split the case the way round shown in the photo, or the diff will fall out and hit the floor.
- Keep junk out of the open gearbox. Cover it when you aren't working on it. The 2017 photos show a simple, cheap way of doing this.
- Check the magnet built into the case. A light covering of filings is fine and normal. If there is actual swarf, something is wrong and needs investigating. Lift it out to clean it.

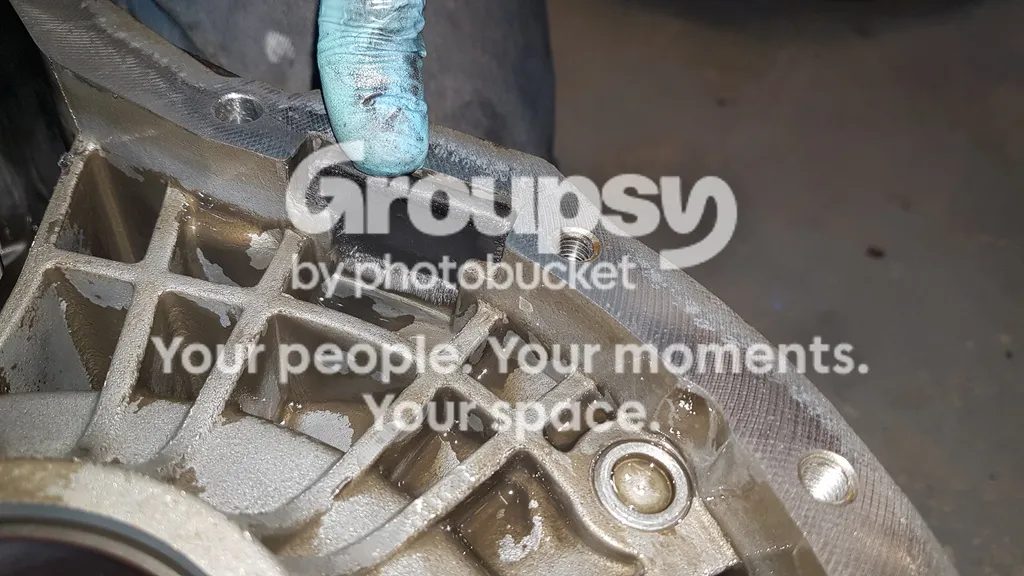
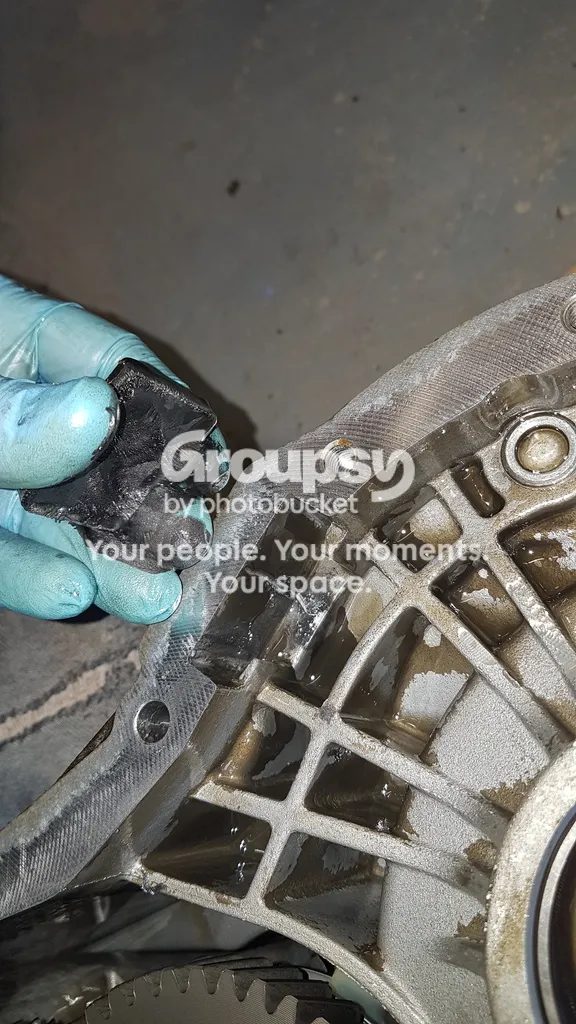
3. Move the crown ring to the new diff
- Lift the old diff out. You need its crown ring for the new diff.
- Hold the old diff in a large vice and undo the 10 crown ring bolts with a breaker bar. Undo them in stages in a star pattern, like a cylinder head.
- The crown ring comes off the old diff with a little persuasion from a wooden or leather-faced mallet.
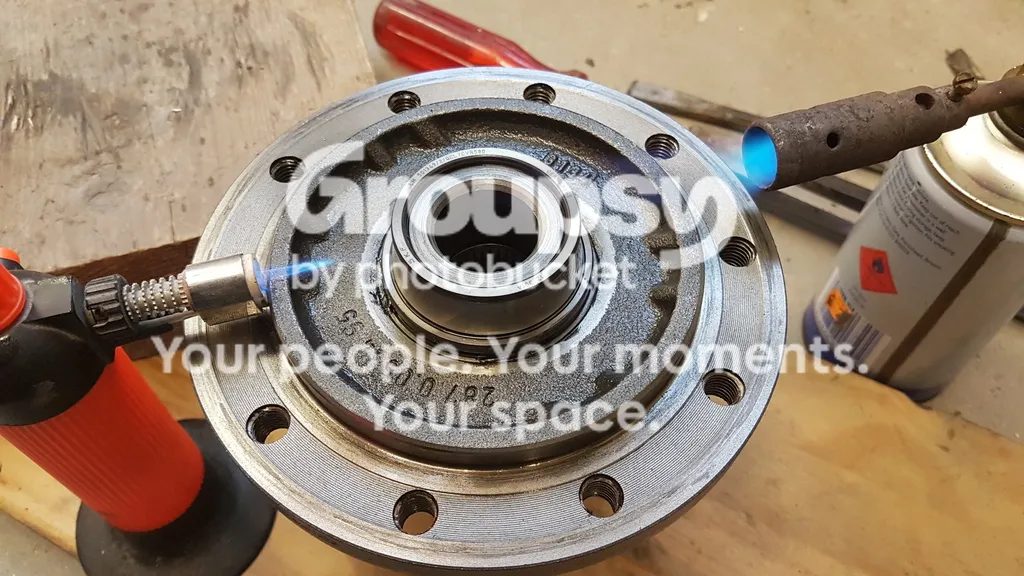
- Clean and degrease the bolts well. They look grubby. A brass brush followed by degreaser was used, then "a fun way" to get rid of the residue, which the photo suggests was burning it off.
- Use half of the bolts to line up the crown ring on the new diff. Apply a firm grade of thread-lock first. "You really don't want these coming undone."
- Do the bolts up with a wrench to about 50 Nm ("medium firm with a standard ratchet set"). Then do them all to 60 Nm, then 75 Nm, and finally 90 Nm with a torque wrench.
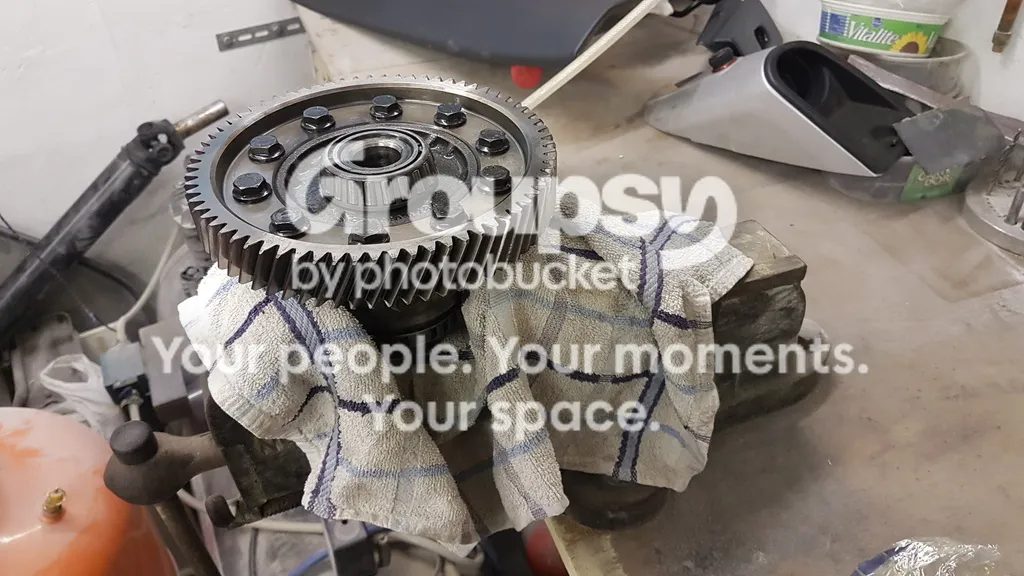
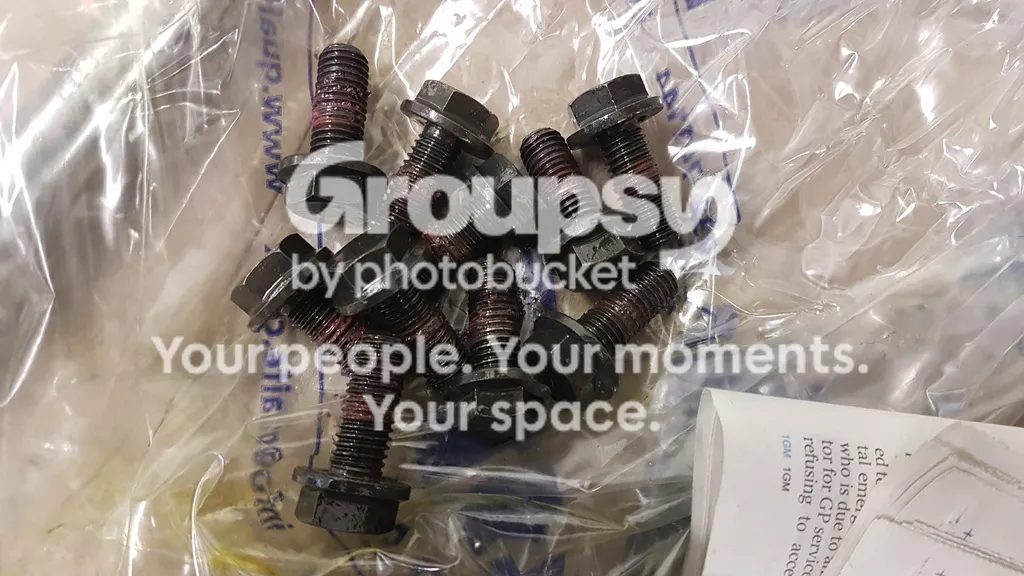

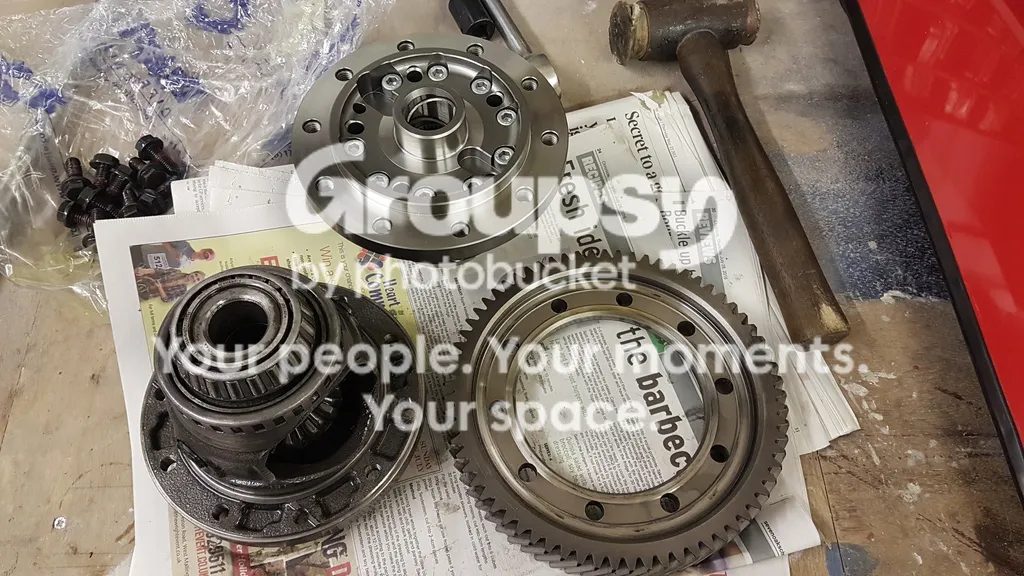
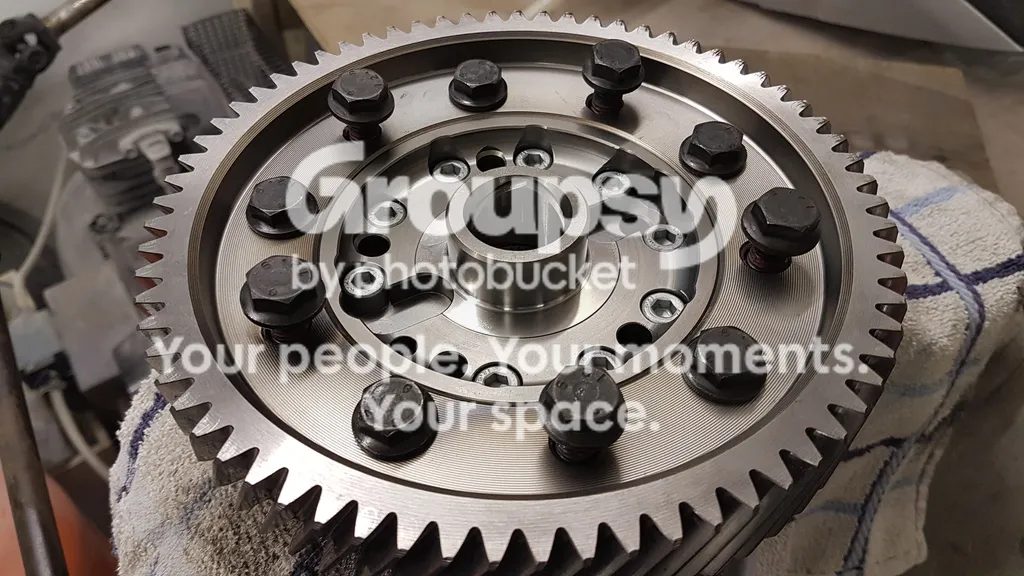
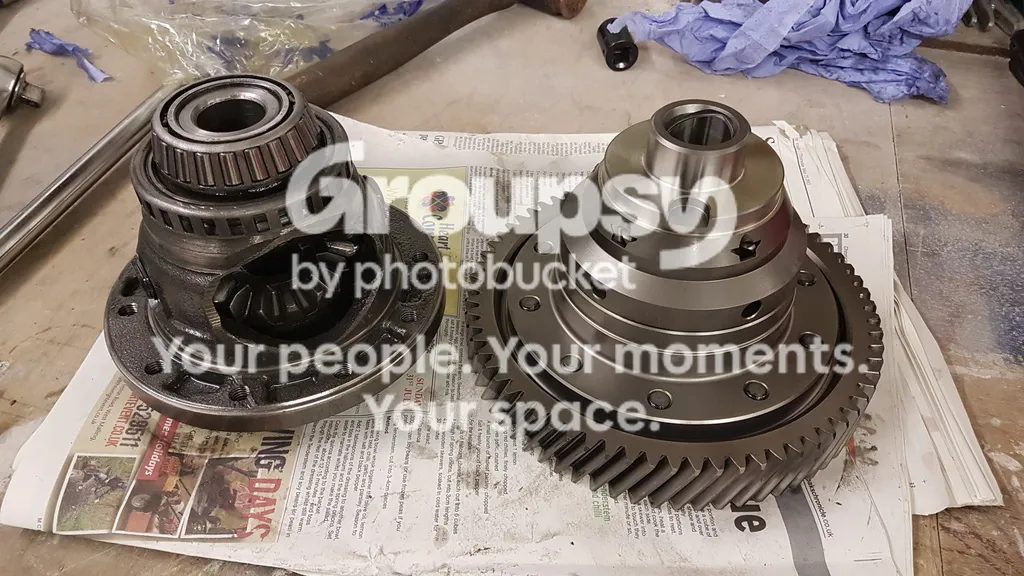
4. Bearings
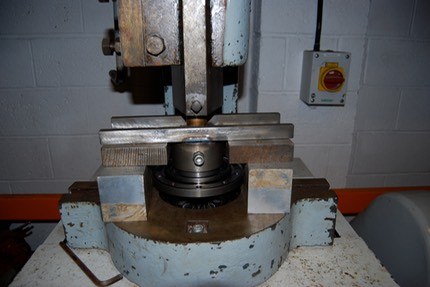
The new diff needs the conical bearings. The 2017 author tried to move the old ones across and couldn't get both off without destroying one, which was a pity as they were in great condition. One side pulled off easily with a puller. On the other he destroyed the cage, took the rollers out, and heated what was left of the race to remove it. He describes it as a very hard job. He was told by the 2013 author that it took a long time to machine a custom tool and use a large hydraulic press to get his off in one piece. The 2013 author made a puller so that the bearings aren't damaged, and shows a press in his photo.
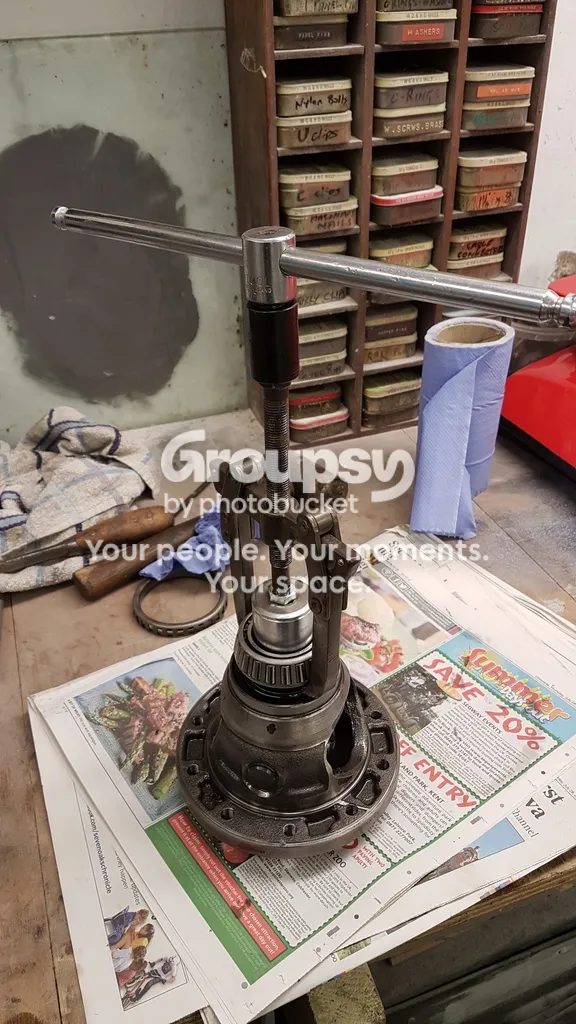
5. Shims
The shims set how the diff fits in the housing. One owner asked how the conical bearings were measured and shimmed, as bearing alignment was crucial on other rear-wheel-drive cars. The reply was that the diff is in-line, so the shims are there to get the diff's fit in the housing right, and not to make the teeth mesh. Lining pinions up is a different, more technical job. If you skip it, the gearbox will work, but you run a good risk of the diff being loose and wearing out the bearings from movement. If the shims are too large, the load on the bearings increases and you wear them out quicker. Another owner agrees that the measuring is crucial and often overlooked, and says too many LSDs have been fitted without it and caused all sorts of issues.
The measuring method (2013)
This method assumes the gearbox is in good condition, that the bearing preload and crown wheel position are right to begin with, and that you are using the same crown wheel. It needs specialised tools and measuring equipment, which two owners say takes it beyond most DIY mechanics. The factory way is also in the TIS "Differential, Replace" page (PDF). The shims are listed in the parts catalogue.
- Clean the gearbox. Alloy bungs machined to fit into the driveshaft seals stop water and dirt getting in.
- Split the case and take the diff out. Take the bearings off without damaging them, and keep each shim with its own end and bearing.
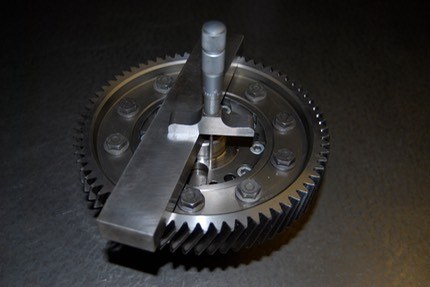
- Measure the old diff. With a ground parallel and a depth micrometer, measure from the crown wheel face to the bearing seating face. Measure with and without the shim, to double check, and write the dimensions down.
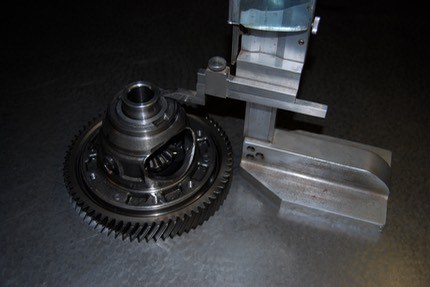
- Turn the diff over on a surface plate and measure with a vernier height gauge, from the crown wheel face to the opposite bearing seating face (including the shim). Record that too.
- Take the crown wheel off the old diff and fit it to the LSD.
- Measure the LSD the same way. The dimensions to the faces where the bearings sit, including the shims, need to be identical to the original ones. It is unlikely that the original shims will be right, because of manufacturing tolerances between the parts. In the author's case the overall dimension differed between the two diffs by "0.008 thousands of an inch" (his wording), which would have a significant effect on bearing preload and the position of the crown wheel.
- Work out the new shim thickness by simple arithmetic from the original and new dimensions. The original shims aren't marked, so measure their thickness. Both shims need to be determined. New shims in various sizes are available from the dealers.
- Fit the bearings with the new shims. Support the crown wheel off the press bed and press only on the inner race of each bearing, not the cages.
- Fit the LSD assembly to the gearbox and seal the gearbox (see the next section for checks to make first).
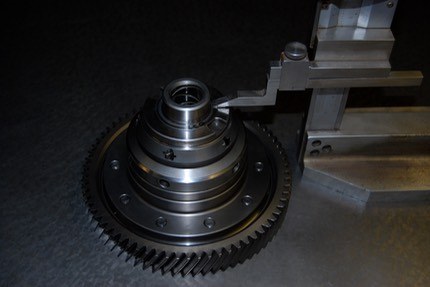
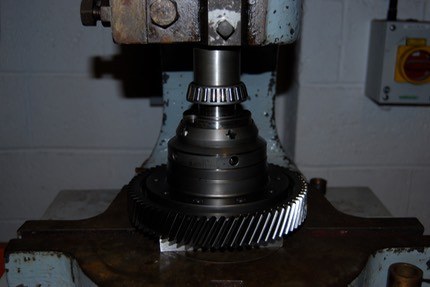
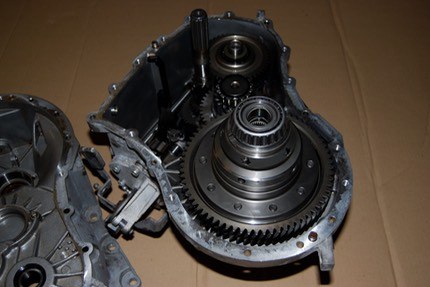
6. Check the clearance before you close the case (2014)
One owner fitted a Quaife diff, sealed and assembled the gearbox, and found the main shaft was close to impossible to turn with a gear engaged, and he couldn't turn the diff in neutral either. The diff was grinding against the machined tapered surface in the clutch-side housing, and a small amount of material had to be taken off to give clearance. He suggests these checks before final assembly:
- Drop the diff into the clutch housing half, spin it and listen for grinding. You can also clean the housing and put a thin layer of dark grease on the diff where it might touch the housing. If it has touched, the grease leaves a trace.
- Test-assemble the gearbox without sealant. Only the bolts on the clutch housing side are needed, and the bolt in the shaft must be tightened, or the main shaft may be hard to turn for some reason.
- Check the shaft turns by hand, with no tool, in all gears. In neutral it should be very easy to turn.
- Slide a driveshaft into the diff. With the box in neutral it should be quite easy to turn by hand.
- If everything seems fine, take it apart, add sealant and assemble the gearbox. Tighten all the case bolts to 28 Nm and the bolt in the shaft to 100 Nm.
Those torques are that owner's own, and the thread doesn't say where they came from. The sealant isn't named. The 2013 thread just says to seal the gearbox.
Other guides and sources
These were linked in the thread. We haven't seen the MIG forum one, so read it yourself before relying on it.
- Fitting a limited-slip differential, on the VX220 forum (2013). Its author was described as "a very thorough engineer" with more equipment than most. It is written up in sections 5 and 6 above.
- How to fit a Quaife ATB in an F23, on the MIG forum.
- The 2017 work was also based on the TIS and what is described as an official GM video "floating round the net". No link is given.