
Play in the steering is a safety matter. Owners say the car starts to wander on the road, and gets worse as the play increases. Two more cautions from the threads: the airbag and horn are wired through a clock spring that only allows a limited number of turns, so do not spin the steering wheel while the shaft to the rack is disconnected, and disconnect the battery before touching the airbag. See Steering column shroud and steering wheel removal for the airbag steps.
Finding where the play is
Owners' advice from the 2017 thread, in the order to check:
- Look under the dash. Watch the bottom of the column where it goes through the bulkhead while someone wiggles the steering wheel. If it moves exactly as the wheel does, the play is further down. If it doesn't, look to see which joint the play is in.
- Feel it, if you can't see it. One owner slides a finger down the bottom joint while rocking the wheel, because he can feel the movement better than he can see it upside down in the footwell.
- If the column moves with the wheel, jack the car up and check the track rod ends (Track rod ends and rear tie rods). If they are fine, the play is in the inner joint cups or the pinion where the column meets the rack (Steering rack types, refurbishing and replacements).
- Tighten the joint bolts first. In 2017 an owner with an MOT advisory for "slight play in steering" got under the dash and tightened the bolts on both joints. It was slightly better, and the car passed the MOT with no advisories. One reply said the joints often just need tightening rather than replacing. He had ordered a new lower joint anyway. A 2012 owner had the opposite case: both nuts were tight but the joint itself had several degrees of play, so it needed replacing.
- Don't assume it's the joints. One owner who bought a joint set to cure play then found it was in his six-month-old Titan rack. Another fitted two new joints, a new shaft and a new quick rack and still said there was more give than he expected. A different owner thought what the MOT tester called play was the known knock from the steering rack bush, which makes a noise but doesn't cause problems.
- One owner called the joints "a bit of a weak point on the car". Another, who had already done them once, said they have to be done up very tight.
Which joint kit
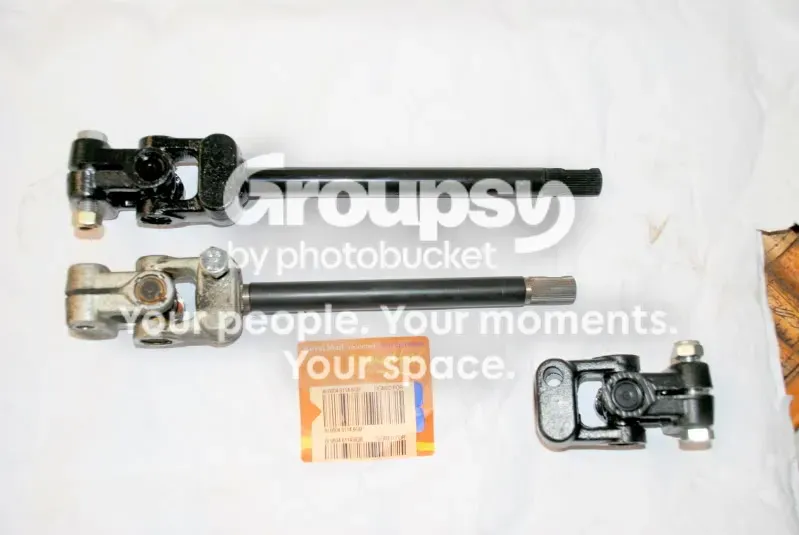
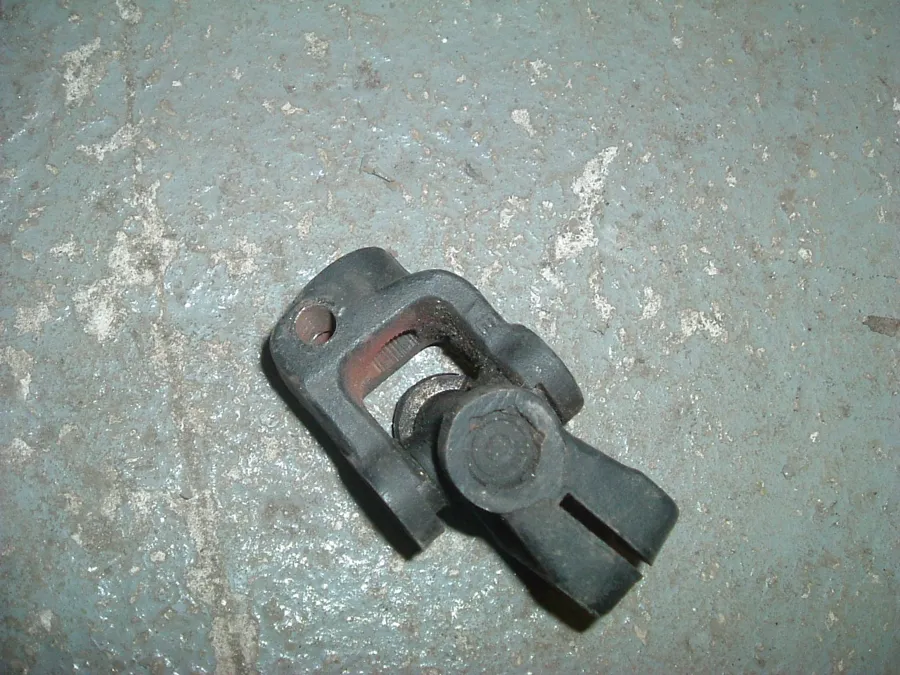
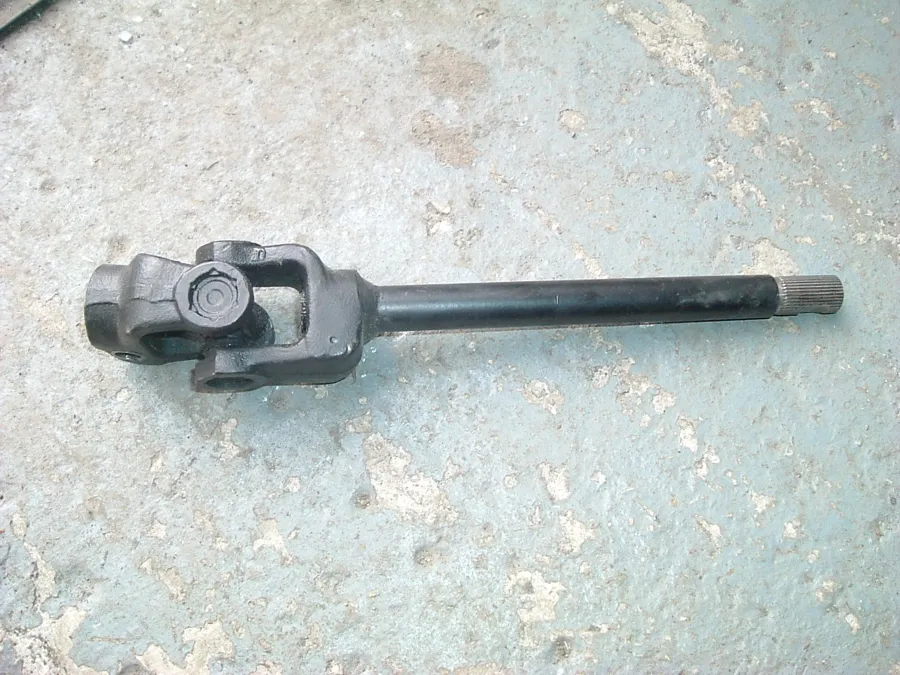
- Two layouts. According to a 2013 reply, the original setup was two separate joints with a splined shaft in the middle (three pieces). Later cars have the intermediate shaft welded to the bottom joint, so only the upper joint is separate (two pieces). Another owner said that on earlier cars the joints weren't welded. Check which you have before you order.
- Elise Parts sold a single joint, a joint with a shaft, and two joints with a shaft. Several owners (2010 to 2012) fitted the kit and reported no problem. One owner's kit came with the upper joint welded to the shaft, so it can never loosen, and he was happy with that.
- Length and fit. One owner found the supplied top joint with welded rod about 10 mm longer than the original, and its opening larger than the splines on the other end. Arno replied that there is enough slide in the system to align everything. A 2017 poster warned that, in his column, the joining rod isn't welded to the bottom joint, and he thought the kit might only suit a column where it is. He wasn't sure.
- Supply. In July 2013 an owner asking for a replacement said Elise Parts seemed no longer to sell it and AutoVaux didn't stock it. Arno gave the Lotus part number D111H0003F. Another owner bought a lower joint from Elise Parts in September 2013, and a 2017 reply linked to their joint kits.
- VX220 or Speedster. One owner believed both cars use the standard Vauxhall column, so the parts are interchangeable. A Speedster owner bought the lower joint from Elise Parts, but didn't report how it fitted.
- Upper column end. Arno and another owner described the end of the upper column as having a flat or slot, so the joint only goes on one way. One owner remembered it as splined. The intermediate shaft and rack ends are splined.
Replacing the joints
The bottom joint is easy. The top one is the problem: its clamp bolt lines up with the bulkhead, so once the bolt is out you can't get it back in from the footwell. Owners called it the worst job they had done on the car. These are the ways they did it.
The bottom joint
- Slacken the rack mounting bolts three or four turns and push the rack forward. That gives enough play to slide the joint out.
- With the rack out of the car (Steering rack replacement) the shaft and joints come off easily, as owners found when they did both jobs together.
The top joint
- Mark the splines first. Use Tippex or a paint pen on the splines of the old joint and put the mark on the new one. Owners say lining it up is a pain otherwise. If you remove the wheel as well, the steering wheel and joints need to be straight ahead when you finish. One owner needed to have the straight-ahead position set at the garage afterwards, and another said you might need a re-alignment if "straight" ends up one spline out.
- Choose a route:
- Dash top off, column loosened (several owners). Remove the dash top (Dash top removal). A 2010 owner said there are two bolts either side of the instrument cluster that hold the cluster down and also secure the column. With those out you can pull the steering wheel towards you, and there is just enough slack in the loom to reach the upper joint, with the joint unbolted from the intermediate shaft and rack. He didn't take off the wheel or shrouds. A 2011 owner said to take off the dash top, undo the three bolts he describes as holding the steering wheel, speedo and top section of the rack, and undo a plastic screw holding the cowl to the underside of the dash. Another (2012) said to remove the binnacle and see a 13 mm bolt and two 10 mm bolts through a gold bracket on the column. Take out the 13 mm bolt completely and you can pull the wheel and column back far enough to reach the top joint. Refit it a few turns, loose, to gain a few millimetres to connect the shaft. See also Steering rack replacement.
- Column out (Arno, 2011). Remove the dash and instrument stack, undo the bolts and lift the column out. He said he has never managed to undo the upper joint with the column in the car. With it out, remove the joint, fit the new one and tighten its bolt onto the upper column. Insert the intermediate shaft bolts without tightening so it can't fall out, feed it back through the hole onto the rack, shuffle everything into line and tighten the remaining three bolts. Another owner (2014) did it the same way: stack and shroud off, undo the bottom joint bolt, then the three column bolts, and pull the column upwards. Fit the new joint to the top section first, then lower it over the rack shaft, set the wheel straight and bolt everything up.
- Dash top off, bolt held with a magnet (2014). Take the dash top off. A magnet pen holds the bolt down the hole at the dash side. From underneath, long nose pliers pull the bolt through the joint until it comes off the magnet. There is then room to get the nut on, and tightening is easy because the new joints use Allen key bolts. He did not need to remove anything else.
- Wheel and shrouds off (2010). One owner took the wheel and shrouds off and still couldn't reach the joint from that side. Another owner said he did it that way when he replaced both joints and the shaft. Later posts describe easier routes.
- Refitting tip (Rally, 2014). The upper shaft has a slot, not a groove, so you must remove the bolt completely to get the joint off, and line it up with the slot to get it back on. Put the top joint on and insert the bolt to keep it in place, but don't tighten the nut, so the joint slides along the slot. Slacken the rack mounting bolts, slide the top joint up to make room, and fit the bottom joint. Check the rack is centred to the steering wheel and tighten the rack bolts. Fit and tighten the bottom clamp bolt and nut, then tighten the upper joint nut.
Cautions
- Don't spin the steering wheel with the shaft to the rack disconnected. Owners warned it can damage the clock spring or the horn wiring.
- Airbag and indicator. If you take the airbag off, disconnect the battery first and put everything back before reconnecting. One owner said that after he did this job, his auto-cancelling indicator never worked properly again, and another said his column had to come out again for that. One owner made sure the green plastic striker that passes over the indicator switch was at 9 o'clock when he refitted the wheel. See Steering column shroud and steering wheel removal.
- Steering lock. One owner put the steering lock on while he worked so that everything would line up. It still came back slightly out and needed the straight-ahead set at a garage.
- Check afterwards: the steering is straight with the wheel straight, and the play has gone. One owner's play went after fitting new joints.
Help wanted
No thread gives a tightening torque for the joint clamp bolts, or says whether the 13 mm and 10 mm bolt sizes apply to all cars. We don't know the current Elise Parts or Lotus part numbers for a VX220 or Speedster. One owner posted a link to the TIS page and photos, but we don't have them. If you have the TIS page for this job, or have done it, please tell us your route, the torque you used and send photos.