
You are working next to a live airbag. Disconnect the battery (the negative lead, according to one owner) before you start, and handle the airbag with the face pointing away from you. Don't switch the ignition on while the airbag is unplugged, or the airbag light will come on and stay on.
Do you need to take the wheel off?
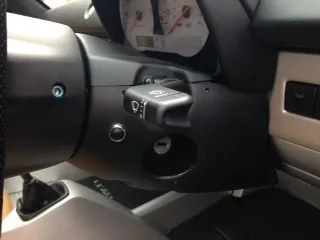
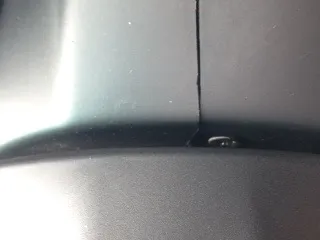
Yes, for the shrouds. In 2016 an owner fitting a new lower cowl found two screws behind the steering wheel that he couldn't reach. The reply was that it is a wheel-off job, and the screws are the two that people never put back. It is easier than it sounds: the wheel only needs Allen keys.
Removing the airbag and wheel
The 2009 summary from one owner was: disconnect the battery, remove the airbag, remove the steering wheel, then remove the upper and lower shroud. The 2016 steps, from another owner:
- Disconnect the battery. Owners said that without this you risk the airbag fault code appearing, which means plugging the car in to clear it. One owner in the 2010 thread left the battery disconnected for about three quarters of an hour before he started. Nobody gave a required time.
- Remove the two blue-tinged Allen bolts, one either side, and the airbag pulls out.
- Release the yellow tab, then disconnect the whole airbag connector. Put the airbag somewhere safe.
- Disconnect the horn.
- Remove the four Allen bolts holding the steering wheel on.
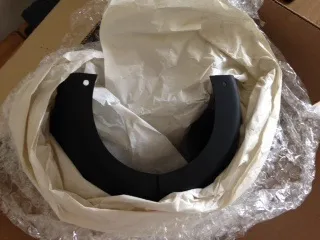
- Remove the upper and lower shroud.
- Refit in the reverse order. Refit the two hidden screws: with them in, taking the wheel off again is quick.
Refitting tips
- Wheel position. One owner made sure the green plastic striker that passes over the indicator switch was at 9 o'clock before bolting the wheel on, so that the self-cancelling indicators work. Another said his auto-cancel has never worked properly since he had the column apart, so make sure everything goes back where it was.
- Straight ahead. Check the wheel is straight when the road wheels are, particularly if the column joints have been moved. See Steering column universal joints.
- Clock spring. Owners warned not to spin the wheel when the column is disconnected from the rack. The airbag and horn wiring only allows a limited number of turns each way.
- The trip reset is awkward to get out when you swap it to a new cowl, according to one owner.
- Fault lights. One owner said OP-COM can clear airbag-related fault lights, but his own indicator problem remained after a column job.
A worn finish round the ignition switch
In 2009 several owners reported that the shroud was looking tatty round the key. The original has a satin black, non-slip coating, and it wears off. What owners said they did, or considered:
- Replace it. One owner bought a shroud in good condition on eBay, at a good price, and hadn't fitted it yet.
- Flocking. One owner was thinking of sending the shroud to be flocked and had been quoted about £30. Another asked who does it, and no one in the thread answered.
- Paint. One owner asked whether a Plastidip spray gives a similar finish to the original. Nobody answered. Another had been surprised by how good Halfords bumper spray paint looked on the front of his car, giving a matt finish that should be fairly hard-wearing. He suggested roughening the shroud, spraying a coat or two, and adding helicopter tape to protect it. He hadn't done it himself.
- Take the shroud off to do any of these, as above.
Help wanted
None of the threads gives a tightening torque for the steering wheel bolts or the airbag bolts, a part number for the cowl or shroud, or says whether anyone has refinished a shroud and how it lasted. We also don't know how long to leave the battery disconnected. If you have done this, please tell us and send photos.