
This guide combines a 2005 thread (started by an owner whose dealer had refitted the dash crooked, lifting at the passenger side), a 2017 photo tutorial, and a step-by-step from an old subwoofer-fitting page, whose first five steps take the dash top off to run wiring. The photos are all from the tutorial and show a right-hand-drive car with a yellow-and-blue interior. Yours may differ in the details.
Removing the dash plates and stereo
Do the job sitting in the car with plenty of light, the doors unlocked and the tools to hand. Start with the dash plates.
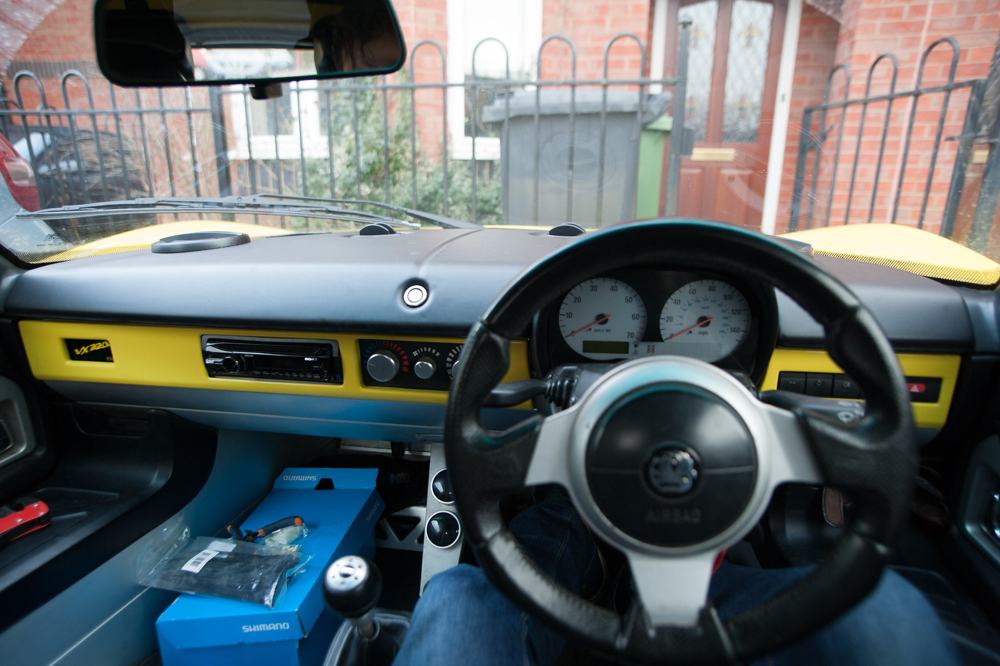
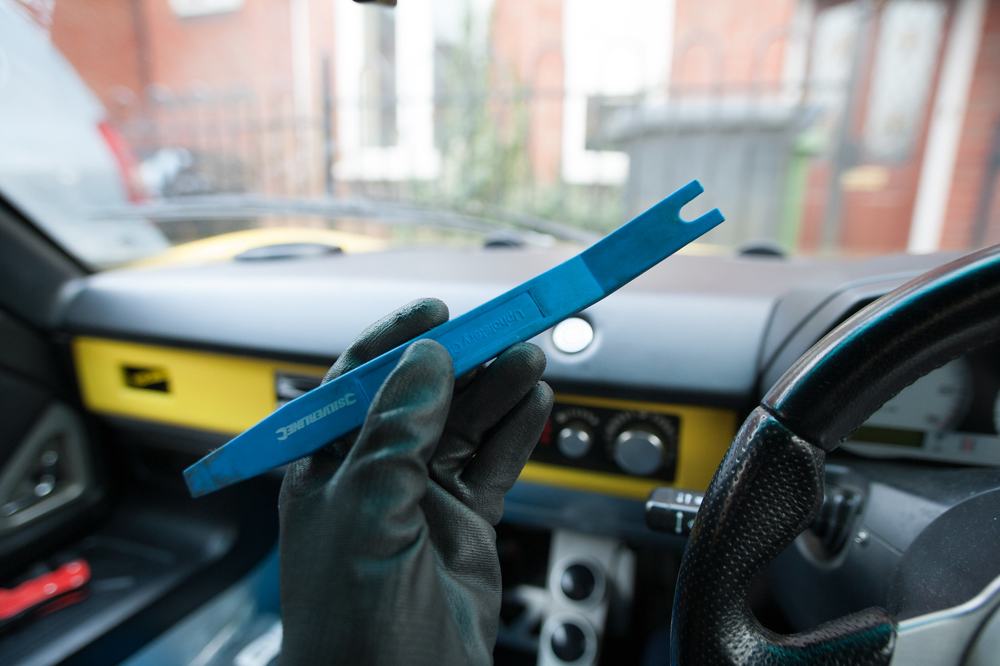
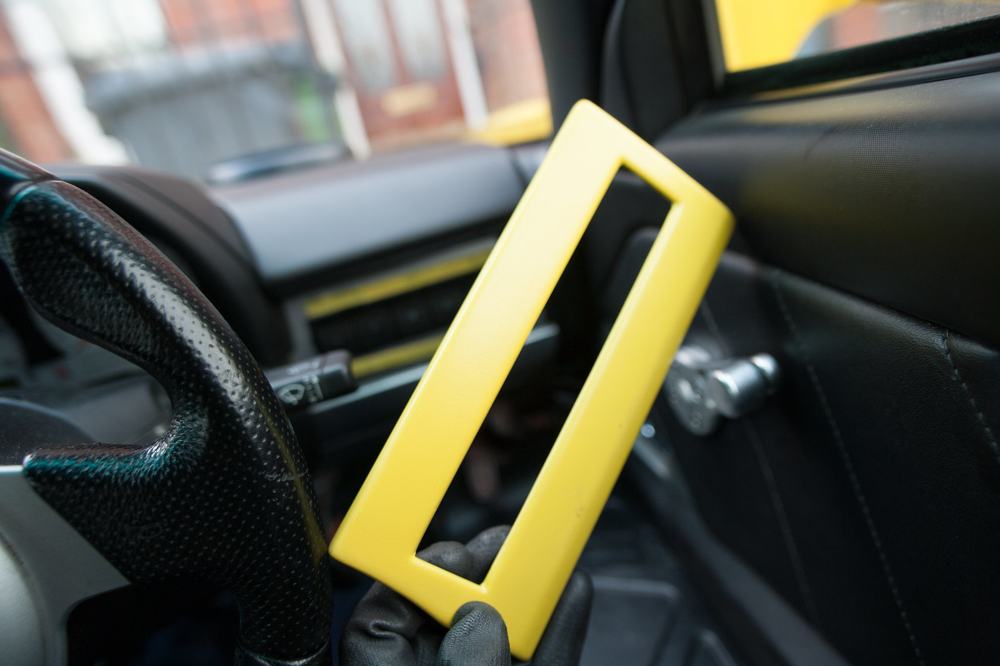
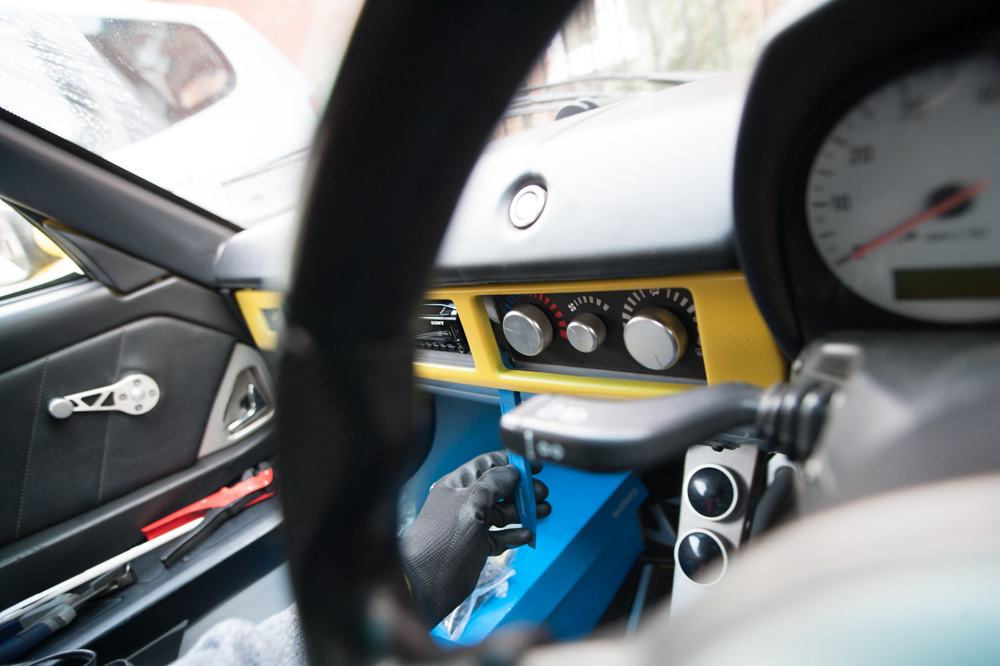
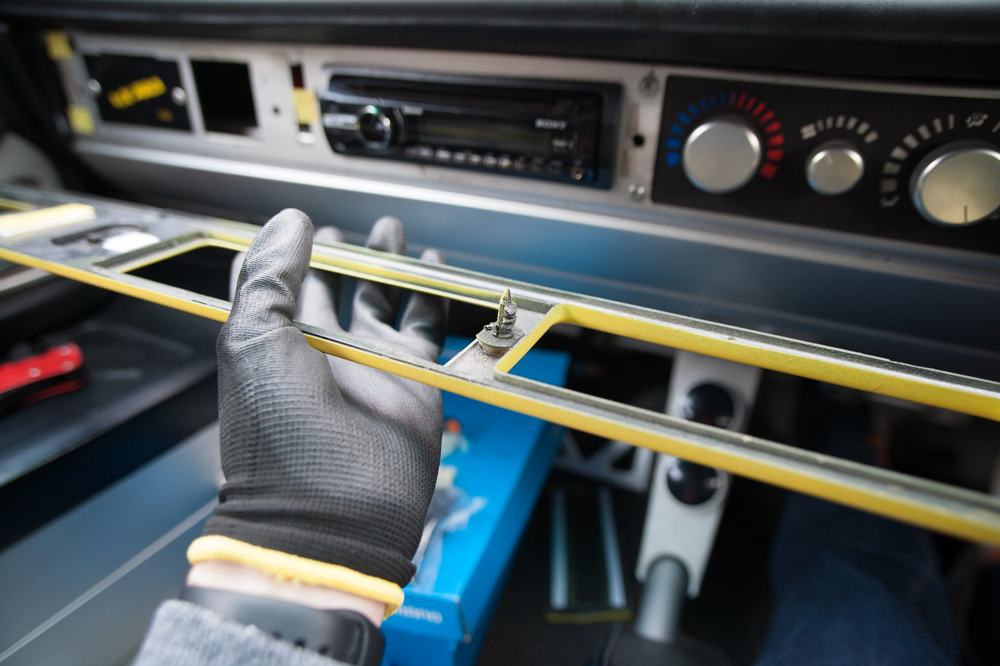
The main dash plate can be a pickle. It is normally held by a couple of plastic clip rivets, and by a plastic bracket nearest the steering wheel. Start by peeling the edge nearest the passenger door, because a previous owner may have swapped the rivet there for Velcro, which is recommended. One car still had a rivet near the heater controls, which was popped out with the notched end of the trim tool. Feel under the plate with the tool for any extra fixings. Once the rivets are out, pull the plate gently towards the passenger door to free the plastic finger near the steering column.
The next steps are from the older thread and subwoofer page, and describe the same job on earlier cars. Use whichever matches what you find.
- Switch surround. Remove the plastic surround around the switches. It is only stuck on with double-sided tape.
- Passenger side surround. This has double-sided tape around its edges and two plastic grommets that hold it in place. Separate the plastic fascia from as much tape as you can, then pull downwards to slide it off the grommets.
- The right-hand side of the fascia is secured with tape, and a tab that slots in sideways into the hole on the far right. Once it is free of the grommets, pull it towards the passenger door and remove it.
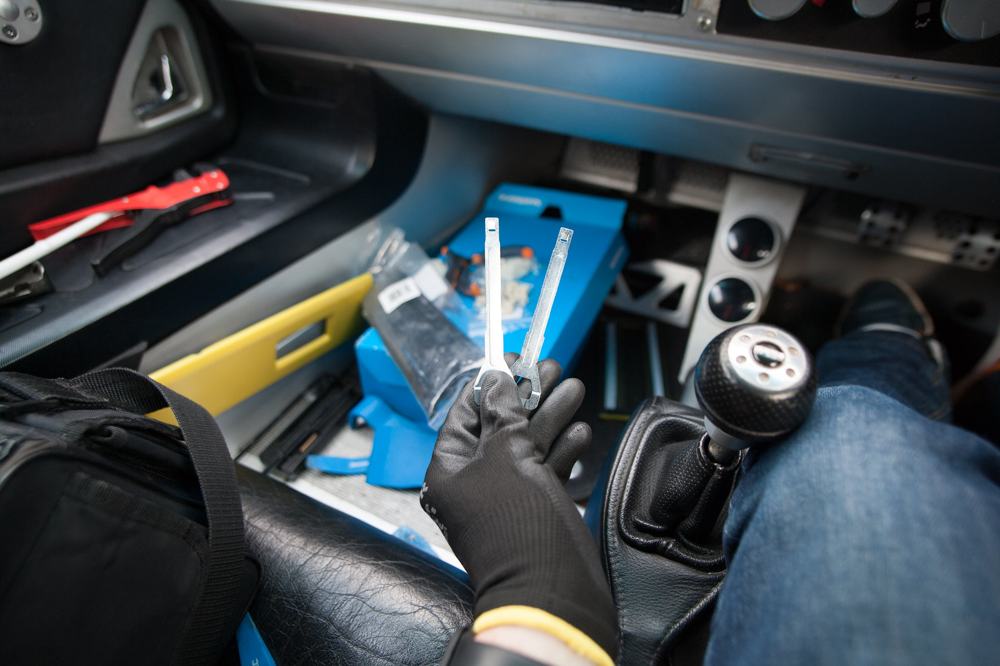
- Remove the radio, and, if it has one, the cage it is mounted in. No removal tool is supplied with the radio, which makes removal fiddly. Needle-nose pliers have been used, and so have four bits of welding wire as release keys.
Head unit and cage
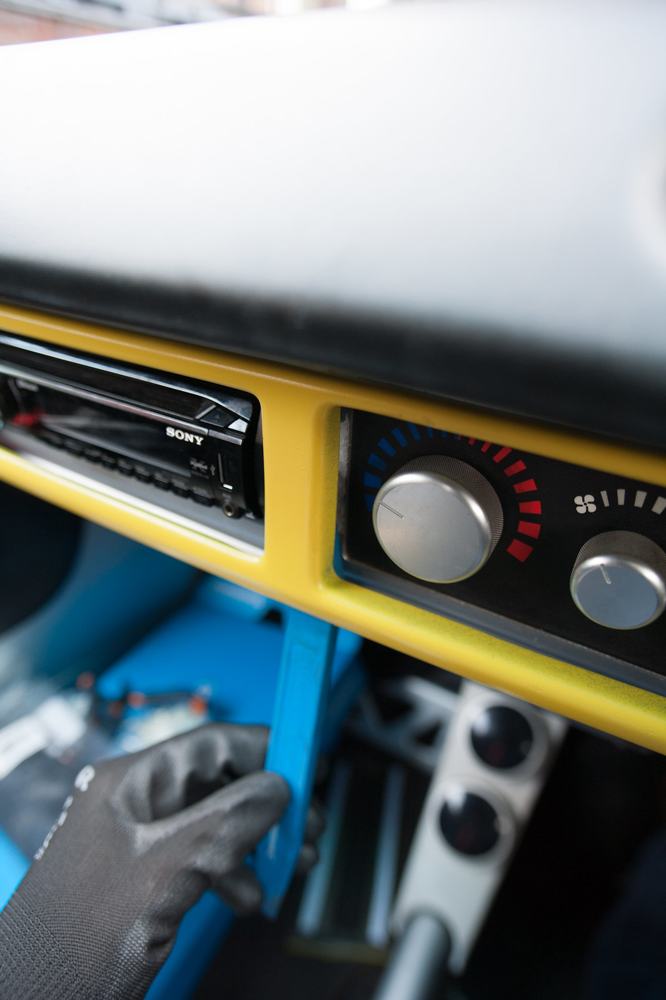
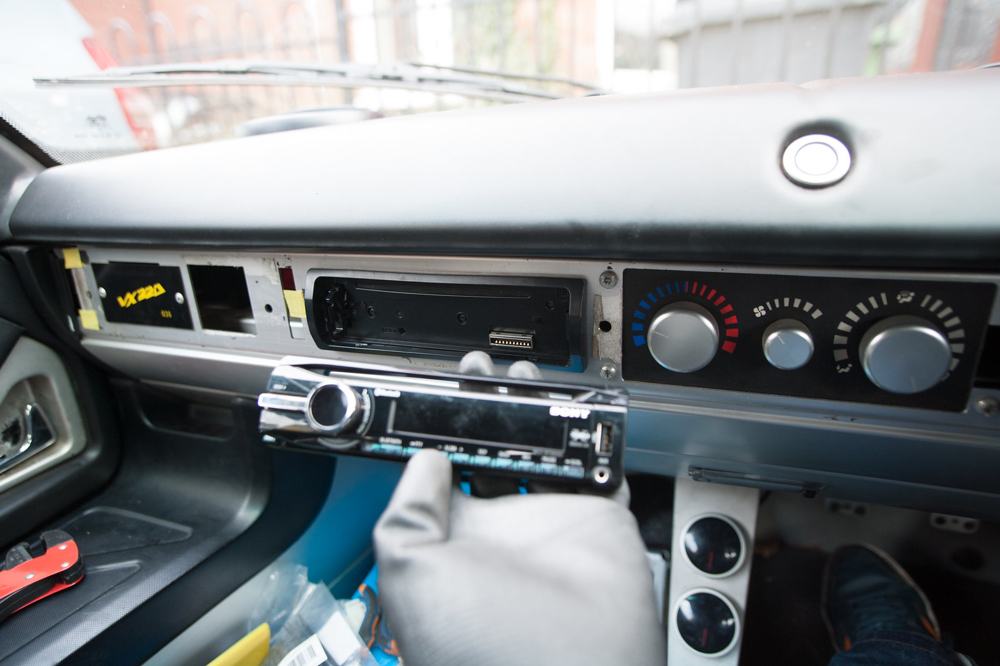
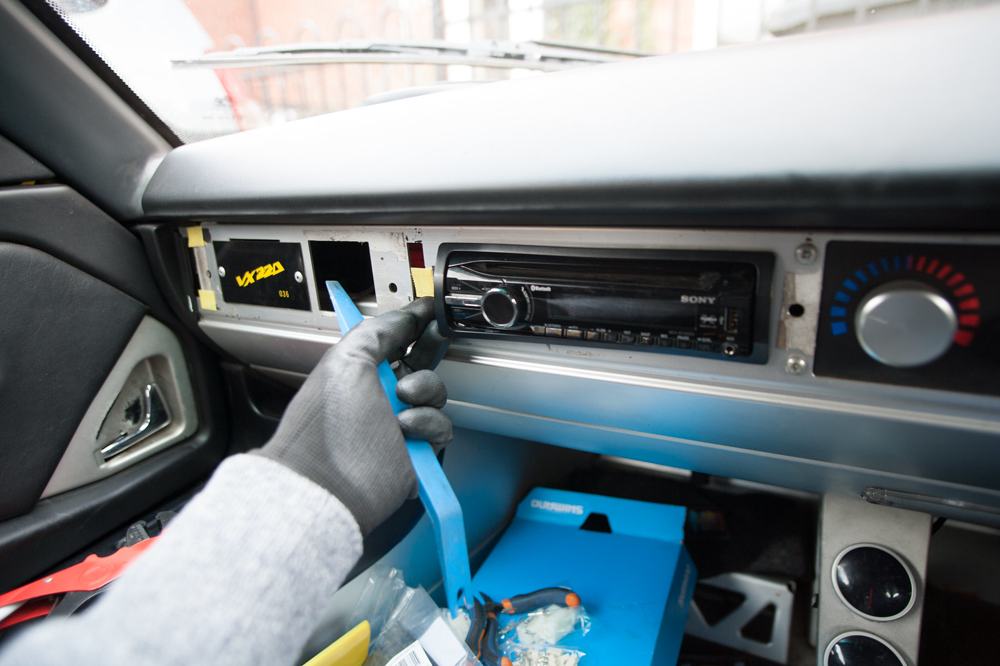
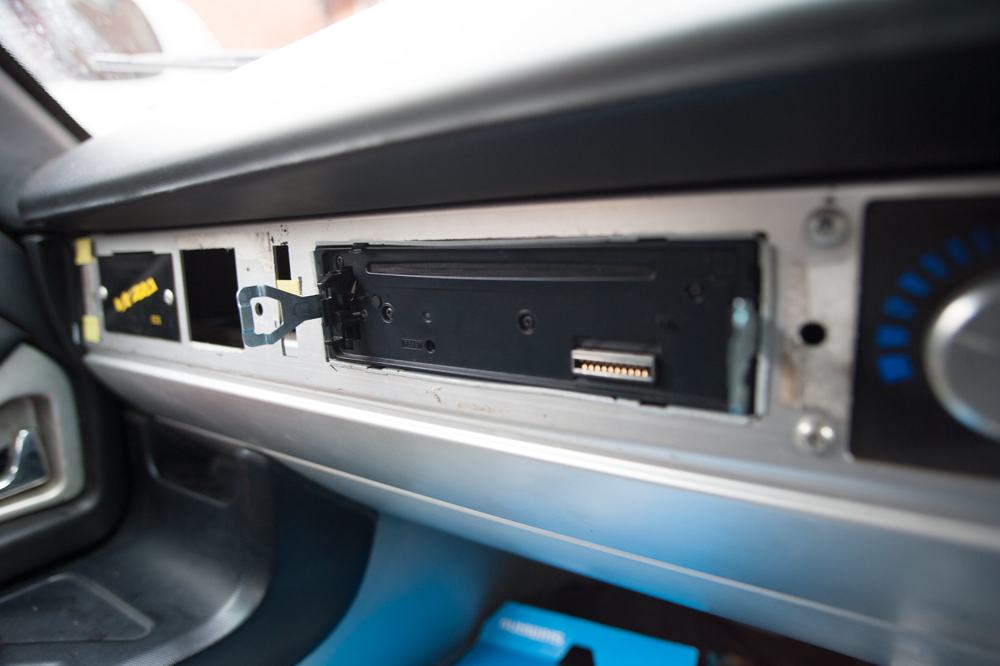
- Some head units need the fascia off before you can insert the release keys. Pop the fascia off the radio cage with the trim tool. If the head unit has a detachable face, take that off first, which is often needed before the bezel will come off.
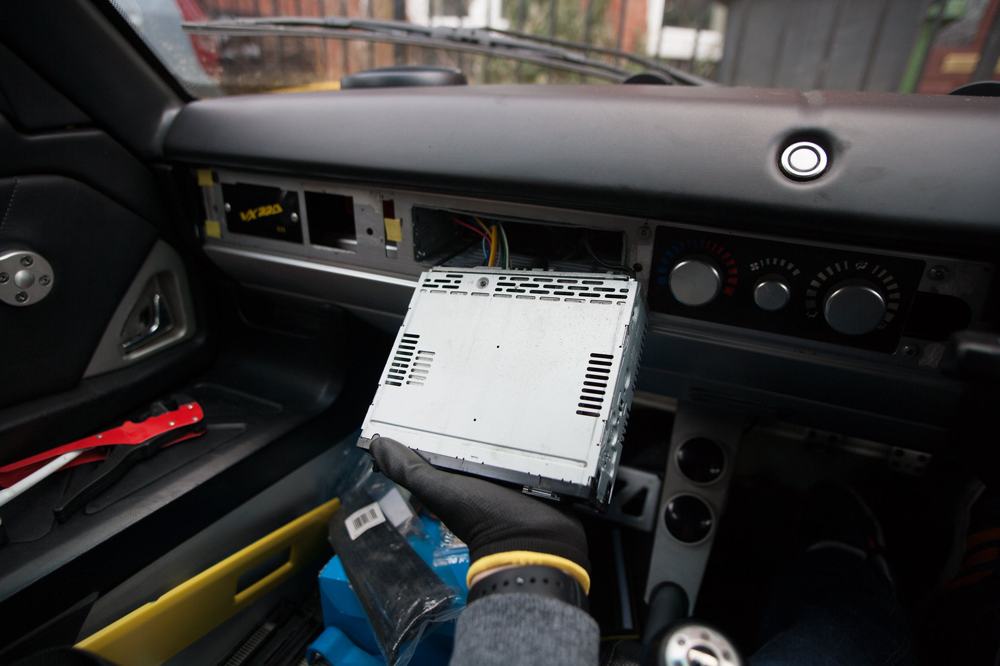
- Use the release keys for your brand of head unit, which are cheap on eBay or Amazon. They usually slide between the cage and the unit on both sides, with the barb (if there is one) turned towards the head unit. Slide the unit out and unclip the cables from the back.
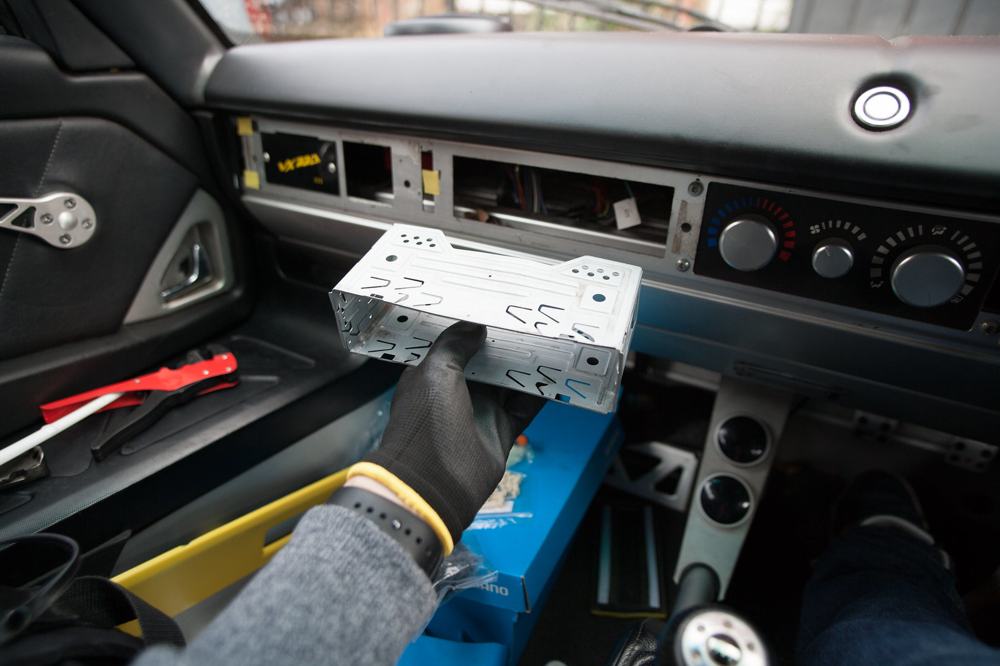
- Extract the cage. This is the first real test of patience, because some cages have so many barbs they are hard to get out, and you will need it out to reach one of the dash screws. Use small tools to bend the barbs inwards. An old knife blade or a knotted steel wire lasso worked. If you are fitting a new head unit with its own cage, you needn't be careful with the old one.
Finding the screws
The dash top is held down by Phillips screws. Most owners found four, and three are easy. The fourth is hidden over the light switch cluster, and several people spent ten minutes trying to lift the dash before finding it. Only the screw behind the switch cluster had a washer on it.
One car had only three: two on the passenger side, one reached through the head unit hole and one through the small square hole next to the VX220 plate, plus a harder one on the light switch side. A lamp helps to locate them. A diagram of the screws was posted in 2012, but the picture is no longer available. Its numbering included a sixth screw.
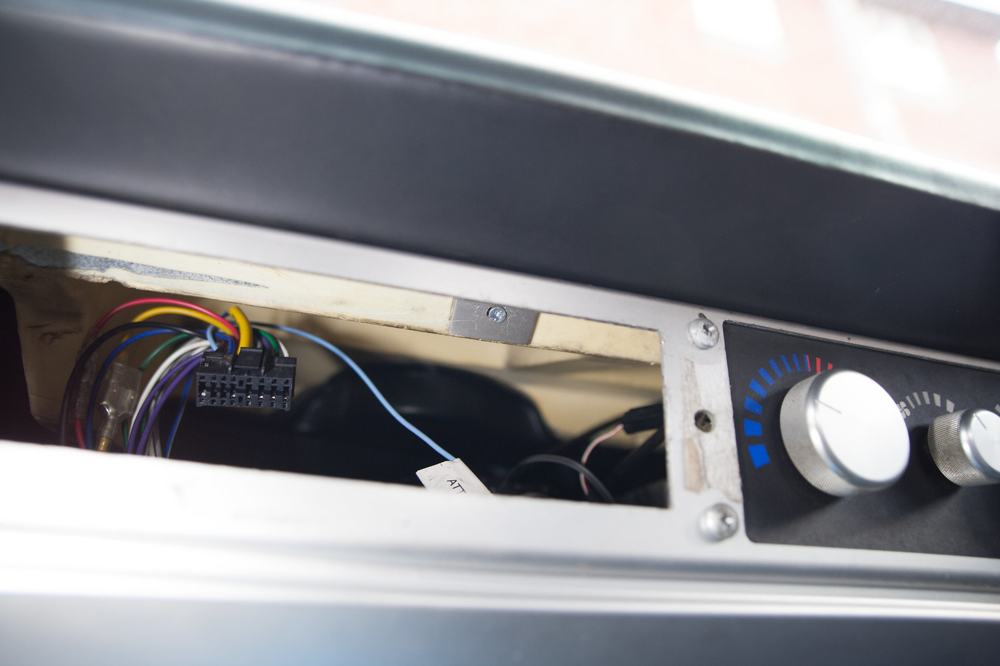
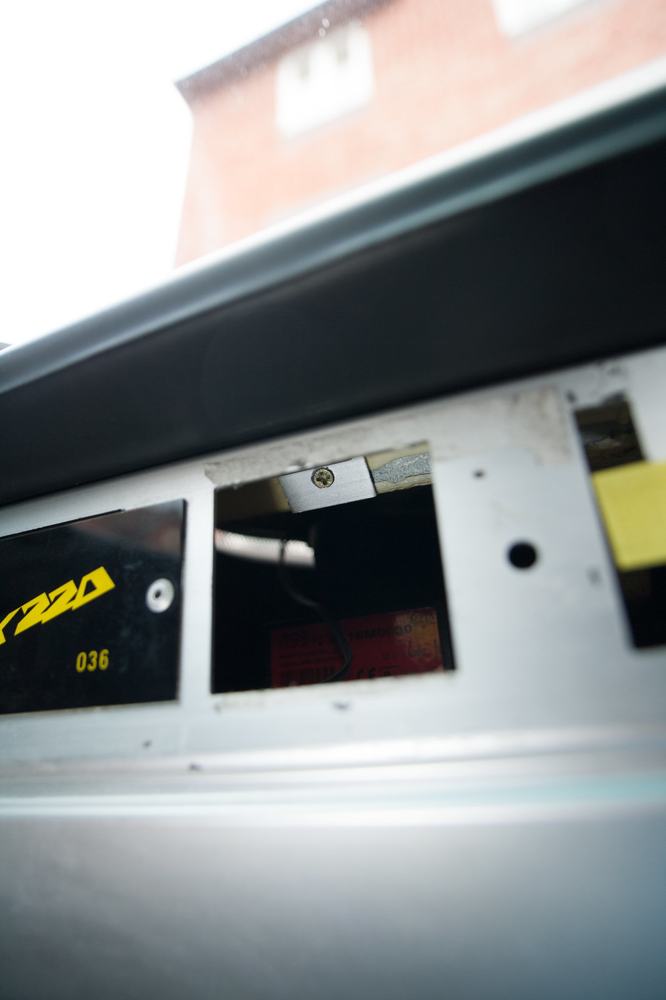
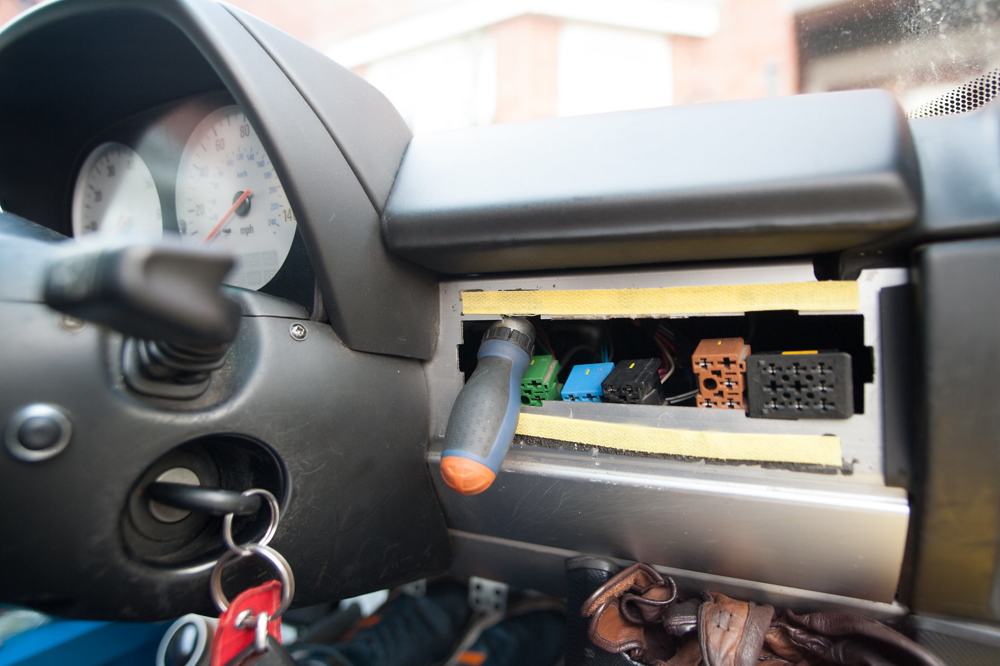
The screw behind the light switches
Take the light switch cluster out completely. Use the trim tool to release the four plastic clips holding it in the alloy plate, pull the cluster out and unplug the connectors from the back of the buttons. Photograph their positions if you worry about forgetting. It is also a chance to take the buttons out and spray WD-40 into their holes if they are getting sticky. Push the plugs back into the hole, then, with the door open, lean in from outside to get a view of the screw. You need a narrow screwdriver shaft.
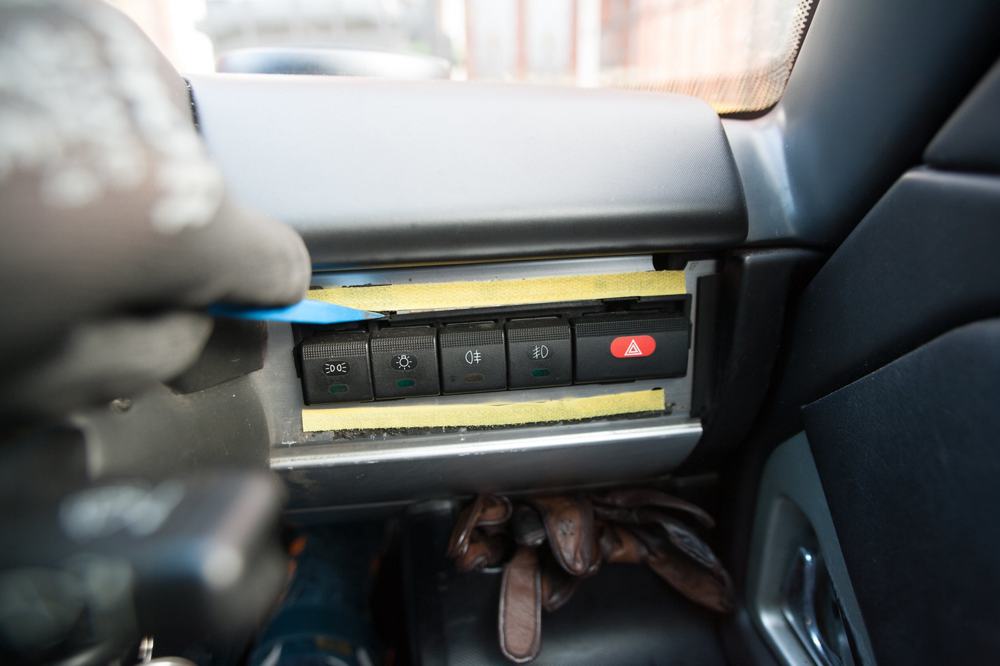
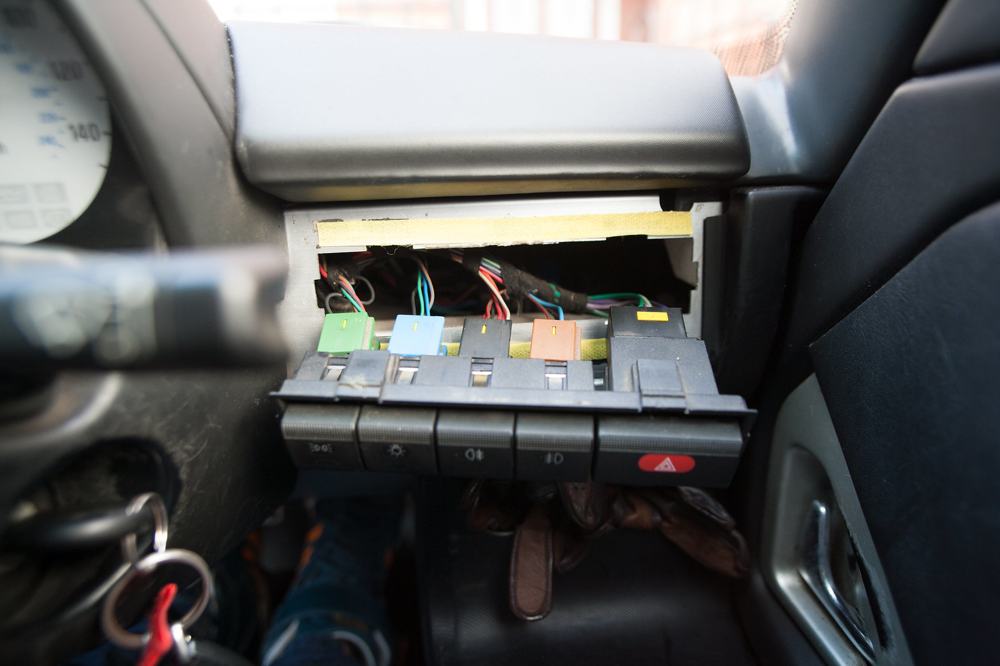
Lifting the dash top off
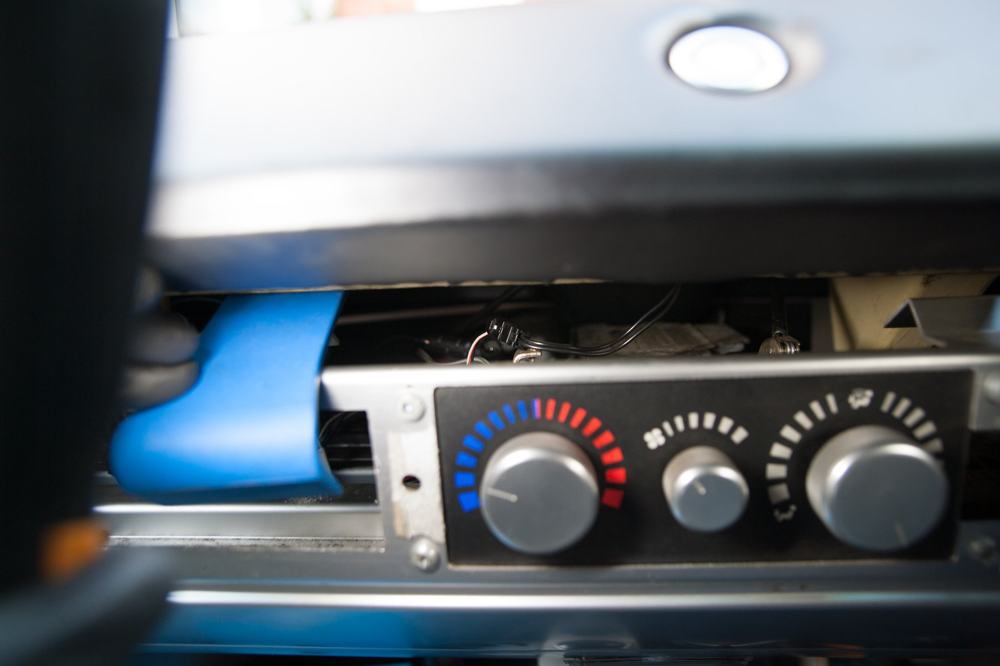
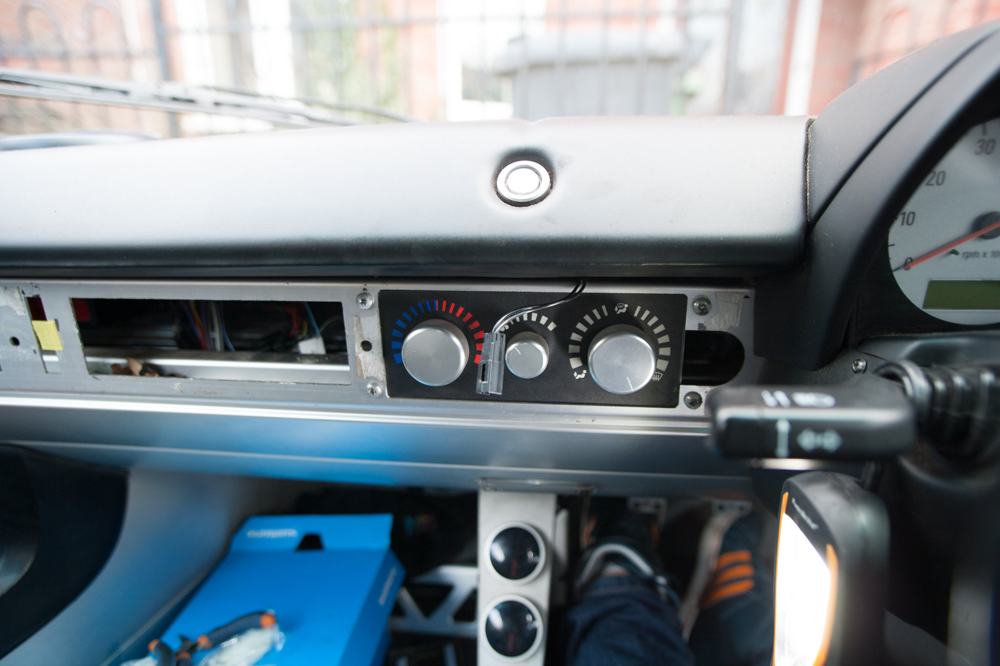
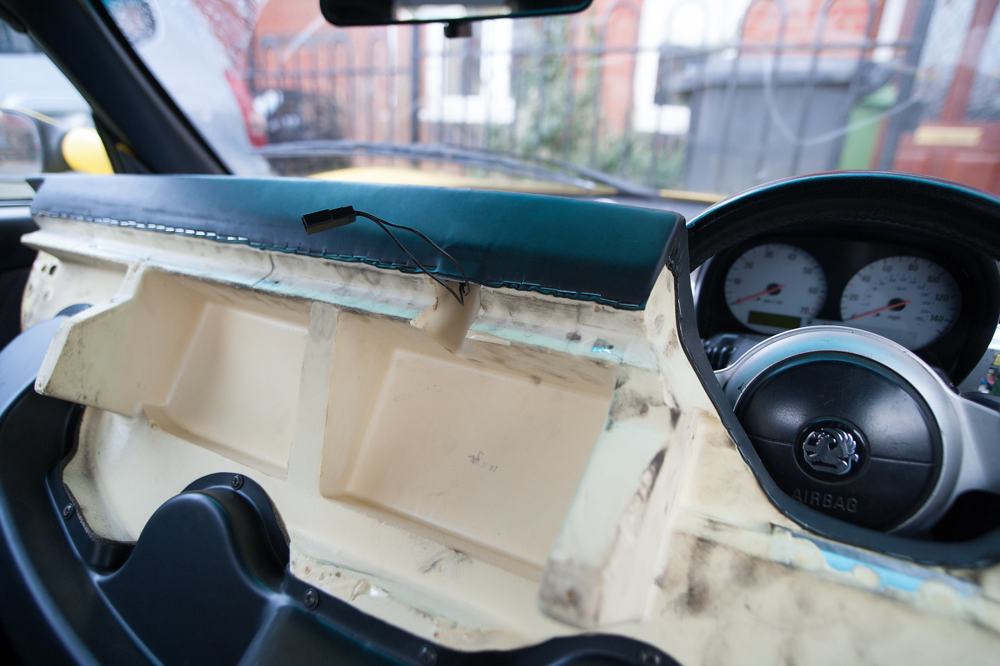
When you think the screws are all out, lift the dash a centimetre or two (up to an inch) to check. It should lift without effort. Don't lift it right off yet, because the starter button is still wired to it. The photo sequence is below, and it matches the older notes after it.
- Unplug the starter button. Look for a black two-wire plug near the heater controls. It has a latch in the middle that you push in as you pull the two halves apart. A small flat screwdriver or a sturdy fingernail helps.
- Start lifting, with care. A small metal rail can scratch the instrument cowl, so keep the dash pushed towards the front, take your time, and put a finger in to clear the cowl. You can only lift so far before it sticks, so check that nothing is tangled.
- The wiggle. Lift the passenger-side corner higher and pull it a bit rearwards, keeping contact with the passenger window. Wiggle it (up at the passenger corner, back, up, back) and the instrument cowl should gradually free itself from the ridges in the dash foam structure. Also watch the forward air inlet under the dash, which sits over the airbag (SRS) control module in the middle of the dash cavity. You can then bring it out through the passenger side.
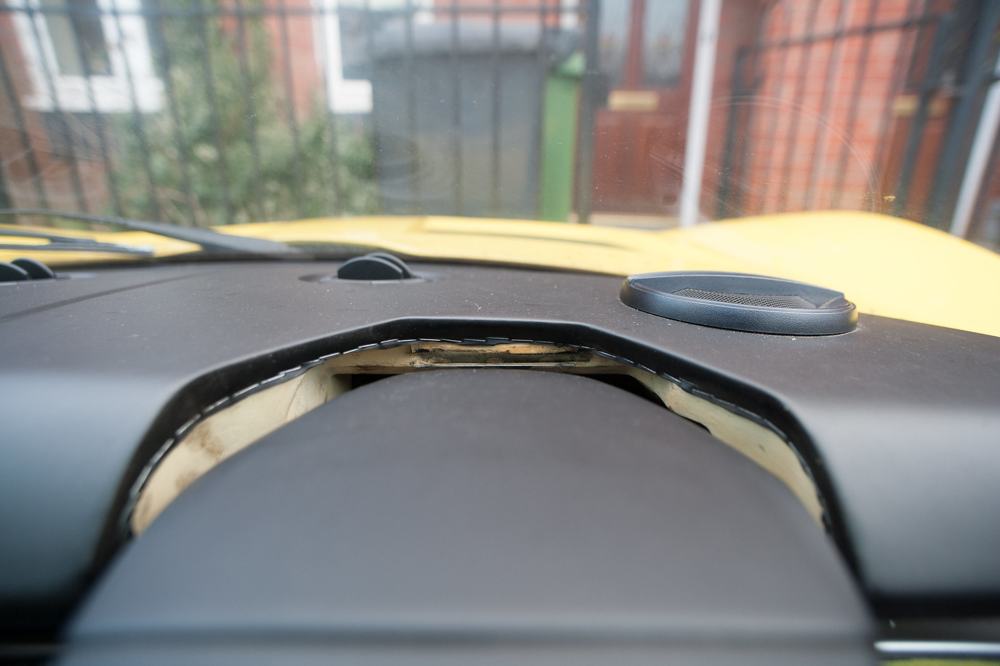
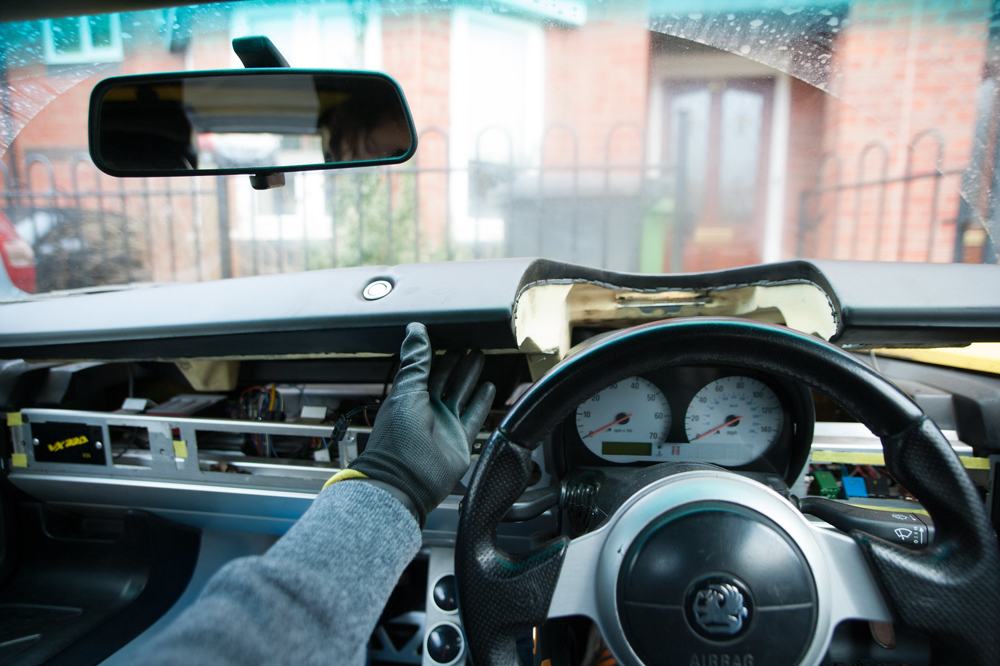
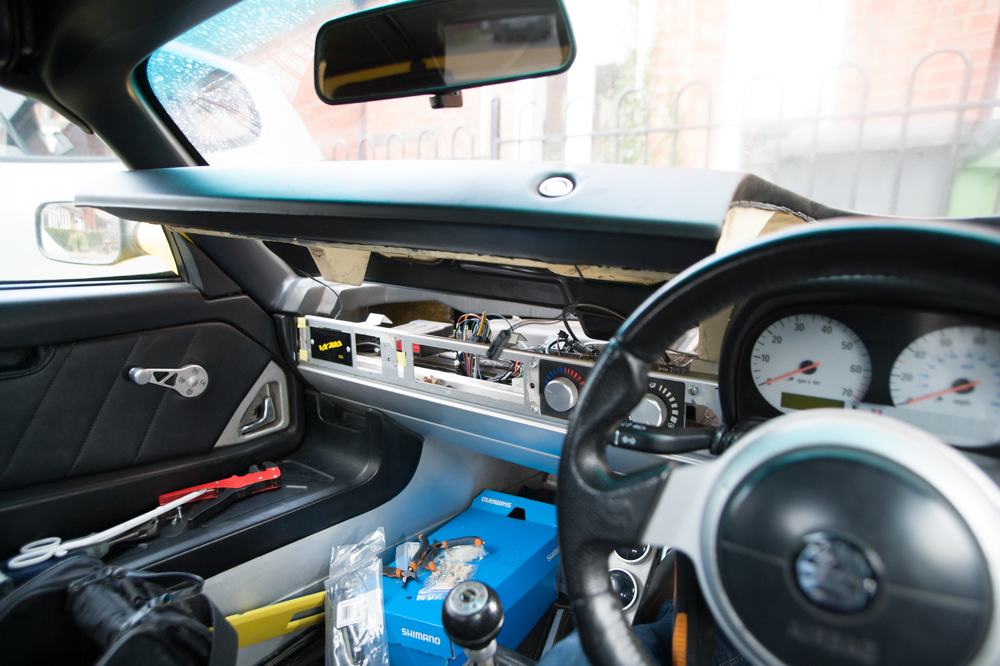
The notes from the earlier thread and subwoofer page:
- Once the screws are out, lift the front of the dash up and then towards you. Two lugs at the front of the dash fit into holes under the windscreen, so it has to come up and out of those first.
- The stack surround. The top stack surround (the fake stack binnacle) hooks into a slot in the dash, which makes removal tricky. Pull the plastic binnacle towards you at the same time as lifting the dash. Push the dash towards the windscreen and pull it up and out. It is stuck on the metal lip and needs a bit of force, though it won't move much. Beware of the dash catching on the plastic instrument cowl, because one owner was worried it would rip the instrument pod out.
- Starter button. Disconnect the starter button switch before the dash comes right off. Trace its wires back from the button, and after about five inches you should find a small black plastic connector. There is a little catch on one of the narrower sides of the connector. Lift it with a fingernail and the connector should pull apart easily. If you can't find where it splits, work in better light.
- The easiest way to remove the dash may be to rotate the passenger side towards the rear of the car and gradually work it round.
Time: one owner removed the dash plates, stereo, dash, steering wheel, column, airbag, stack bars and heater to fix a wiring fault in about an hour. Putting it back took longer, making sure not to lose any screws or small parts.
Refitting and extras
Follow the steps in reverse. Getting the screws back in will be a pain. Watch the forward locating pins on the dash so they seat in the holes near the base of the windscreen, which you can check from outside with a lamp. Don't forget to reconnect the starter button.
With the dash out, check the dash air inlet for cracks and clear out the dirt and dead leaves in the cavity. One owner made a new gasket at the heater inlet from 3 mm door draught strip (the brown strip in the photos).
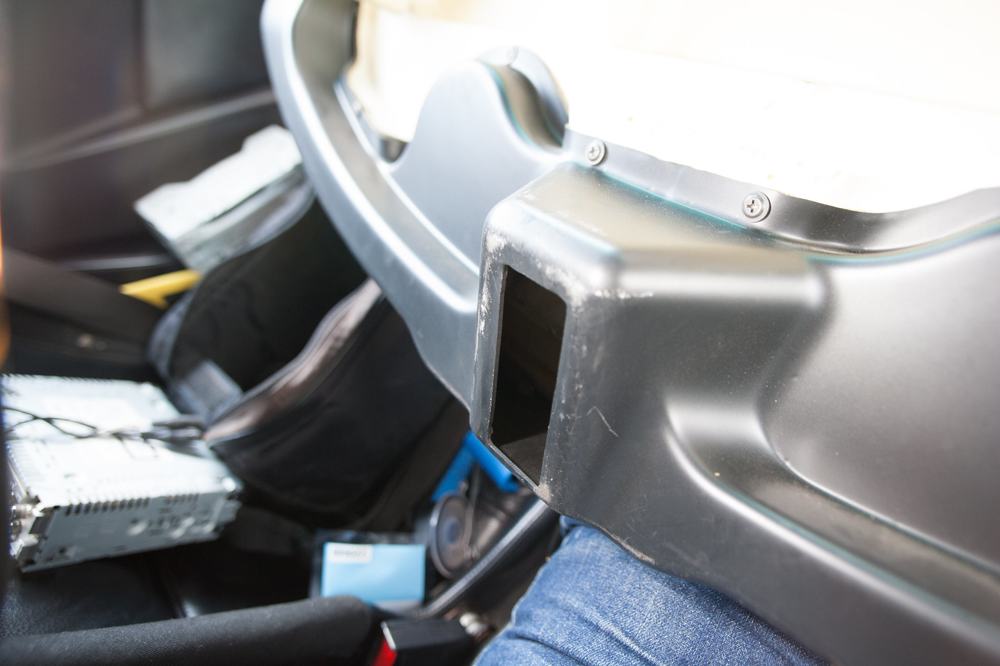
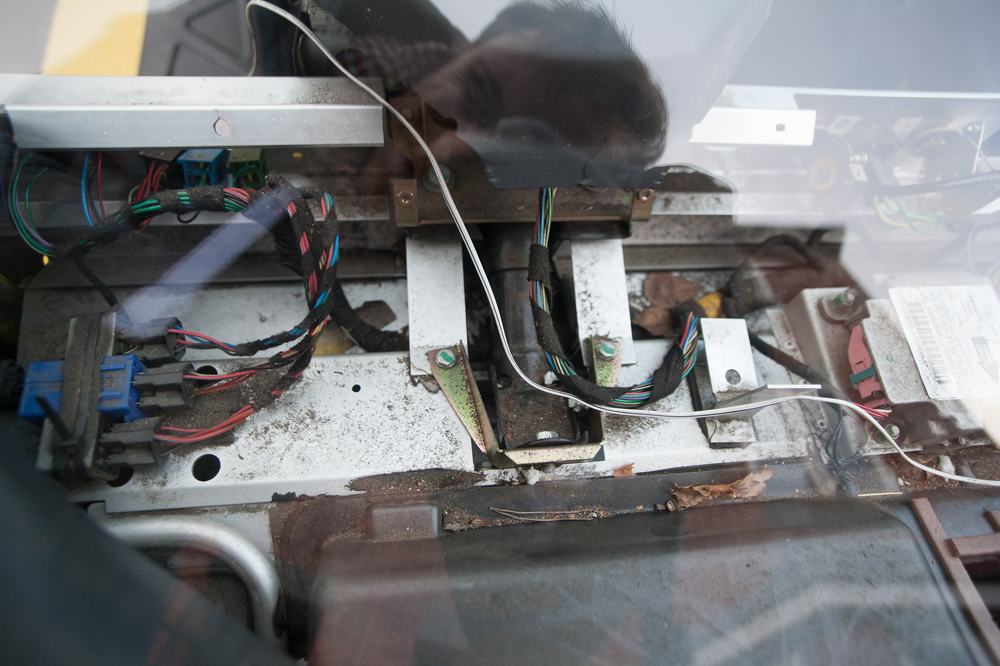
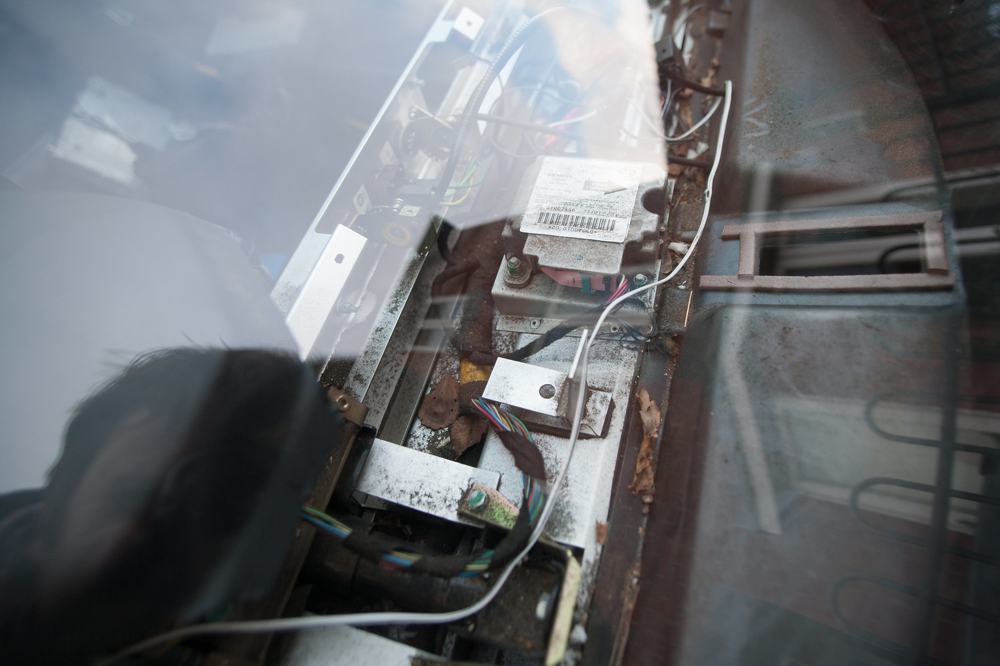
- The stack surround can be hard to clip back in place. One owner found it went back on easily, though he thinks he bent the metal slot when he forced it off.
- Heater airflow. Two owners found their heater worked much better after the dash was removed and refitted. One found two sources of air leaks while it was off. The plenum chamber that supplies the dash vents is sealed to the underside of the dash with lots of screws and a very feeble self-adhesive foam seal, and there were a couple of extra vents designed to send air straight to the screen, also partly sealed with foam. He resealed these with flexible sealant and metal tape. Where the plenum meets the hole in the bulkhead there was another poor foam seal, which he replaced with a thicker, denser foam tape.
- A dash that lifts at the passenger side after refitting is where the 2005 thread started, and it never says what caused it. The extra bracket Vauxhall riveted in on some cars was an attempt to fix this. As a sensible check (our suggestion, not from the thread), make sure every screw is back, including the hidden one(s), and the lugs at the front are seated in the holes under the screen.
- While it is off: owners used the chance to fit an iPod lead, a hard-wired radar detector, a new head unit, front speakers, and LEDs behind the heater controls, and to replace the alarm module.