
Support the car on axle stands, not just the jack. You will be levering and hammering with the car in the air, and one owner warned about the car landing on your head. Gearbox oil will run out when the shaft comes out, so have a tray under it.
Taking the driveshaft out
This is the owner's own list (2012), written for the seal job. He said it took just over an hour.
- Jack the car up as high as you can, take the wheel off and put an axle stand under the subframe.
- Undo the driveshaft castle nut with a deep reach socket. Leave the handbrake on and the car in gear to hold it against the force.
- Remove the disc and pads. Take the caliper off the swivel slide but leave the handbrake cable attached (see Rear brake disc replacement).
- Unbolt the outer tie rod connection from the hub carrier (see Rear toe links).
- Unbolt the two lower wishbone pick-up points and put a drip tray underneath to catch the oil.
- Prise the driveshaft out of the gearbox with a crowbar.
- When there is some movement, remove the two upper wishbone pick-up points and pull the whole assembly out.
- If it won't come out: the same owner couldn't move his by hand the first time. Replies were to tap the CV joint with a block of wood or a rubber mallet, and to lever it out with a screwdriver or crowbar. He did that and it came out.
- Refitting: one owner had trouble getting the shaft back into the gearbox and asked whether a light hammering on the castle nut end was acceptable. He then got it in with gentle movement. Another said the shaft must go back in as straight as possible, so as not to stress the seal.
- The inner CV boot guide shows a way to change the inner boot without taking the shaft out of the gearbox: Inner CV boot replacement.
Oil
- You will lose some. Jacking the car as high as possible reduces the flow. One owner said you still lose about half a litre however high you go. Another warned it "will p*ss out" once the shaft is out.
- Drain and inspect it while you are there. One owner suggested draining the oil into a clean tub and checking it. He said the F23 has a magnet in it, so it should be free of steel particles.
- How much goes back. The same owner said most people run 1.75 to 2.0 litres, because the standard level is thought to be a bit low, and that more may cause a slight power loss. That is one post. See Fluids and capacities for the 2002 TIS figure (NA only).
- Grade. A 2012 owner who researched it said the grade most often quoted was GL4 75W90 synthetic, of any brand.
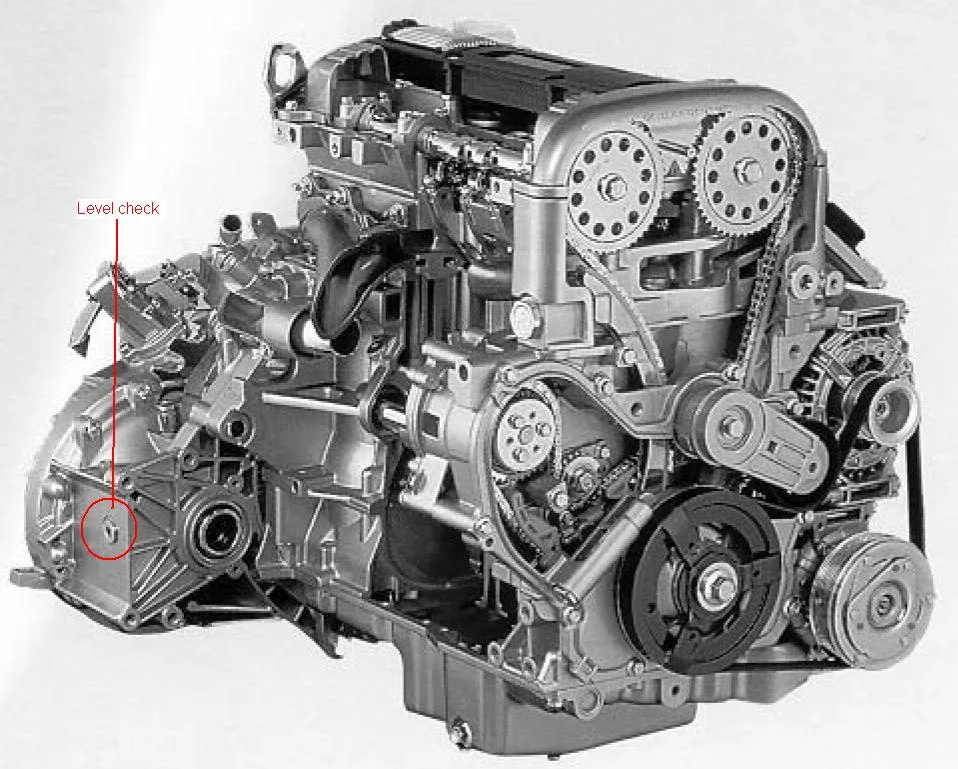
- Filling and level. Remove the level plug on the side of the gearbox and pour oil in through the filler hole on top until it runs out of the level hole. The level plug is on the side of the diff housing that the driveshaft comes out of, facing the back of the car, and you can't easily photograph it with the gearbox in the car because of the subframe. The owner with a ProAlloy gearbox breather used it as a remote filler. See Gearbox oil replacement.
Replacing the driveshaft seal
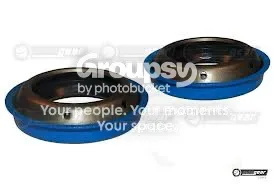
Owners called the job easy to describe and awkward to do. The seal itself is a varilip seal. Don't worry about the thin spring you will see round the inside: it is part of the seal.
Taking the old seal out
- With the shaft out, lever the seal out with a big flat screwdriver, or use a seal puller. Take care not to damage the gearbox casing.
- The two sides differ. One owner said the seal on one side of the F23 is recessed much further into the housing than the other, so it is harder to get out. If you are lucky your leaker is on the exposed side.
Fitting the new seal
- It must go in straight, or it will leak. Owners said the tool is the key. A tube or socket has to sit on the seal.
- Press on the outer rim, the larger flange, not on the raised inner section, which deforms under pressure. Two owners agreed on this.
- Socket size. One owner used a 46 mm socket and said 46 or 47 mm both clear the inner part and sit on the outer rim. Another had said 46 mm was the smallest you can get away with and thought 48 mm might be a better fit. However, a 2013 owner found that a 46 mm socket he bought didn't sit on the outer rim and wouldn't go through the recess in the casing, because the wall of the socket was too thick, and he damaged a seal.
- Other tools owners used: a 6 inch cut-off of scaffold pole (one owner said it is exactly the right size), aluminium tubing with a wooden butt to take the hammer blows, a tool made from a Z20LET inlet and a large socket, a modified ball joint socket bit, and a custom tool made by a marine engineering department. Another suggested taking a seal down to Machine Mart to find something that fits.
- No sealant. One owner pressed the seal in without sealant and said it is "hella tight". Another asked whether to use Hylomar, and that was the answer he got.
- Don't tap it in with a drift. One owner suggested tapping round the seal gently with a drift at 12 and 6 o'clock and so on, if you have no tool, but the owner who had ruined two seals trying it said there is no chance, because the fit is so tight that without even force on the right part the seal breaks.
- Buy a spare. Owners damaged seals fitting them, in several cases. One said a new seal cost him about 99p, in 2012. Another said a bad fit means a dead car.
Should you replace the seals while the shaft is out?
- One owner said definitely, and wished he had. Another has replaced his nearside driveshaft three times without changing the seal, and has had no problem, which he put down to luck as much as judgement.
- One owner replaced both seals even though neither leaked, as a precaution, then couldn't get the new ones in and regretted it. Have the right tool and spares before you take the old ones out.
- An owner said the seals are quite fragile. If the shaft sits in a slightly different position, the lip may no longer run on the clean, shiny part of the shaft but on a rusty part, and the seal can weep.
Help wanted
No thread gives a torque for the driveshaft castle nut or the wishbone bolts (one owner asked, and was pointed to another thread we don't have), or a part number for the seal. The F23 oil quantity needs checking against a manual. If you have done this job, please tell us your seal part number, the tool you used and the torques, and send photos.