
What is wrong and what the fix is
The glass has plastic lugs bonded to it, and the guide rail runs through them. The lugs have small raised bits to keep the rail snug, and these wear down, so the rail rattles in the gap. Some owners fix it by taking the window out and heating the lugs while clamping them, which closes the gap. The method here avoids taking the window out.
Stick a thin strip to the rail to take up the gap. Mini trunking works: pull the two halves apart and use only the half with the adhesive strip. The part you use is about 1 mm thick plus the adhesive, and the adhesive strip is the right width to cut to. Cut it to length, clean the rail with white spirit, and stick it on. The author also drilled a hole at the very bottom of the rail and bolted the strip on as a back-up, but isn't sure it is needed, and nobody else mentions doing it.
First look down into the door at the lugs, to see how big the gap has become. Each door has two rails, a front one (near the hinge) and a rear one, so a car needs four strips. About 2 m of trunking does four.
Which method to use
Both start with pulling back the door's weather strip (the seal along the top of the window). You don't need to remove the window or the seals, just unhook and pull back the first two or three inches. Owners settled on the second method as the easier one.
- Rail left in place (the "lazy" way). Quick, 15 minutes to an hour for most people, and avoids the awkward refit. It isn't as good a fix as a full strip-down and pressing the strip into place, but it's a good compromise.
- Rail removed (the original method). The strip sticks more firmly, but refitting the rail is the hard part. Several people rounded off the top screw, and a couple gave up and put it back as it was.
Method 1: with the rail left in place
This combines several owners' versions, which differed slightly (see the notes below).
- Pull back the weather strip along the top of the door, so you can get at the top of the rail. Whether you need to take the door panel off depends on who you ask (see the notes).
- Cut a length of trunking and keep the backing on the adhesive strip. Use only the half with the adhesive.
- With the window wound up, feed the strip down the gap between the rail and the lug (the slot in the bonded block). The window slides back and forwards on the mechanism, so if you can't get the strip in, push the glass forward.
- Reach into the door and peel the backing off the bottom of the strip, pulling off as much as you can until you reach the window.
- Wind the window all the way down. You can now reach the rest of the backing with needle-nose pliers. Pull it up and off.
- Wind the window up and down a few times, to press the strip onto the rail all the way along.


Notes on Method 1
- What to remove. Owners differ. One removed only the top weather strip and left the door card alone. Another removed the shoulder pad, the door card and the outer door seal, which had a small screw. A third managed it by taking off only the rear pad on the door and pulling back the seals. If you are also adjusting the window height, you want the door stripped, then take off the rubber seal, and nothing else inside the door needs touching. For the door card, see door panel removal.
- A trimmed strip. One owner cut the trunking and trimmed off one side so it was an L shape, with the adhesive on one side, and squeezed it down the guide as a lining. He wiggled the window until it located, then slowly pulled the backing off. He stuck it down about half the length of the guide, says it worked, and took 37 minutes.
- Driver's side first. One owner did all four rails this way. His tip is to start with the driver's side, which has worn the most and takes the strip more easily, so you perfect the method before the trickier passenger side. He found the rear rail easier than the one nearest the hinge.
- Times given: 15 minutes, under an hour for the rear runners, a lunch break, and "minutes".
Method 2: taking the rail out
The door panel needs to come off for this. See door panel removal.
- Undo the screw at the top of the rear rail. Then unscrew the two small screws that hold the lower adjuster.
- The rail is now free. The author unscrewed the adjuster (anticlockwise) to remove it from the rail, because he couldn't pull the rail out with it still attached. If you can get the rail out without removing the adjuster, you will save time, because lining the adjuster back up and screwing it in, inside the door, is the frustrating part.
- Cut the trunking to size using the adhesive strip as a guide, clean the rail with white spirit, and stick the strip on.
- Put the rail back. Make sure it sits properly in the window lugs, and that you have full movement.
- It makes sense to adjust the window while the door panels are off (see adjusting the windows). Winding has very slightly more resistance afterwards, but nothing to worry about.
Getting the rail out and back in
- Taking it out. The rail, with the complete adjuster, can come out through the top of the door with some manipulation. Turn the adjuster screw so the block the two screws tighten into is parallel to the guide, and twist it up through the gap. If it still won't come out because the adjusting screw is making the bottom too wide, turn the screw anticlockwise, which tightens it. Don't turn it clockwise, because it will undo itself and fall into the bottom of the door.
- The top screw can round off. The little M5 x 12 screw at the top of the passenger-side rail rounded off on one car, and had been thread-locked. A big screwdriver with a lot of weight behind it got it out. Two others also rounded theirs off. One cut a slot in the head with a Dremel, the screw broke, and he took a bit more off the head and used needle-nose pliers to turn it. Have a couple of stainless replacements ready.
- Refitting. The difficult part is getting the rail into the two plastic lugs at the bottom of the glass. With the window all the way down, slot the rail down to just below the metal support about halfway down the door. Wind the window up, keeping the rail where it is, slot it through the first block, then wind up until the second block comes up and slot it into that too. Hold the rail firm and wind the window until it is about an inch above the top of the rail. Now wind the window down, moving the rail with it, until the hole at the top of the rail lines up with the hole in the door. Hold the top of the rail, wind the window down past it, and fit the top screw. Then work the adjuster at the bottom into its hole with a small screwdriver. You may need to wedge the rail at a slight angle to keep it in the block. It is long-winded, but makes sense when you are doing it.
- Put something under the hole. Put a cloth or similar below the screw hole to catch the screw if you drop it. Otherwise you will need to take the door apart to get to it.
- The door panel still has to come off, because you need your hand inside the door to hold the bottom of the rail in place while you refit the two small screws either side of the adjuster. That is still easier than threading the adjuster screw through the two plastic blocks blind.
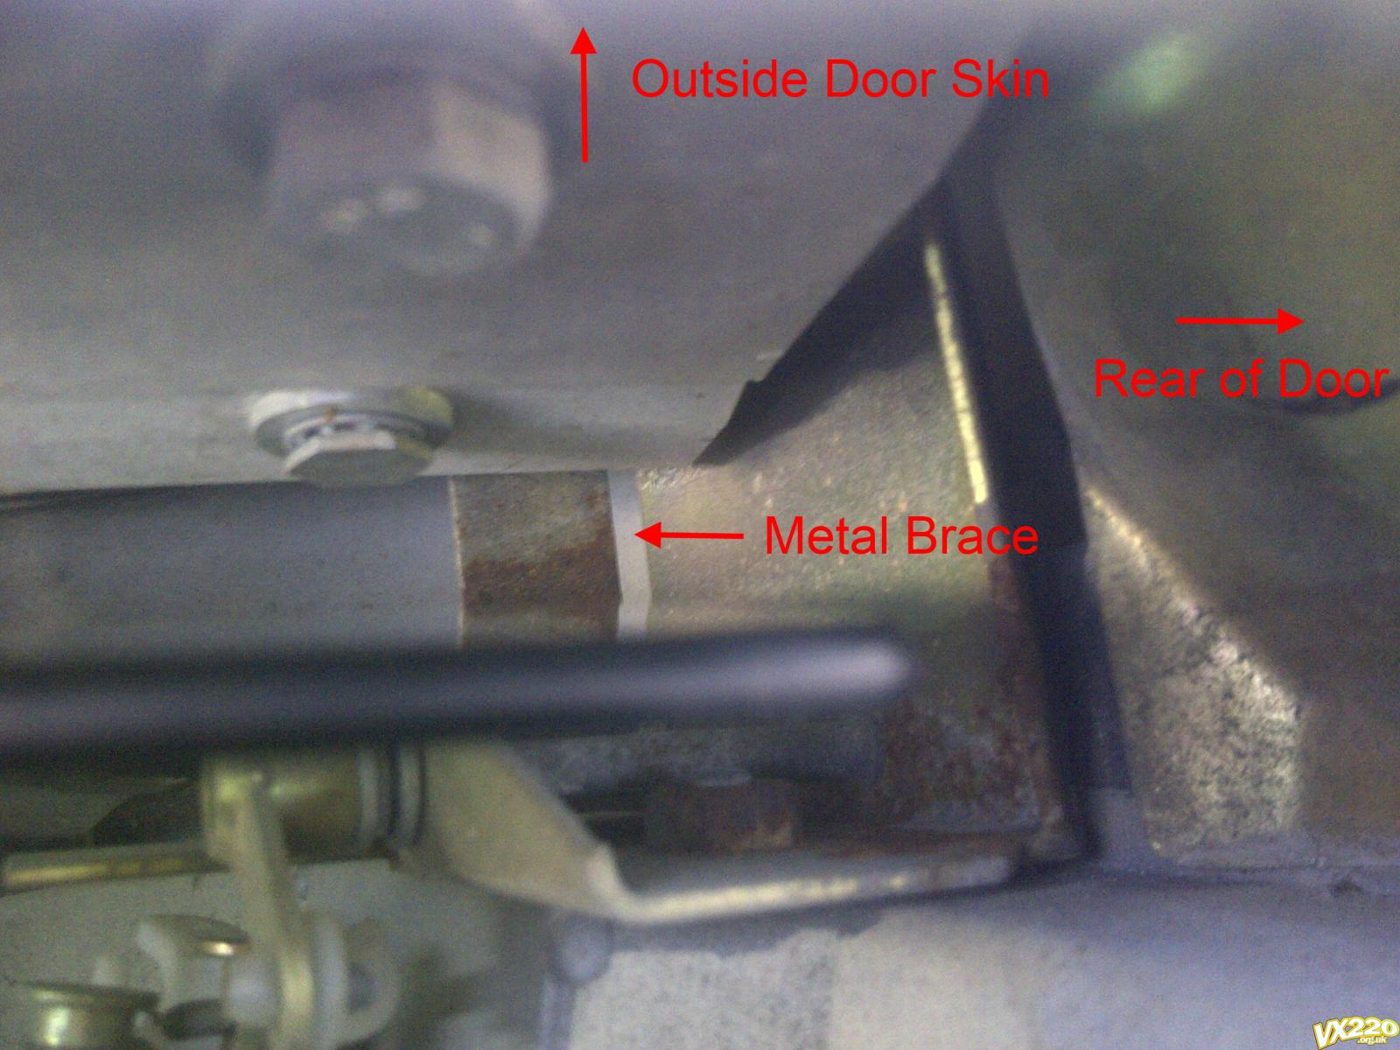
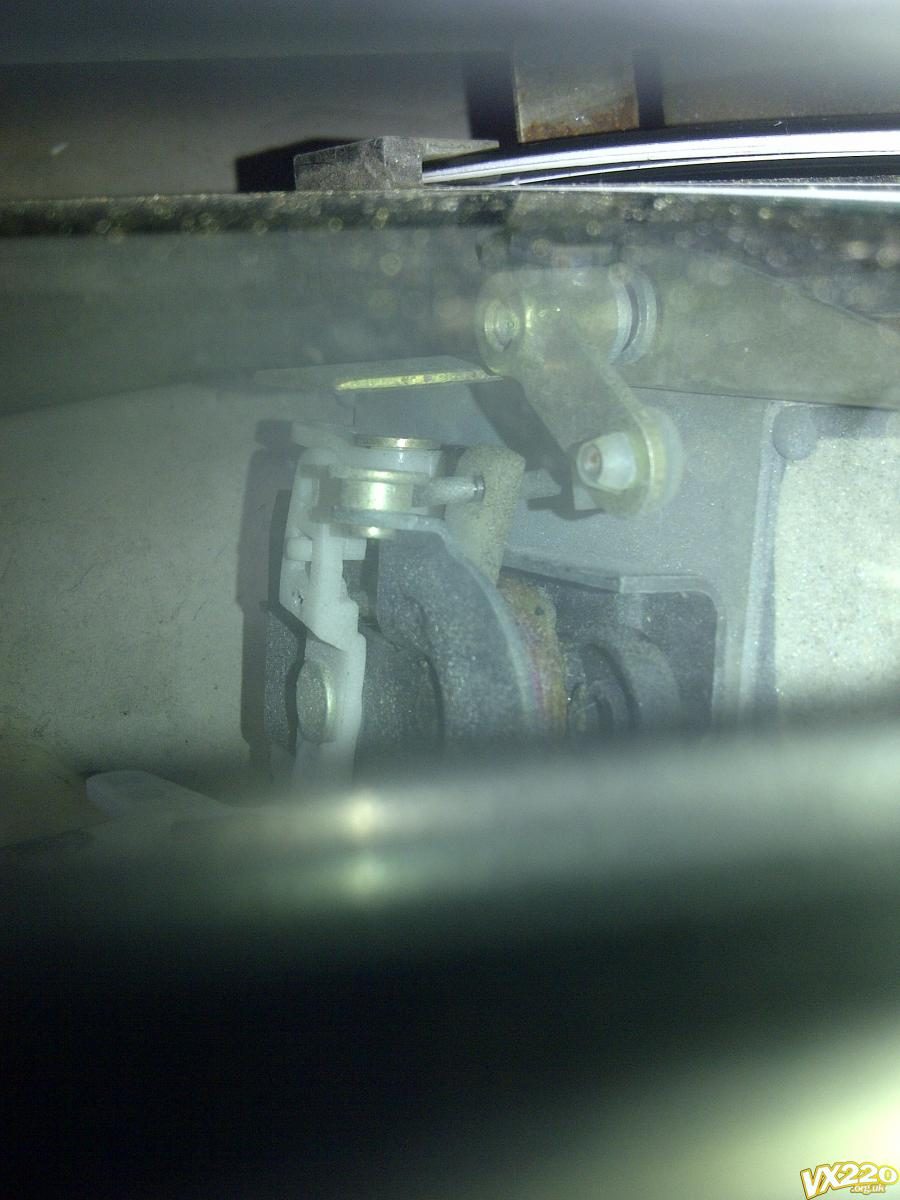
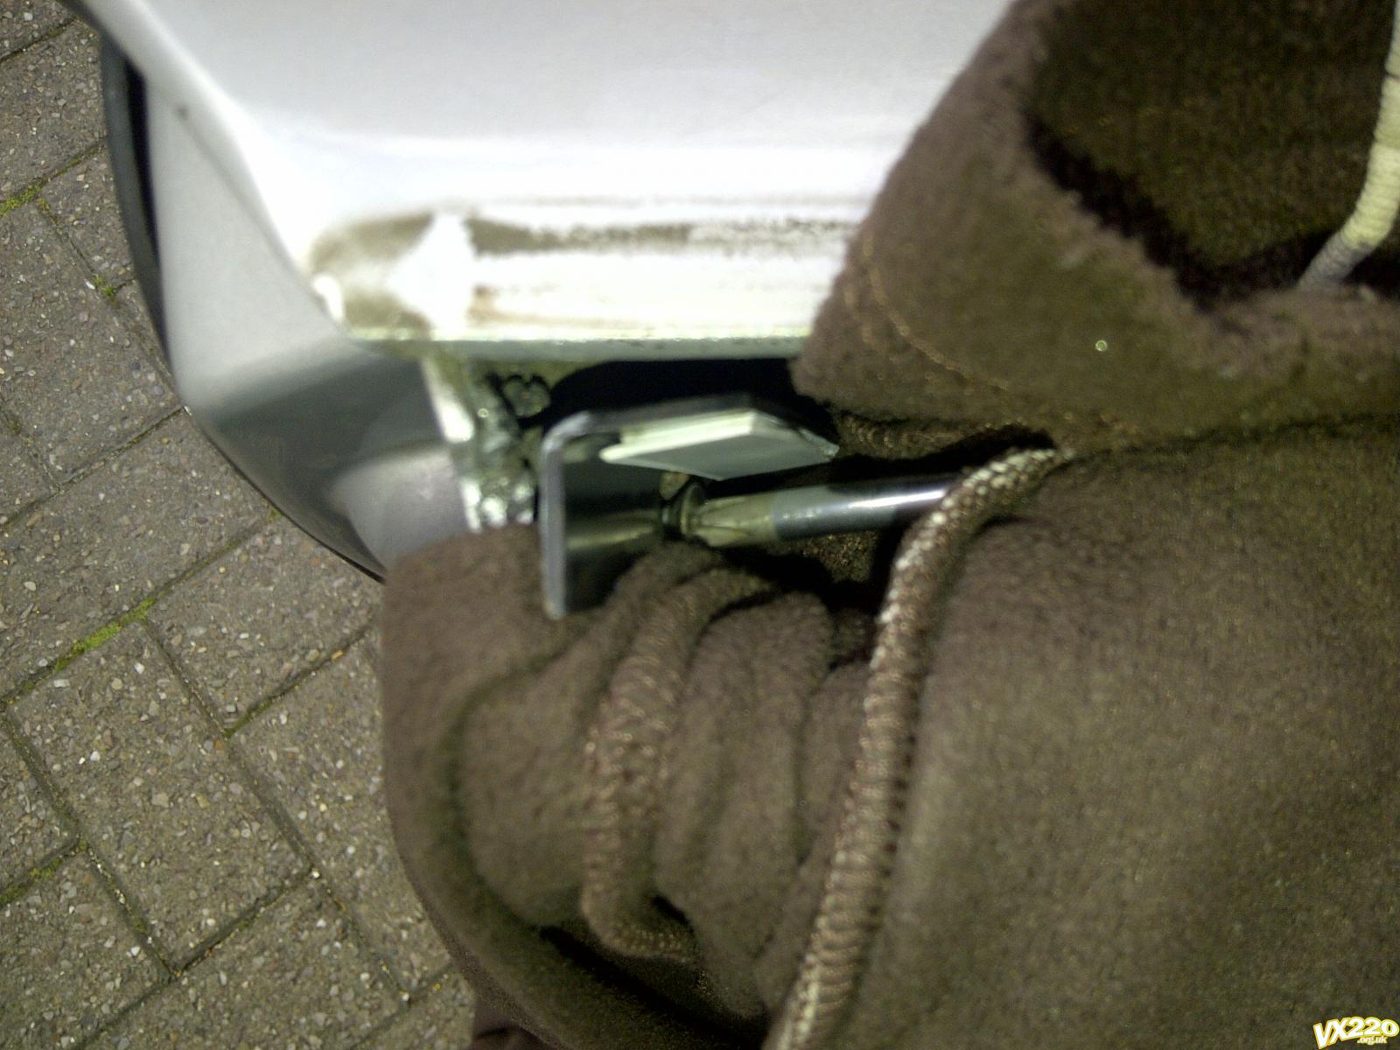
If it doesn't go to plan
- The strip won't fit in the gap. One owner found the plastic and foam too thick for his windows, which still had a lot of wobble. He took the foam off and used double-sided tape instead, which was the right thickness, but still couldn't get it down the rail guides and put it back as it was. A few days later he forced the trunking down the rear rails and it helped "massively". The passenger one needed the rail out, and the driver's was done with the rail in place. Another owner had the same on a friend's window and thinks that if the rattle isn't bad enough, you can't get the strip into the gap, and have to wait until it is worse.
- It highlights other rattles. Several owners found that once the windows were quiet, other rattles stood out, such as the bonnet. One still had a little play in the front glass guides and the winder mechanism after fixing the rear ones.
- Doing only the rear rail. One owner did the rear rail first, which made the front rattle even more, and then the top screw holding the rail fell out. He ended up doing the front one as well.
- A rail that has come loose. One owner found the rearmost rail on the passenger side had become completely disconnected, which explained why the window sounded as if it would smash over every bump. If your rattle is that bad, check the rail is actually attached.
- Some people had no rattle in the end. One owner gave up and put everything back as it was, and says it no longer rattled. Another had the door trim panels replaced and tightened everything up, and had no window rattle, without touching the window mechanism. Refitting the door panel firmly is worth doing anyway.
- A metallic bang when the door shuts. One passenger window banged every time the door shut. Taking the card off showed one of the three bolts holding the window to the winder mechanism had sheared, the one nearest the door opening. Whether the strip bonded to the glass can be removed and replaced wasn't answered.
- Door card clips. One owner reused the old clips, but says it wasn't easy. He suggests buying some fir-tree clips unless you plan to Velcro the card back on. The size isn't known.
An alternative for a worn top slider
One owner's wear was on the outer finger of the top slider on the driver's window. A strip on the rail would have solved the rattle but moved the glass away from the body. His fix doesn't need the door card or the waist seal off:
- Remove the plastic bung on the inner door.
- Make a piece of plastic with two upstands, from a piece of trunking capping. His is 30 mm overall, with 25 mm between the two upstands, and about 20 mm wide.
- Butter it with adhesive, and push it in with a piece of old copper pipe, between the rail and the worn plastic slider. The two upstands hold it in place.
- Leave it to dry. He used Araldite and left it 24 hours to be sure.
The advantages are no door card or seal removal, and the glass stays correctly aligned. The disadvantage is that inserting the piece can be tedious. It fixed his rattle. There is no photo.
If the lugs are too worn
If the lugs on the glass are badly worn or broken, replacement guides are available from Max88 Performance and Type 116 Motorsport. We haven't used either, so check the details with the seller. They bond to the glass, so follow the seller's fitting instructions. For taking the door apart, see door panel removal.