
This was written up in 2017 for a car with an intermittent fault: every 60 to 80 miles or so, the post-cat lambda sensor dropped out for a moment and lit the warning light. It couldn't be linked to vibration, damp or potholes, and the thread title mentions fault code P0140. While swapping the rear diffuser, the owner saw the sensor's wires looked tatty, so he changed the sensor. His last step treats the problem as fixed. His photos are also in his Flickr album.
The procedure isn't exceptional on the VX compared to other cars, but it goes wrong if the sensor is seized, as the author says so many have been. The thread doesn't say which engine his car has.
1. Get the car up and the diffuser off
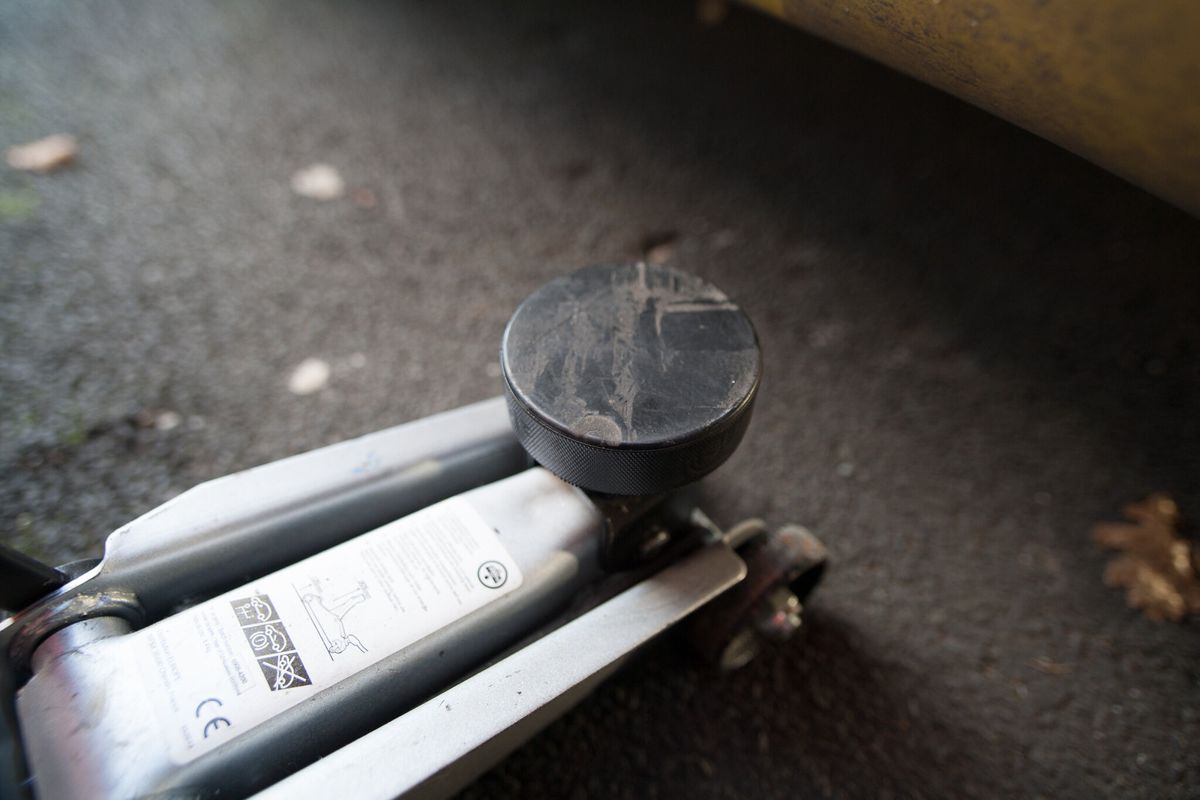
Balance the rear wheels on two pairs of bricks first. That lets you slide a standard-height jack in more easily, with a hockey puck on top, and you can reach the diffuser screws without removing the wheels. With "crazy fingers" you could do the whole job without removing the nearside rear wheel and arch liner, but the author couldn't.
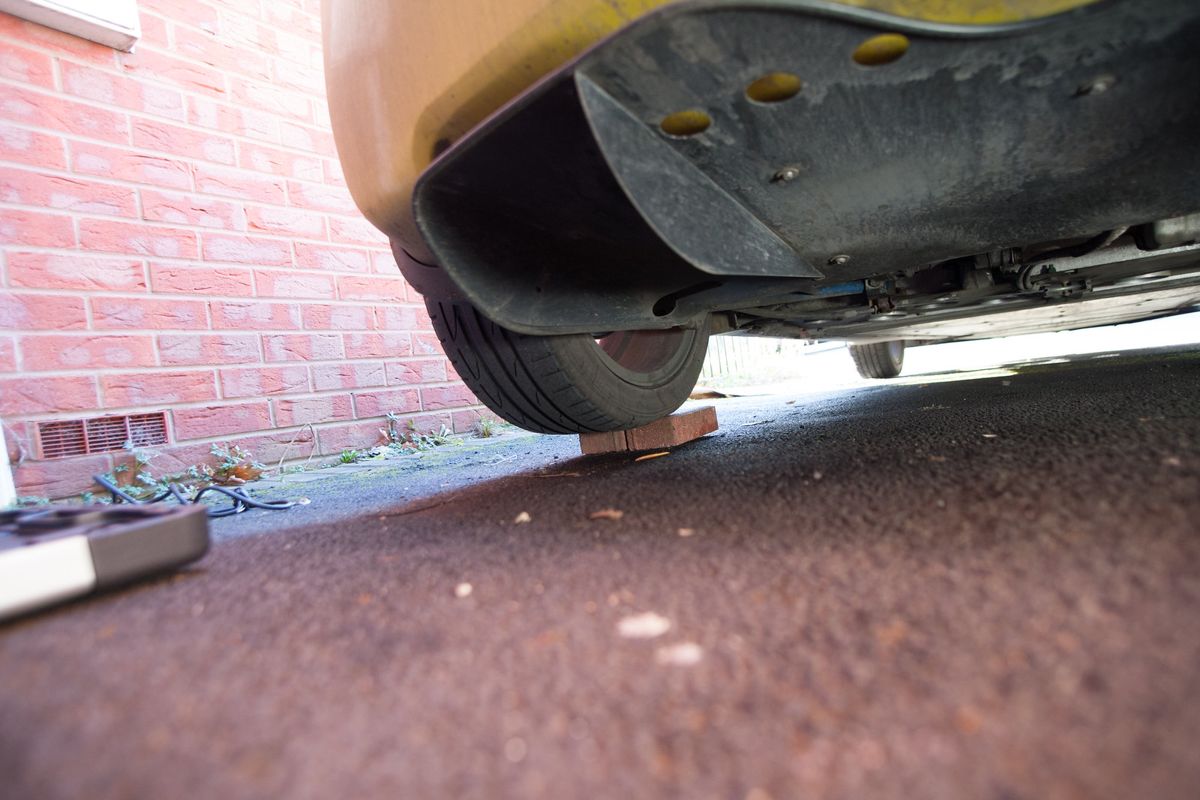
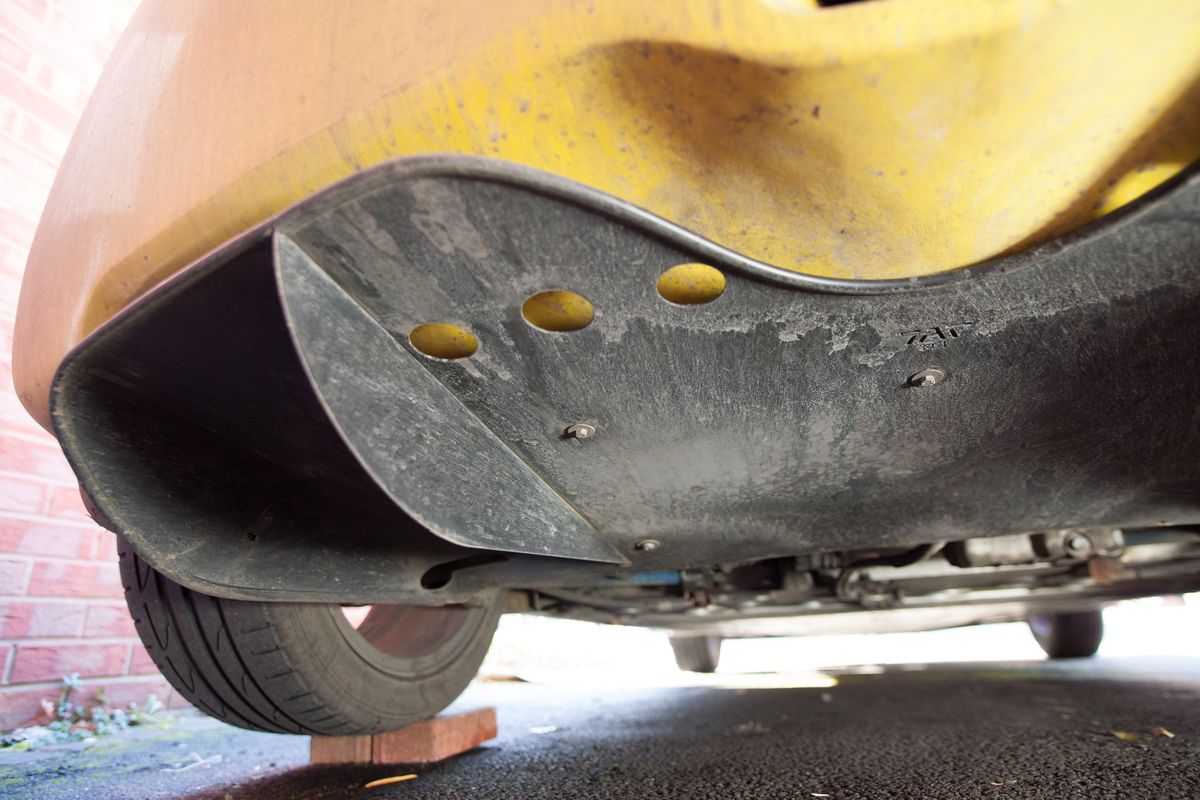
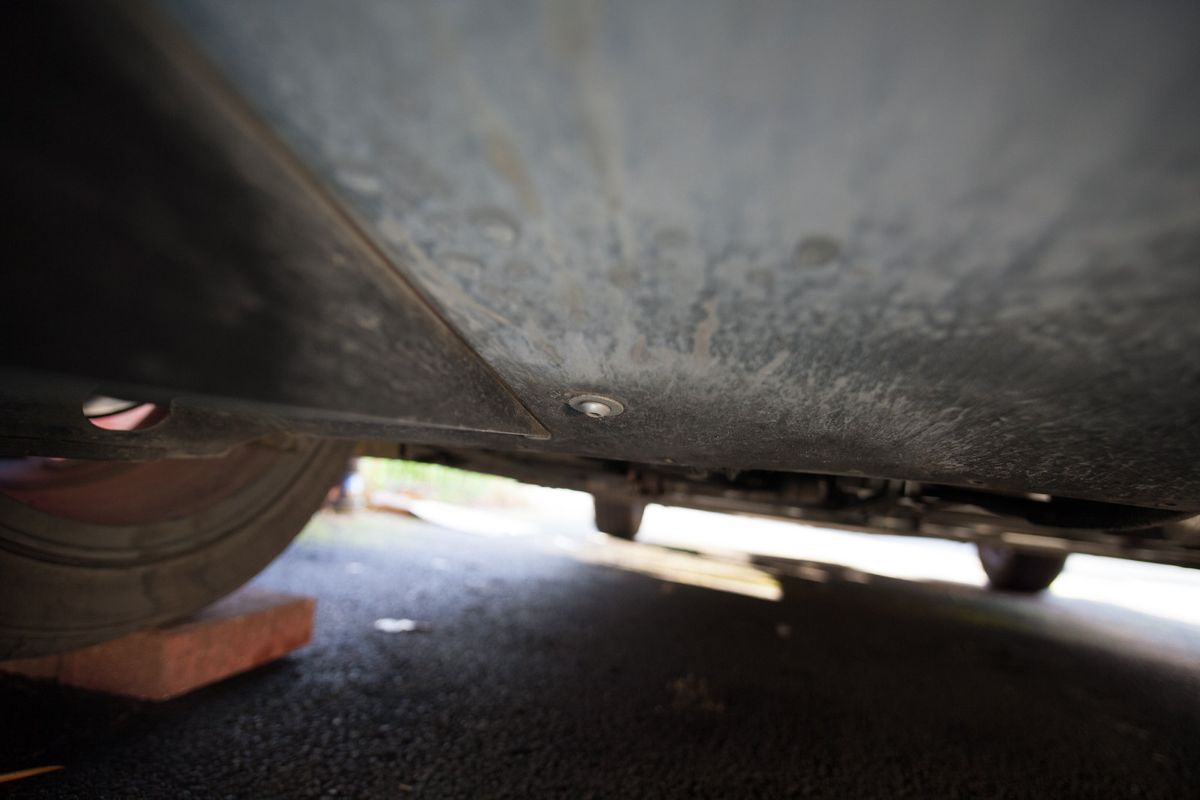
Removing the rear diffuser is the easy bit. There are 5 8 mm bolts towards the rear, 2 larger button-head socket bolts at the wishbone mounting points, and two small cross-head screws in the side trim. Support the diffuser at all times so you don't bend it. Refitting is not as easy.
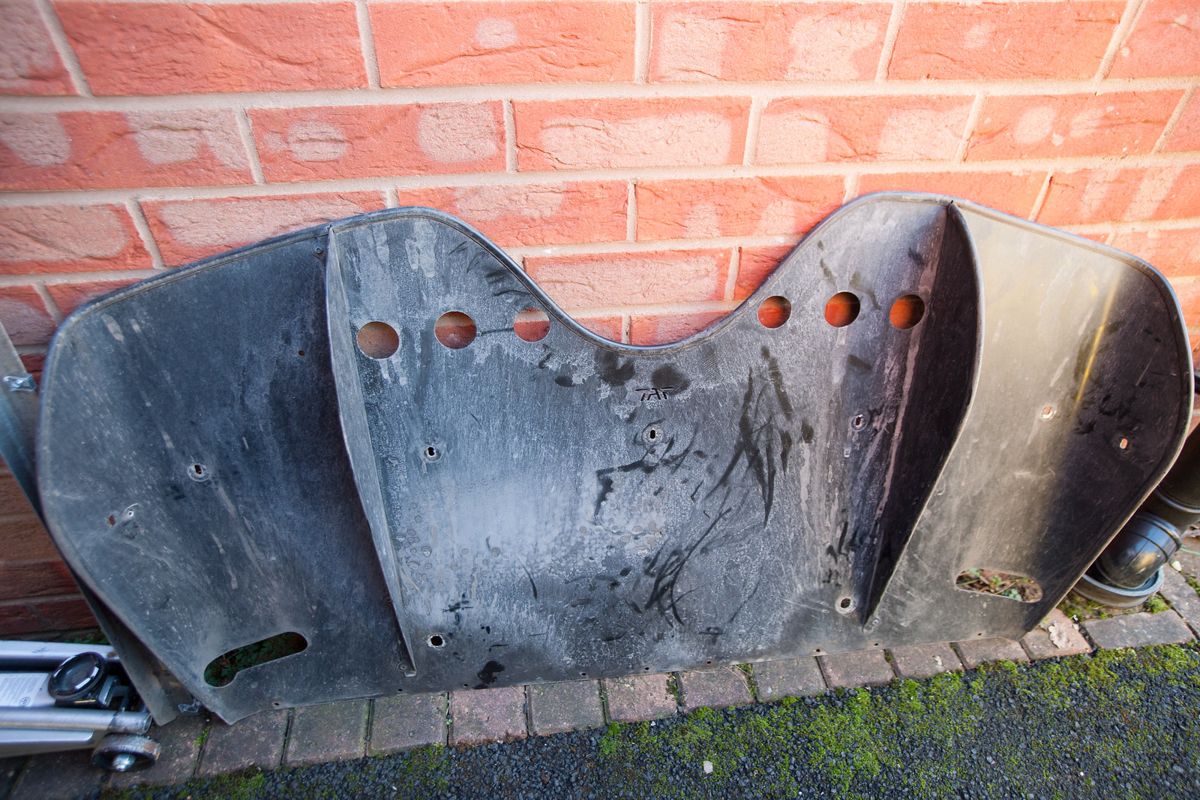
2. Get the sensor unstuck
The sensor you want is after the cat (the bulge in the exhaust). Its flat connector is in the left rear corner of the engine bay, next to the wheel arch. Try these in order:
- Use the 22 mm spanner, or a special lambda socket and ratchet, and try to undo it. That usually fails.
- Use a breaker bar for leverage.
- Put the spanner square on the sensor and tap it gently with a light hammer, to break the seizing between the threads.
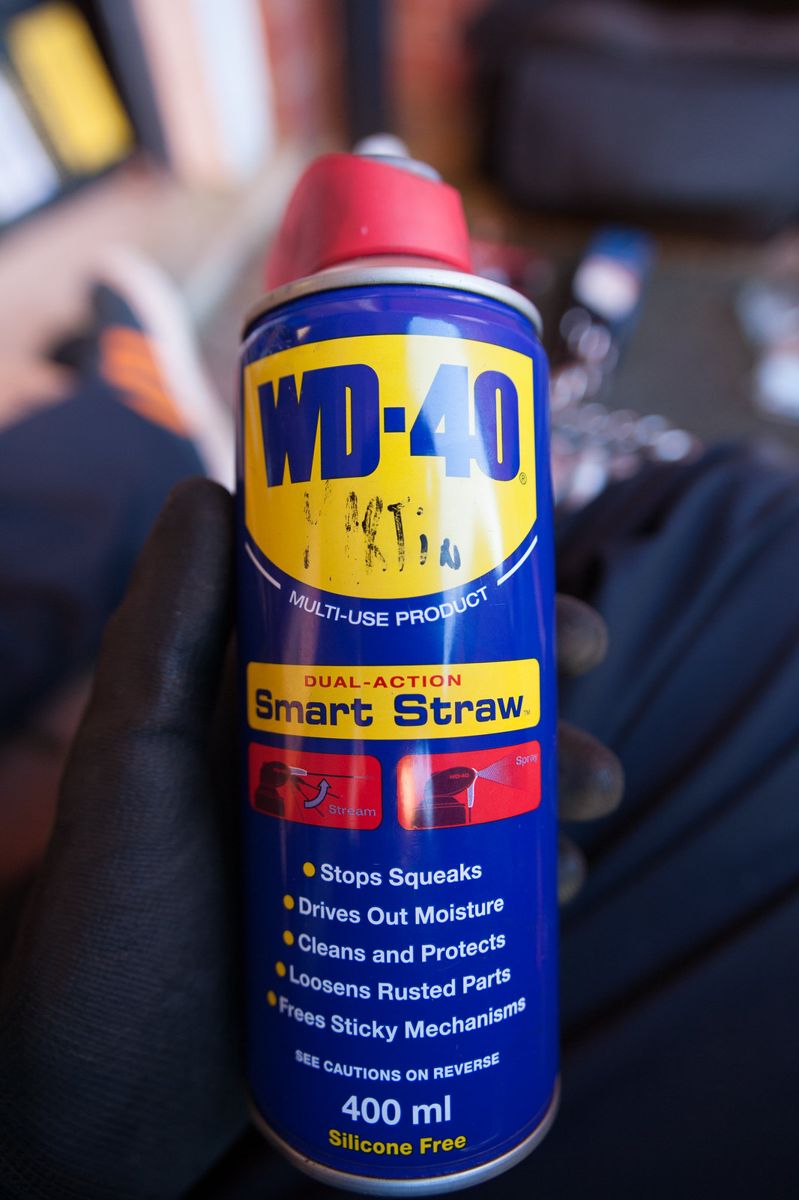
- Soak it in WD-40 or PB Blaster, let it penetrate, then repeat the steps above.
- If it still won't move, use a torch (butane, propane or a mix). Heat the threaded stub that the sensor screws into, trying not to heat the sensor too much, and keep the flame directed towards the firewall area and away from anything that could catch. When the stub starts to glow faintly cherry red, put the torch away and spray a drop or two of WD-40 on the sensor, not the stub. This cools the sensor quickly so it shrinks while the stub is still hot, though you may not need it. Then undo the sensor with the spanner, taking care of the hot parts. It should move with a lot of creaking.
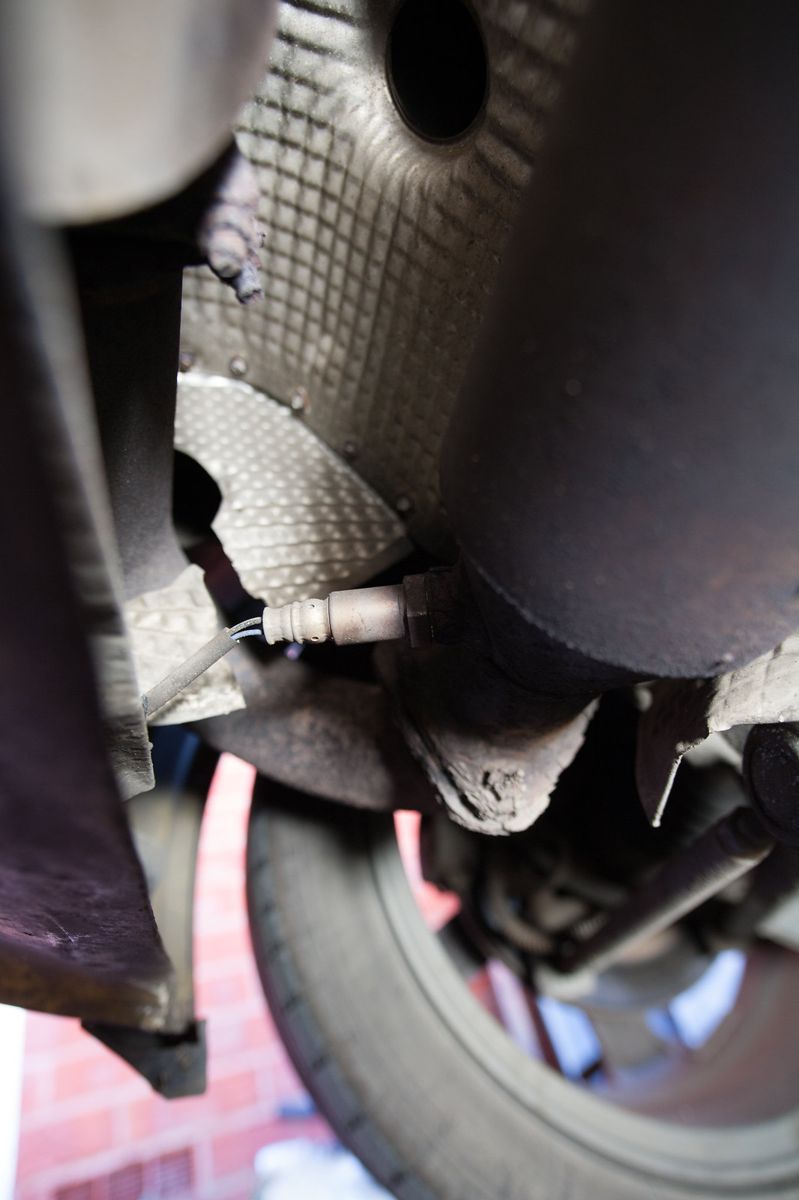
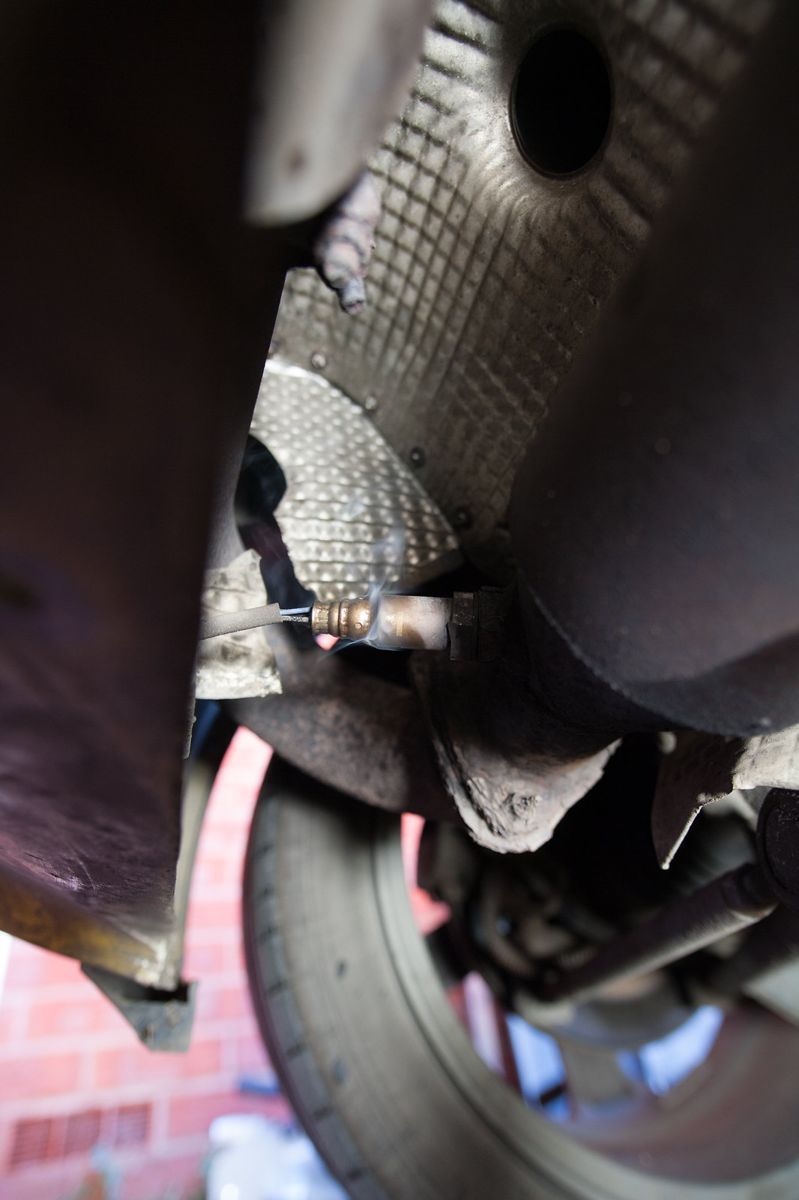
3. Take the old sensor out
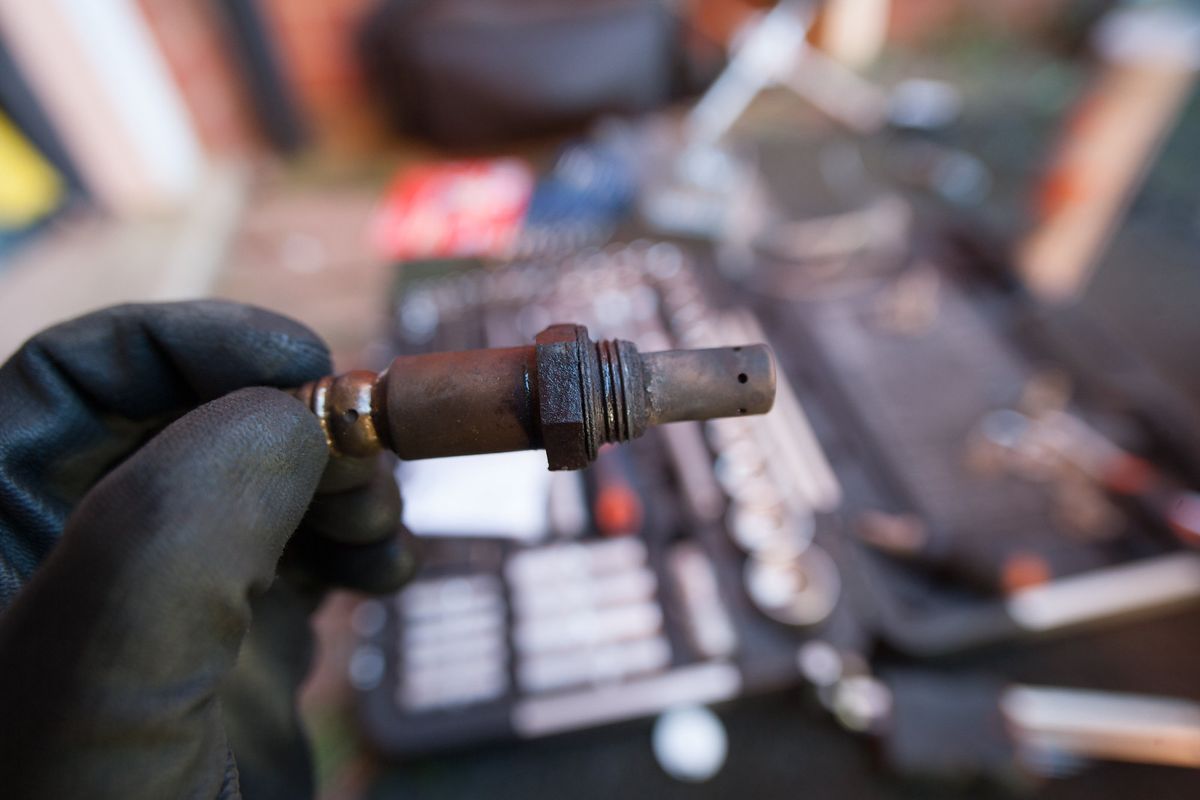
- Remove the sensor completely, taking care with the hot parts. Wait until the exhaust is back near ambient temperature, then run a thread chaser through the boss to clean out any debris.
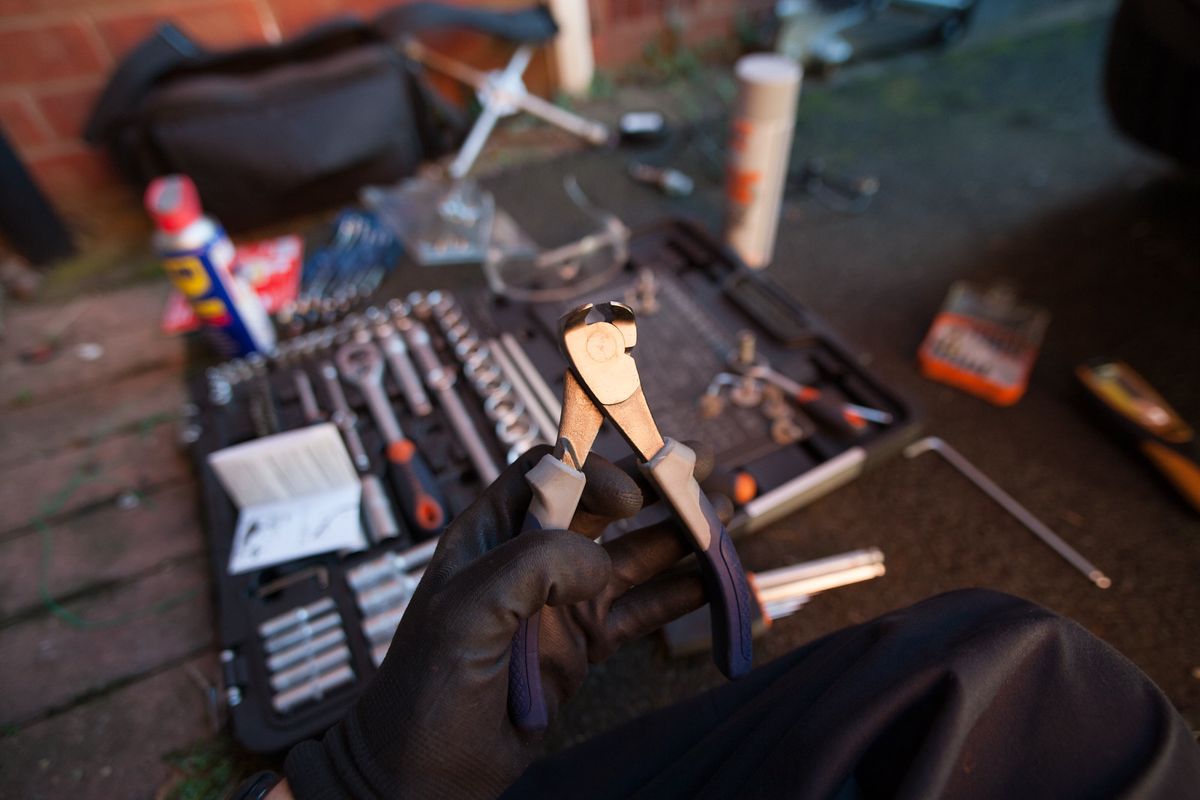
- The author cut the wires at this stage to get the sensor out more easily, as unscrewing it twists the wire. That only makes sense because he was replacing the sensor.
4. Take off the rear wheel and arch liner
Do this while the exhaust cools. It gives access to the connector and the wiring.
- Open the engine bay to get light in.
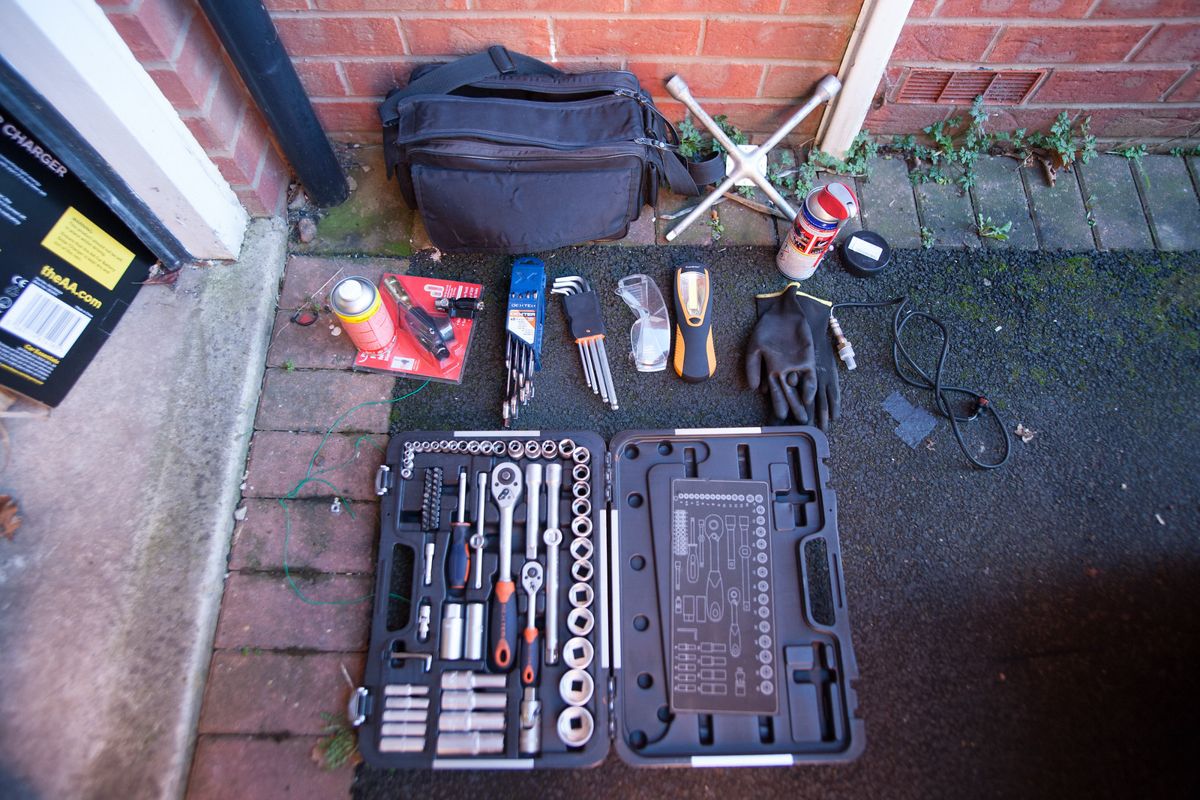
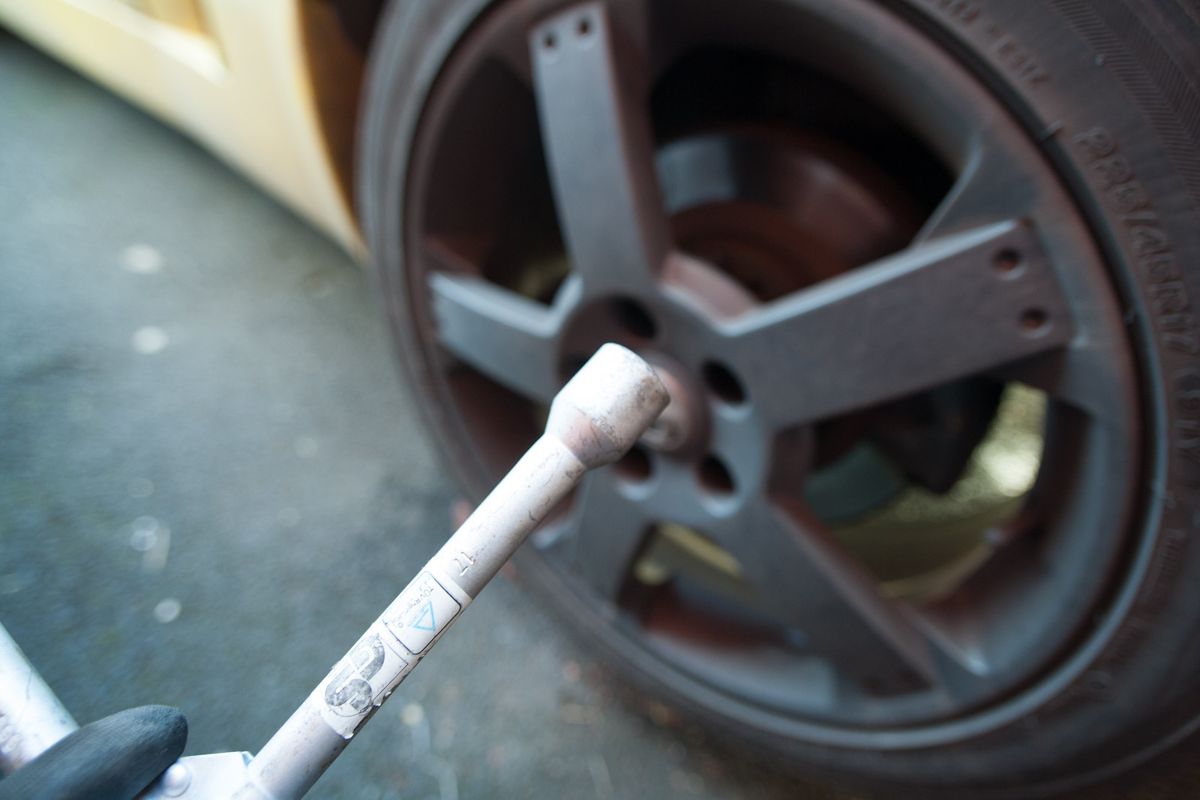
- Loosen the wheel nuts first. Use nylon-covered 17 and 19 mm sockets, unlike what is pictured.
- Jack the car up. Use a hockey puck to spread the load, aiming for the chassis beam and crossmember corner, which is roughly level with the door handles. Watch the puck as you lift to make sure nothing gets pushed in. You only need to lift enough to free the wheel.
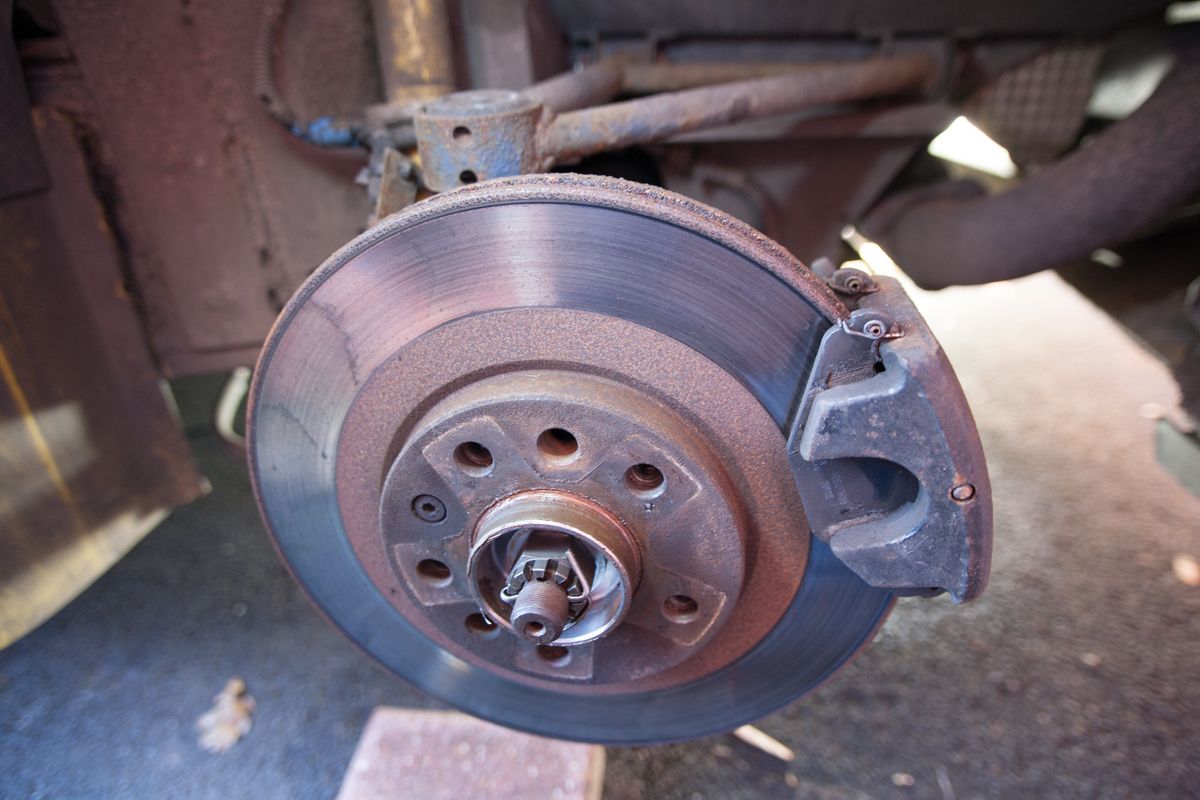
- Take the wheel off, then undo the wheel arch liner and extract it carefully. The author's isn't held by any screws or rivets, as the rawl nuts are gone or buried under years of grime.
It is a good chance to check the hub carrier bolts, toe links, brake pads, wheel bearing and ABS wiring. See hub carrier bolts, rear toe links and rear brake pad replacement.
5. Find the wiring and free the connector
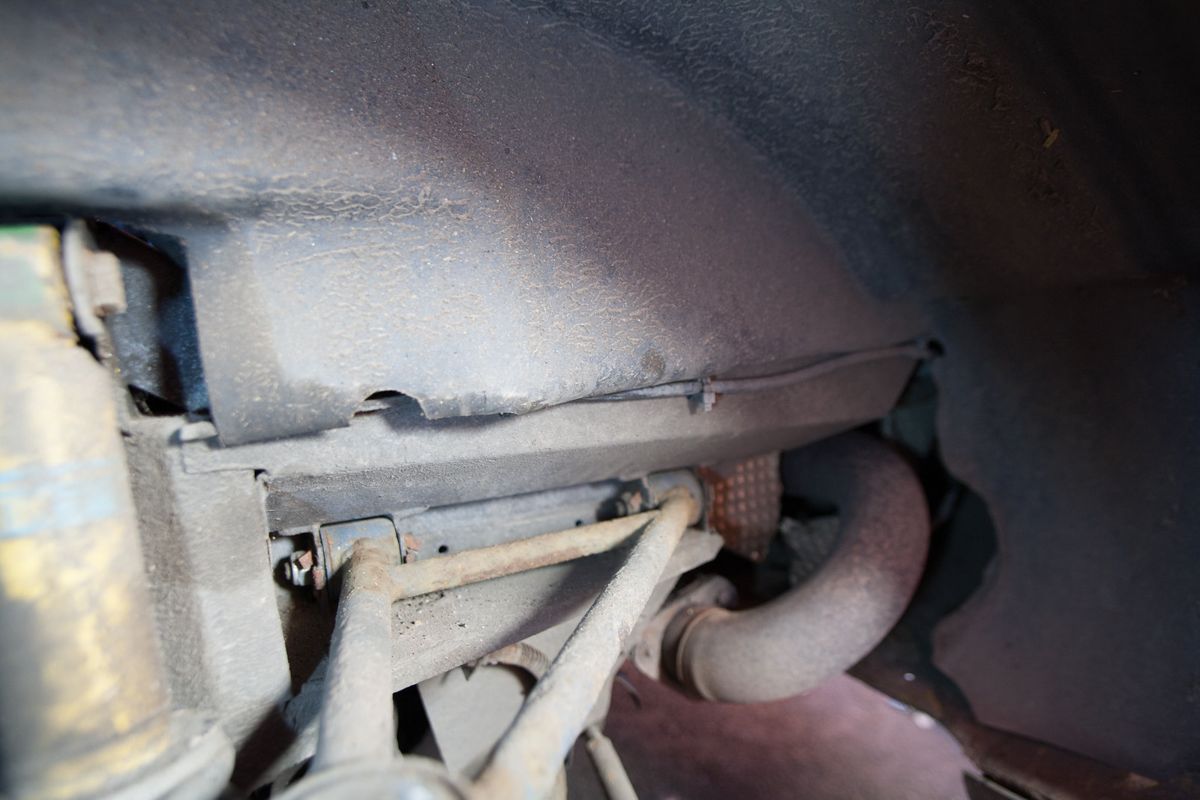
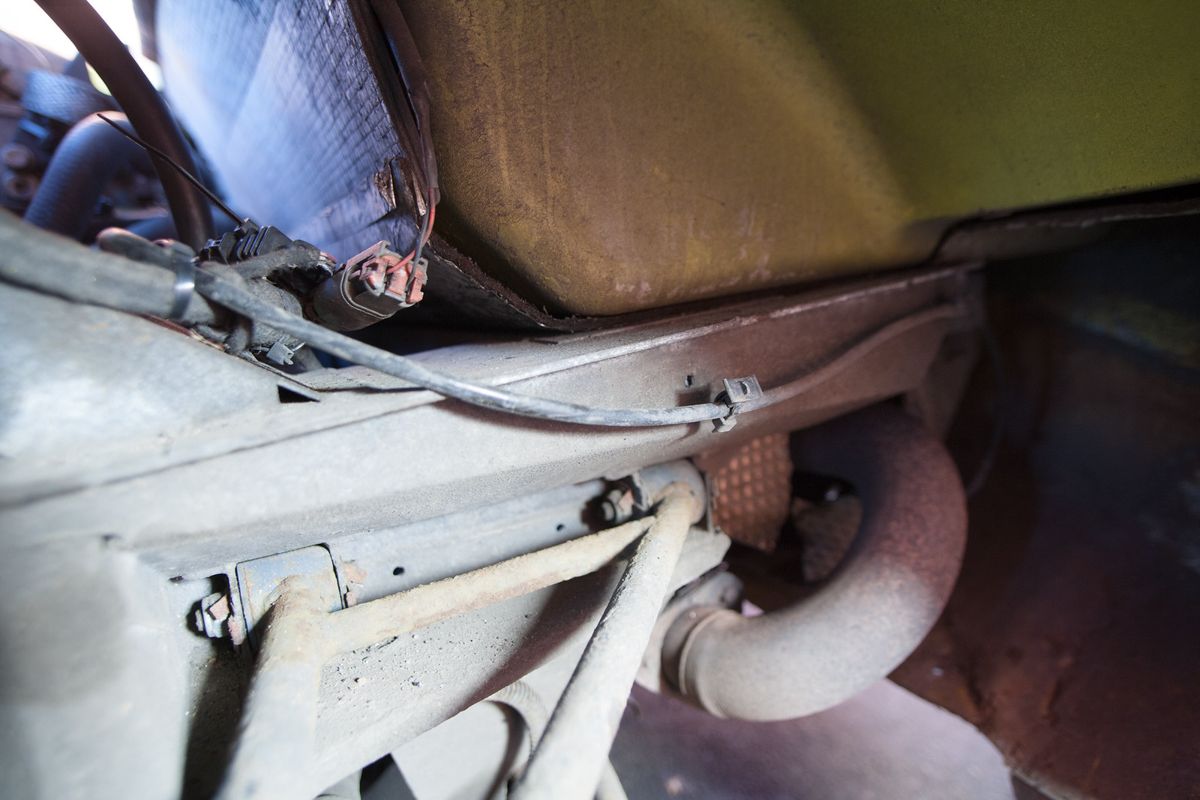
A thin loom runs along the edge of the wheel arch liner towards the rear of the car. This is the lambda sensor wiring. With the liner out, cut all the zip ties holding it (one was broken and stuck behind the liner). You then have very good access to the sensor's flat connector, and it should come out easily.
6. Fit the new sensor and put it all back
- Check the exhaust isn't hot. It should be warm to the touch.
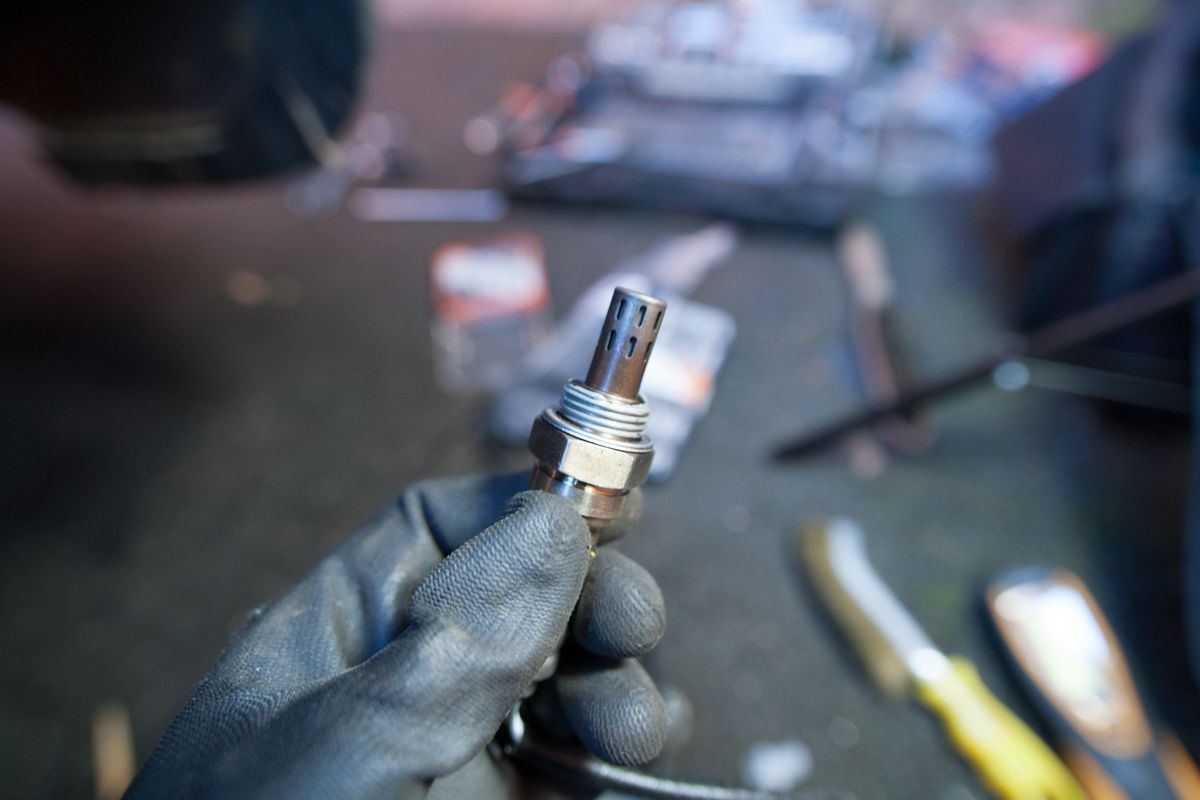
- Thread the new sensor into the pipe. The threads in the exhaust should be clean, and the sensor's threads covered in anti-seize (it may be pre-coated). Watch the wiring as you thread it in, so it doesn't tangle too much.
- Tightening: there is probably a recommended torque, but the author couldn't get a torque wrench or a special socket on the sensor. He tightened it "liberally (enough, but not too much)" until the pipes started to move around a bit. That is not a torque figure, and the thread doesn't give one.
- Re-route the wiring as it was, secured with zip ties so it can't rub on or burn against the heat shields.
- Reconnect the connector, make sure the latch clips in, and secure it with a zip tie.
- Refit the arch liner and the wheel, tighten the wheel bolts and lower the car gently.
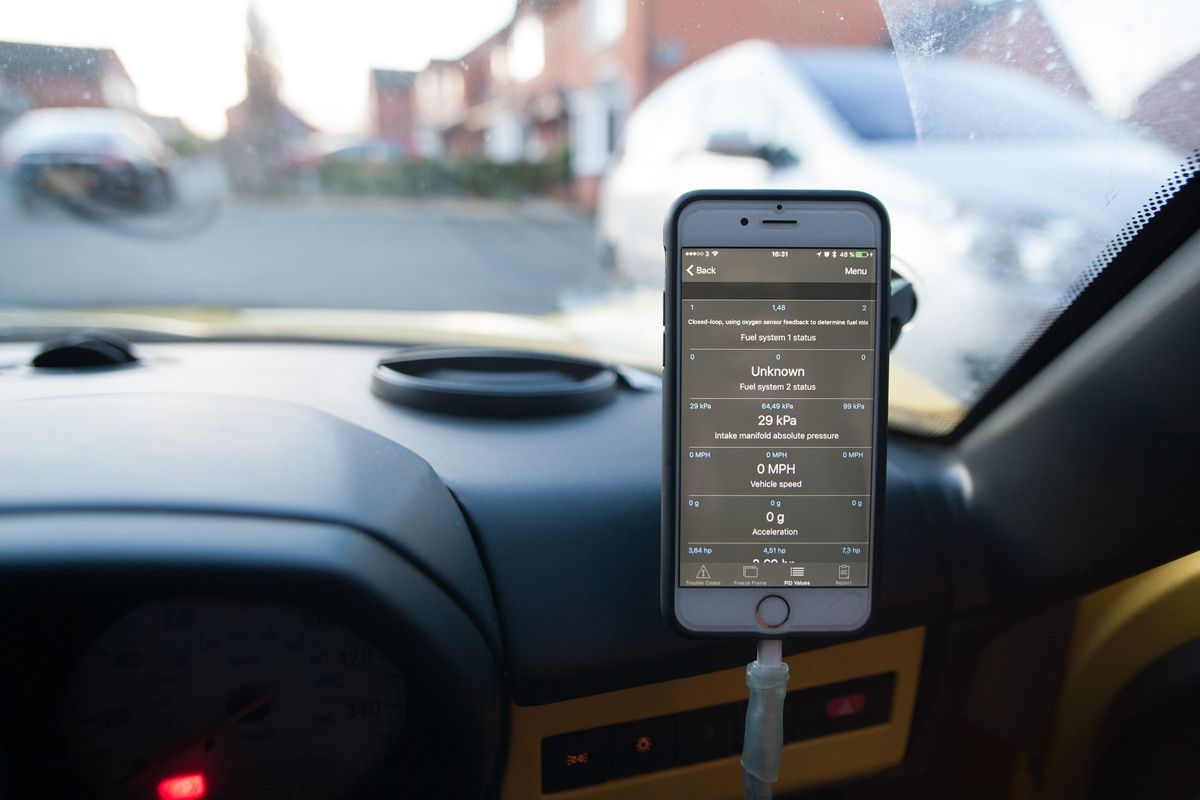
- Clear the fault code. With an OBD scanner, switch the ignition on without starting the engine and clear any fault code or freeze frame that triggers the warning light. Then start the engine and let it idle, and check that the ECU is now using the post-cat sensor. In the photo, that shows as fuel system 1 status 2.
Other things noticed
- Check the ABS wiring is tie-wrapped away from the tyre. On the author's car it had already started to wear, and a previous owner had repaired it with electrical connectors, so he plans to redo the ABS wiring on all four corners.
- Put heat wrap over the exhaust bend (the "u-bend"), which was already melting the author's mudguard liner. The original bend has a shield for a reason.
- One commenter adds that there was a callback in the early days for rear parts that were not heat-treated. That is a claim with no source.