
The author of the photo guide had a hard time. His new cables' rod ends were too long and he had to modify them, and he stopped taking photos at that point. Read the whole guide, and the notes on routing, before you start. For the cable choice, faults and adjustment see Gear cables: faults, choosing and adjusting.
This is the 2012 photo guide, written by an owner who said the only other guide he could find was a description of the process by another owner. The steps and the photos are his. Notes from replies are marked as such. The numbers match his.
At the gearbox end
- Drop the centre undertray: two Allen bolts and about eleven 10 mm bolts.
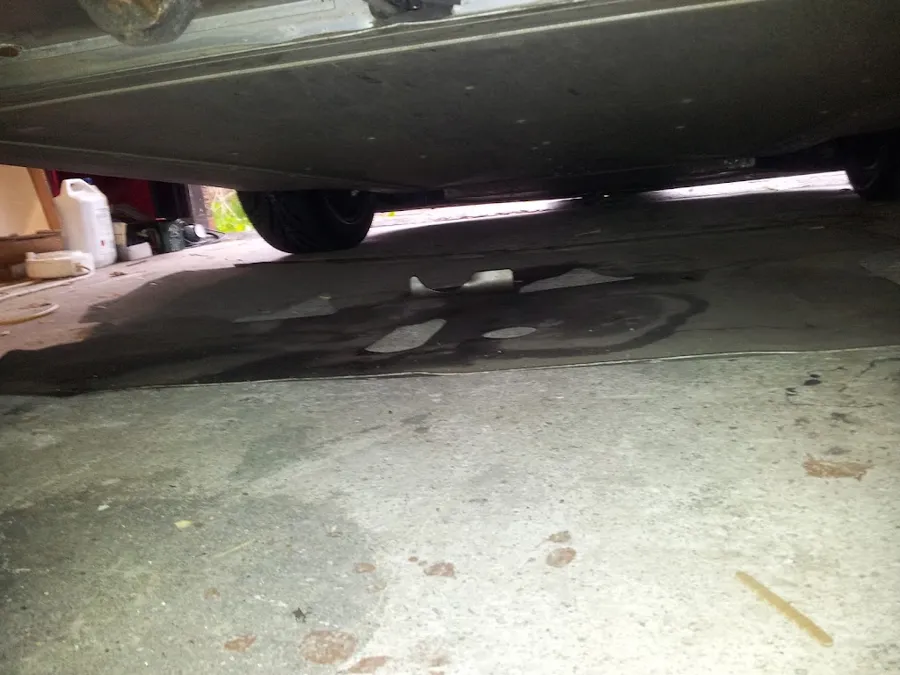
Step 1: the centre undertray. - Release the handbrake cable from the yoke. Pull the clip out with a small screwdriver, then push out the pin. See also Handbrake cable replacement.
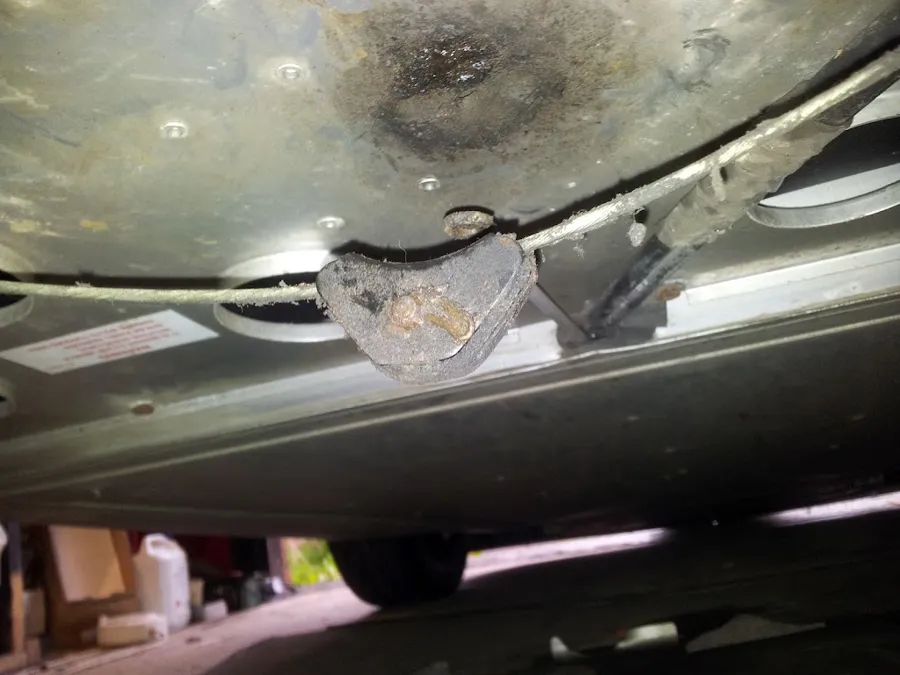
Step 2: the handbrake cable and yoke. - Remove the cable support bracket (two Philips screws).
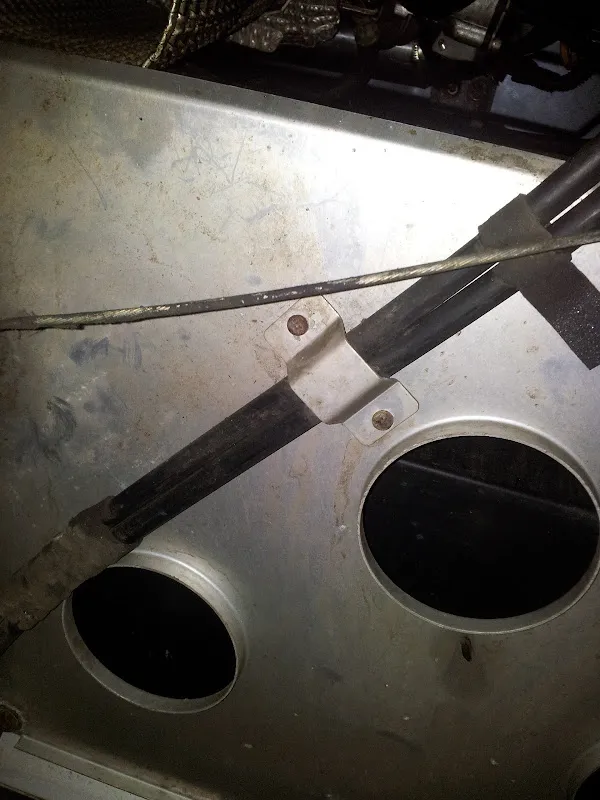
Step 3: the cable support bracket. - Unhook the cables from the hanger (top left of his photo).
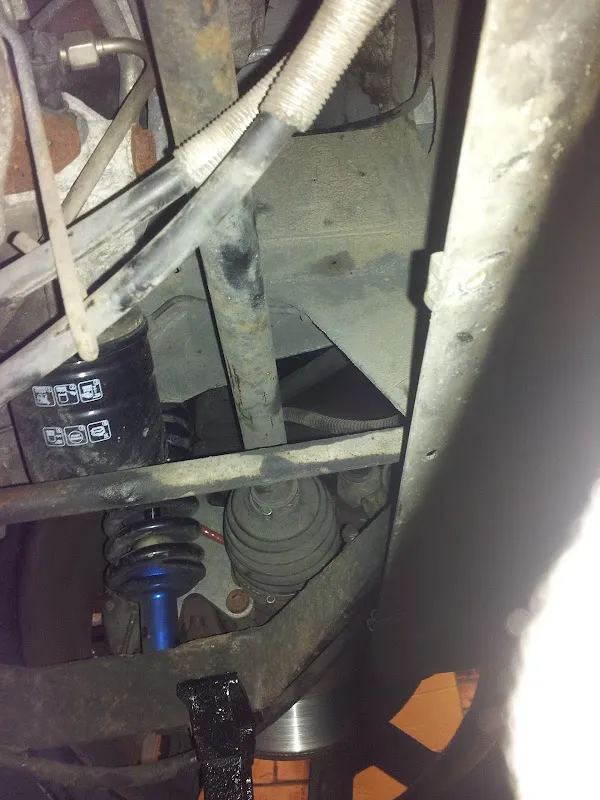
Step 4: the hanger. - Prise the ball joints off the gearbox. They are to the left of the engine bay if you stand behind the car, and can take a bit of getting off. He used the lower jaw of a pair of pliers as a lever, as there isn't much access with his catch can tank fitted. Owners in the 2010 thread suggested a 10 mm spanner on the hex part, rolled off as if undoing it, or prising the socket square to the lever arm with a spanner between 10 and 13 mm. "They just pop off."
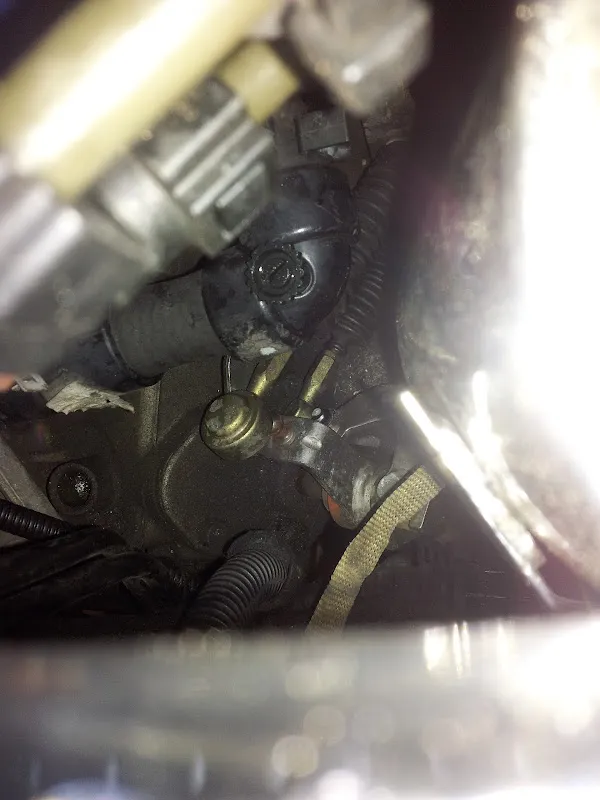
Step 5: the cable ends on the gearbox. 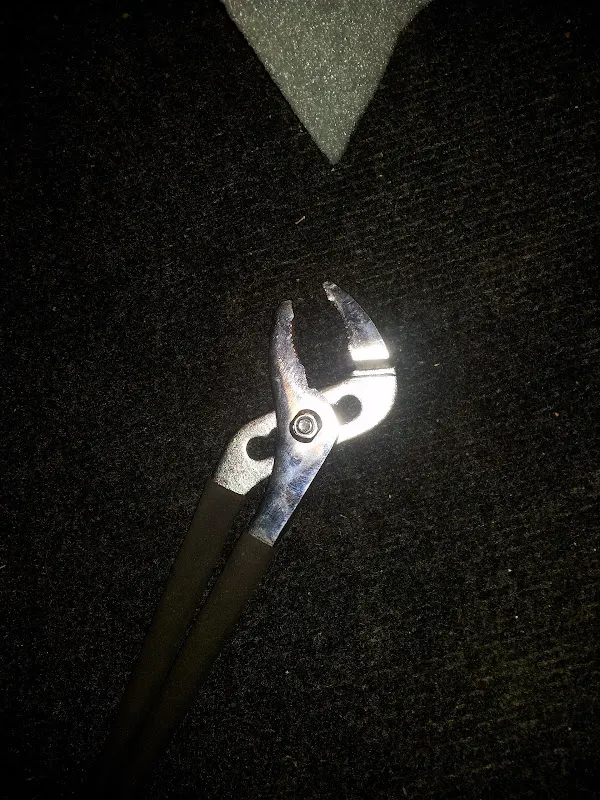
The pliers he used as a lever. - Remove the e-torx screw that holds the cable bracket on the gearbox and withdraw the bracket and cables to under the car.
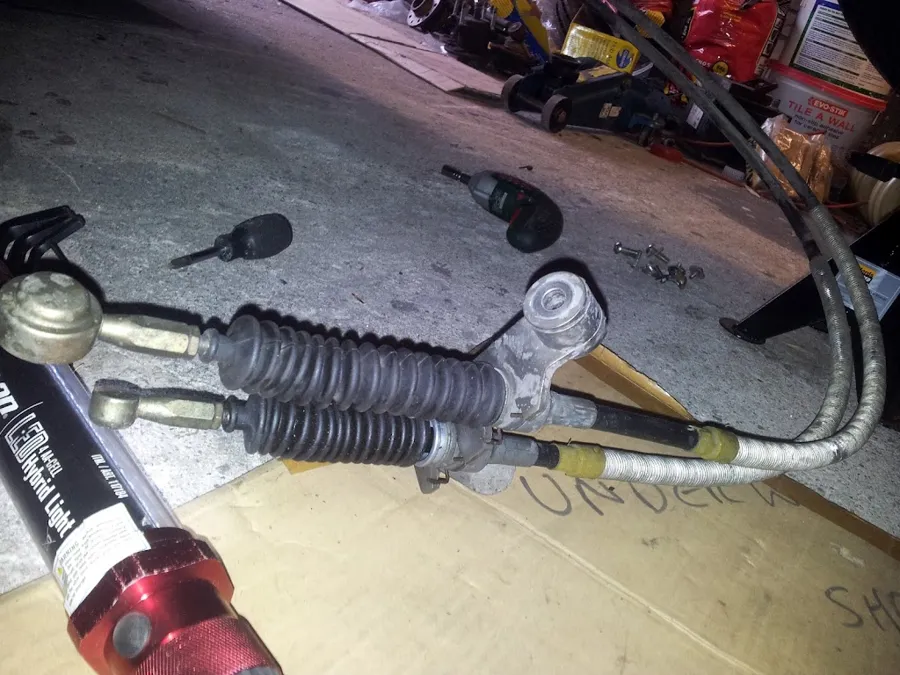
Step 6: the bracket and cables out.
Inside the car
- Take out the driver's seat, which he found easier than the passenger's: two 6 mm Allen bolts at the front and a 13 mm hex at the rear (you can release the seatbelt mounting too). Then remove the centre console: various clips, and unscrew the gear knob.
- Cut the seven cable ties that hold the cable harness, and bend it out of the way over the passenger seat.
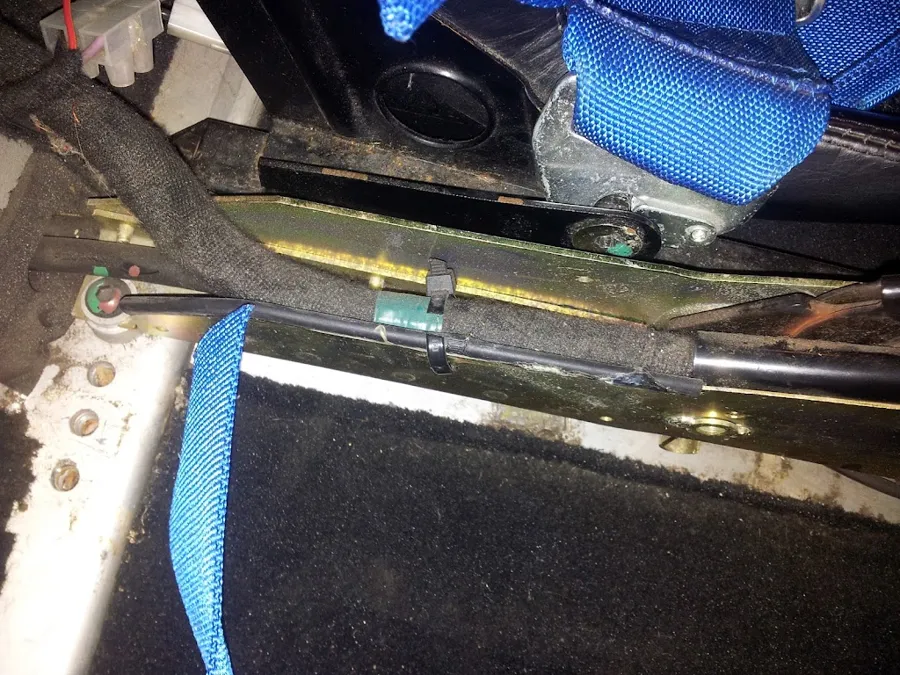
Step 8: the harness and cable ties. - Remove the four bolts holding the remote assembly down: three 13 mm hex at the front and one 5 mm Allen at the rear. Keep the central plastic spacer and the front and rear alloy spacers. His had a washer on each spacer as well.
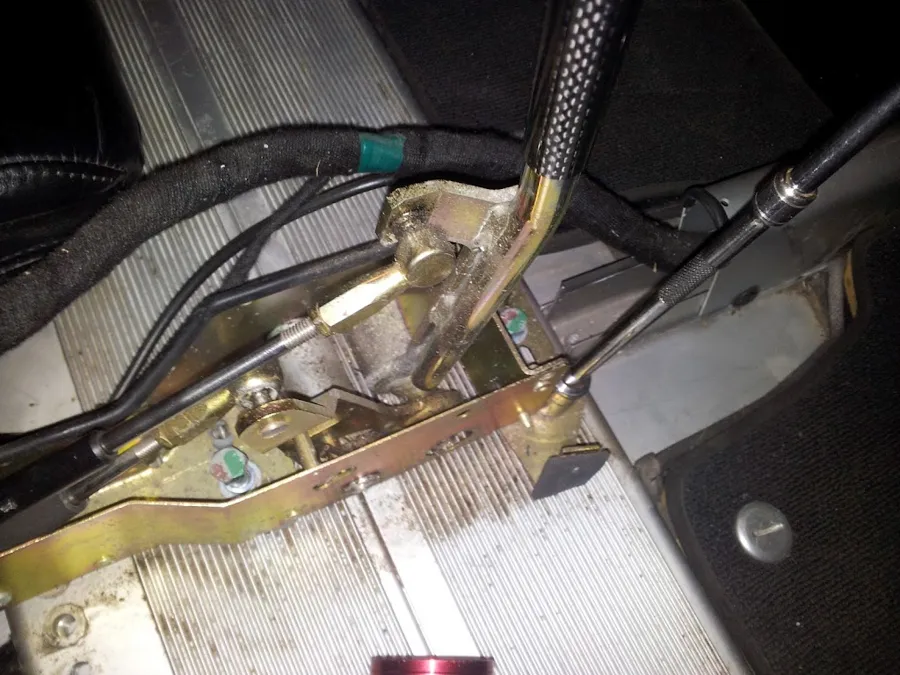
Step 9: the remote assembly. - Under the car, drill out the rivet.
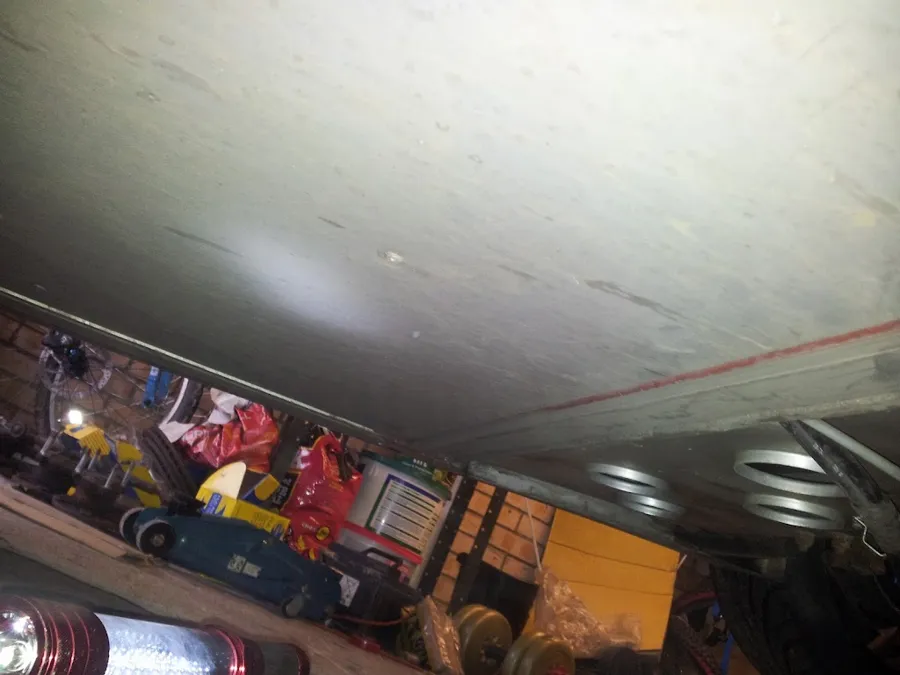
Step 10: the rivet. - Prise off the rod ends.
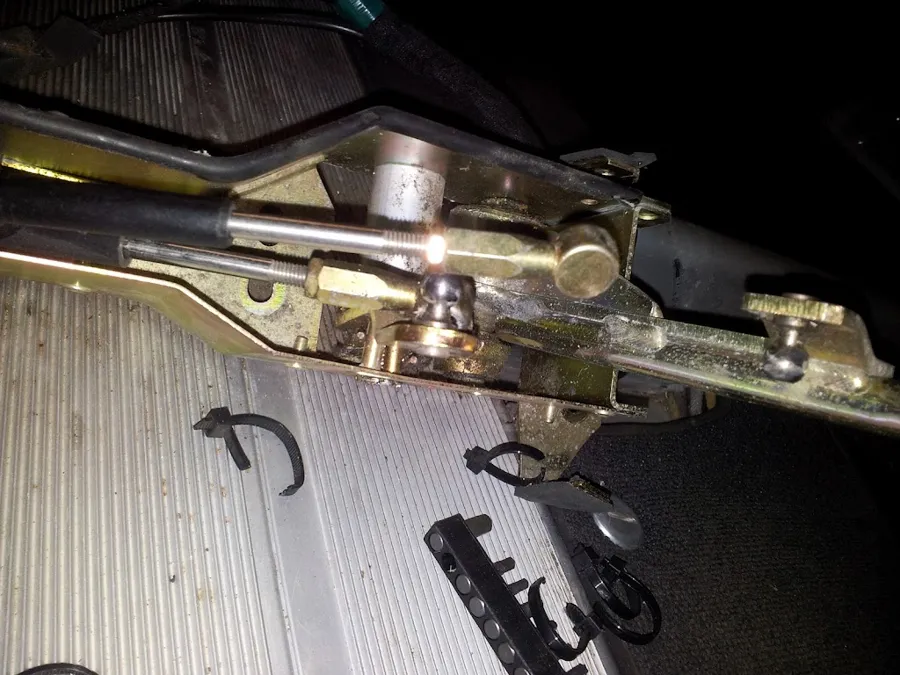
Step 11: the rod ends on the lever. - Remove the four Philips self-tappers holding the cable end bracket block, then push the block forward out of the remote assembly to release the cables.
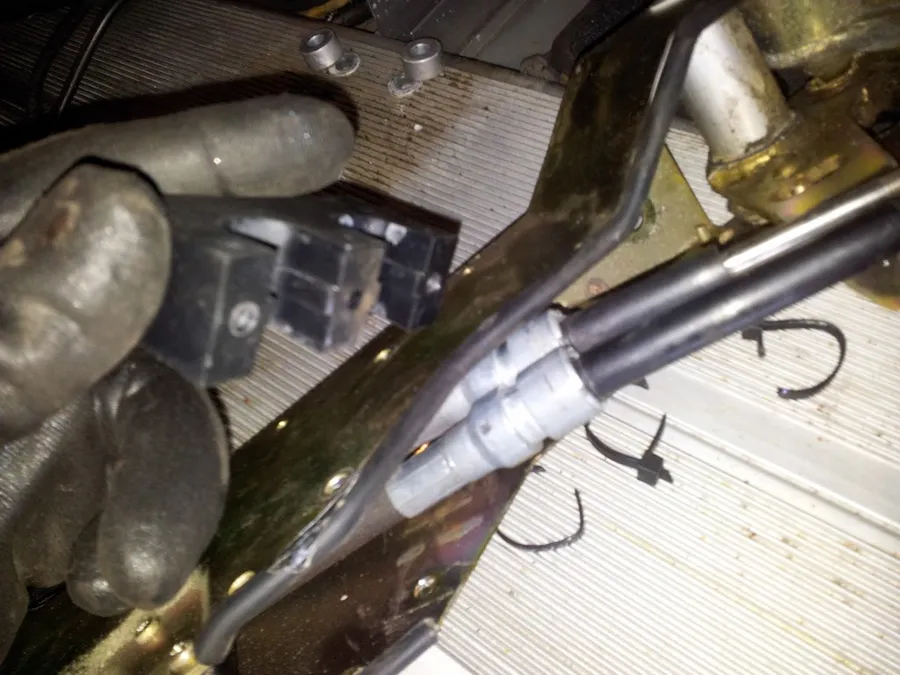
Step 12: the cable end block. - Get the cables out. The select cable comes straight out but the shift cable is trapped. Remove two bolts to release the handbrake handle assembly. To get the cable out, he bent the S-shaped steel bracket (in the middle of his photo) out of the way. Its purpose is to form the bend in the select cable so it curves to the retaining bracket. Both cables then pass out of the rear of the remote assembly. Pay close attention to the routing.
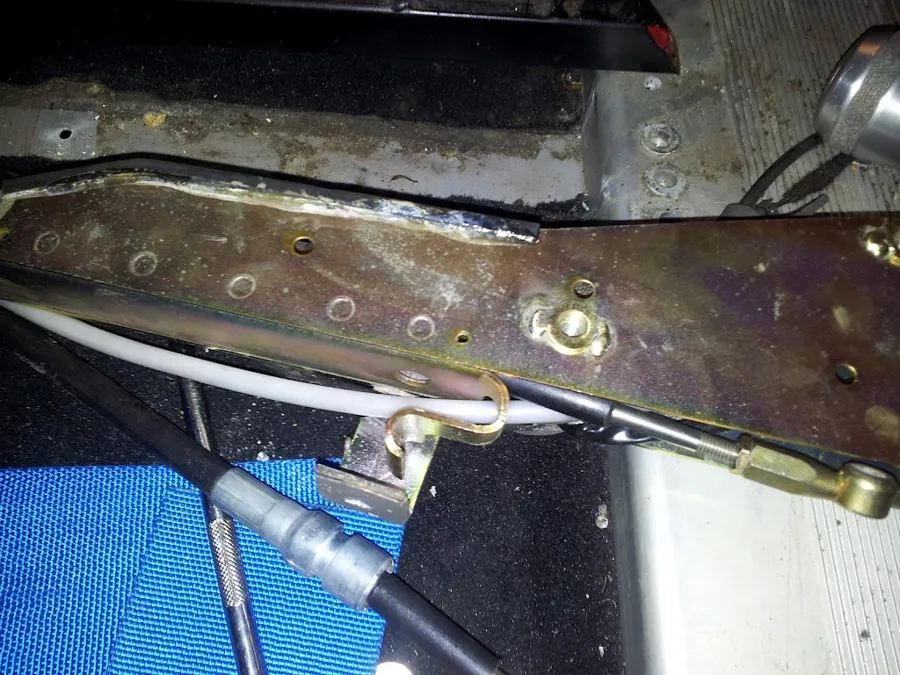
Step 13: the S-shaped bracket.
Which cable is which. The author's text for step 13 says the select cable (short ends) goes to the bottom and the shift cable (long ends) to the top. A reader found that didn't match what he saw, and the author replied that he was probably "inverted" in his descriptions, but that the left/right movement is the bottom joint, and it looks to be on the passenger side. A 2015 reader worked it out the hard way: the shift cable is not the one with the bigger ball joint at the gearbox. It is the one with the smaller joint and the yellow sticker. Mark each cable, and note which goes where, before you pull them out. If you get it wrong, the author says you won't be able to refit the centre console.
Fitting the new cables
- New (Cablecraft) cables beside the old ones: "similarish".
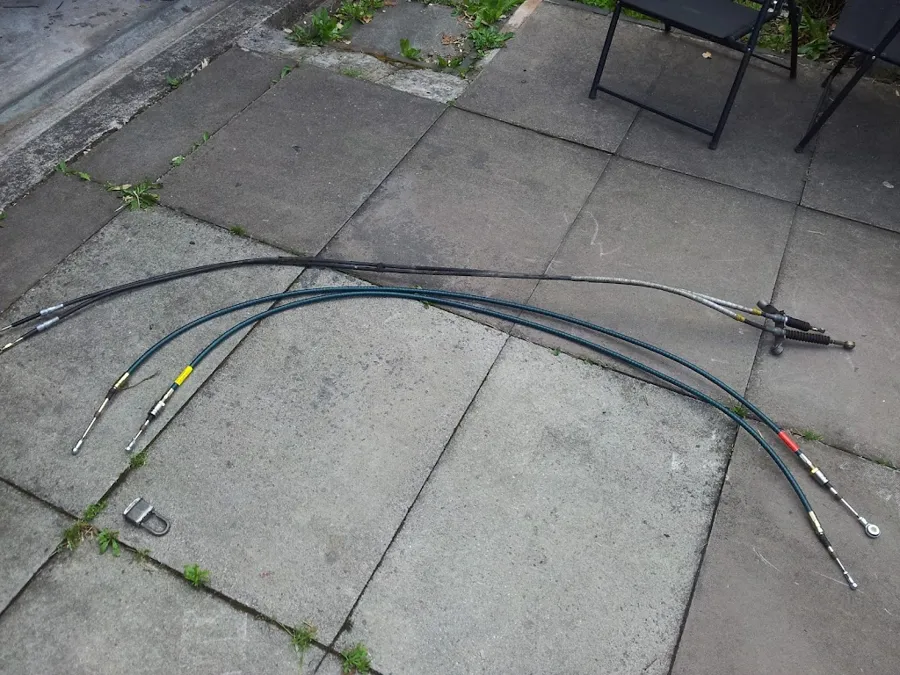
Step 14: new and old cables. - Take the rod ends off the old cables and recover the boots and wire clips. Release the wire clips and remove the cables from the bracket.
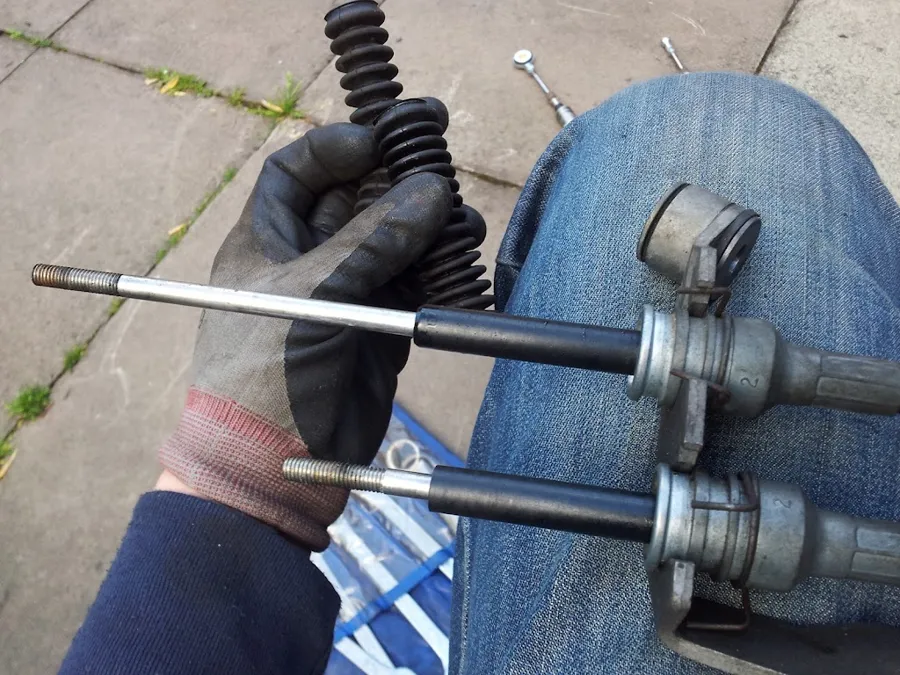
Step 15: removing the boots. - Refit the boots to the new cables. His Cablecraft cables didn't have the groove for the retention clip, so he turned the clip round and used the boot's groove for both, which he said wasn't ideal. Fit the new cables to the bracket in the same orientation as the originals. His needed a gentle tap in.
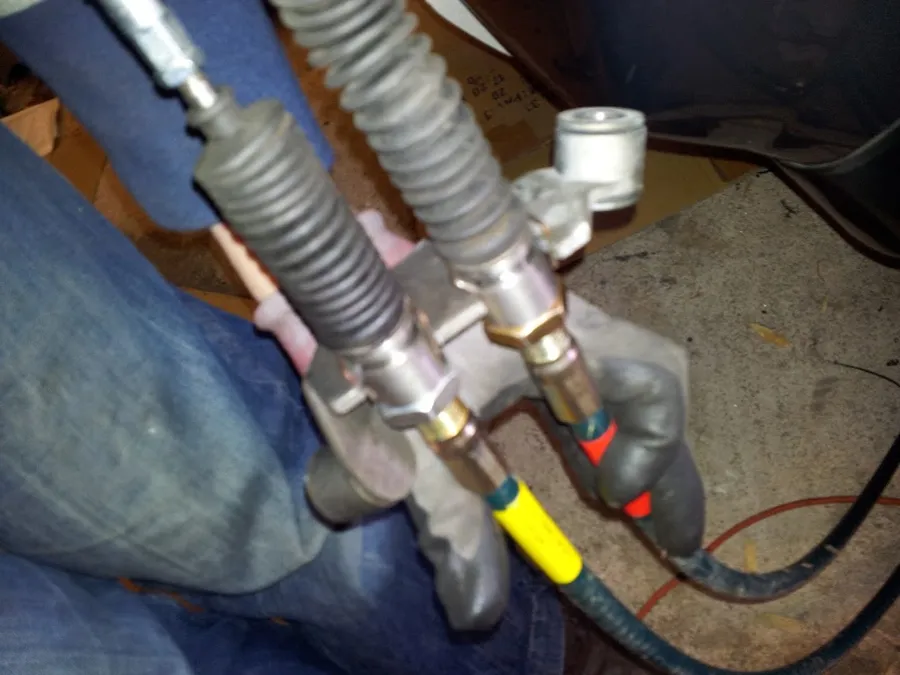
Step 16: the boots on the new cables. - The rod end was too long. He had to extend the threaded length of the rod end and cut it down, and hoped this wouldn't be a step in future. After that he stopped taking photos.
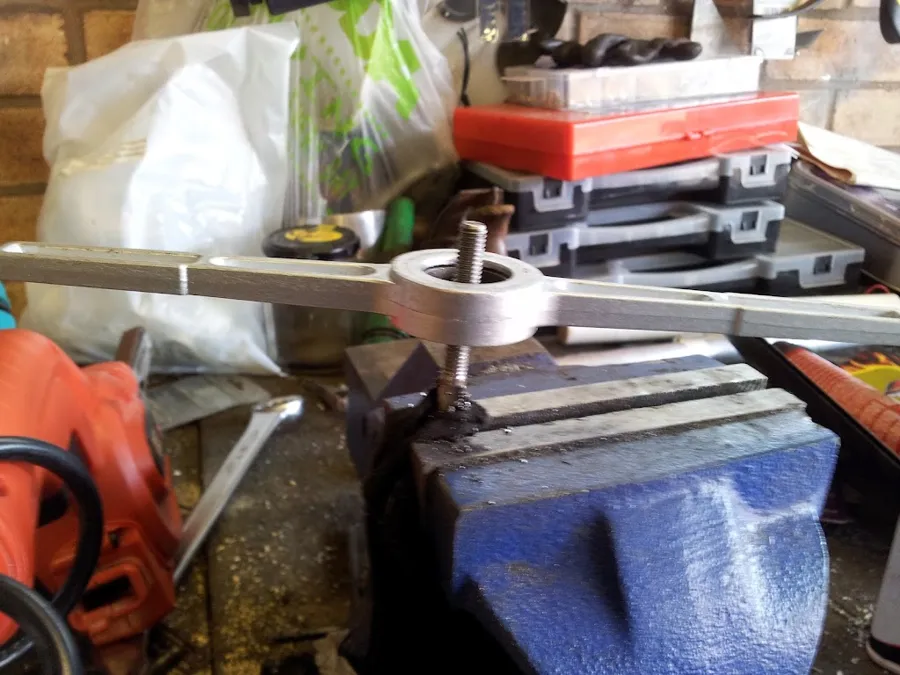
Step 17: re-threading the rod end. - Thread the new cables through the letterbox under the car into the cabin, with the shift cable to the left as you look at the hole. Feed them back through the remote assembly the way they came out.
- Push the cable ends into the retention block, slide it back into the remote assembly and secure it with the four self-tappers. Bend the bracket back to its original position (from step 13). Clip the cable end ball joints back onto the lever balls, and refit the handbrake lever.
- Bolt the remote assembly back to the chassis (the 5 mm Allen and three 13 mm bolts), with the correct washer and spacer stacks. Replace the rivet you drilled. He says it supports the floor skin and it will likely vibrate without it.
- Under the car, pass the gearbox bracket with the cables up into the rough location. Hook the cables back onto the retention hook and refit the retention bracket (two Philips). Route the cables above the handbrake cable, otherwise you won't get the retention bracket back in place (a 2015 reader's addition).
- From the top, leaning into the engine bay, reseat the bracket and refit the e-torx bolt. Clip the cable ends back onto the balls. The big end is the top ball.
- Try the shift, then adjust. See Gear cables: faults, choosing and adjusting for his adjustment steps: the neutral position, the select spring, and 4 to 5 threads engaged.
- Refit the wiring loom in its original position and re-tie it, refit the centre console and the seat, then the undertray.
Notes from the thread
- The boots. One owner said to take the boots off, because they trap moisture and lead to premature failure, and that Cablecraft/Tuthill cables are sealed properly anyway. The author replied that the rod has wiper seals, and that perhaps the boots aren't needed.
- The rivet. The same owner said the floor skin doesn't vibrate without the rivet and bracket, and he ran 2.5 years without it. The author pushed down beside the rivet bracket with a finger and could flex it about 5 mm, so he refitted one. He added that the NA has four screws holding the cable tray on under the car.
- Do you have to lift the remote assembly? In 2016 an owner who tried it said it was necessary, and that drilling the rivets is where he stops. Another owner said he didn't drill the rivet. He just played with it and the cables came out, though he might have had to open the gold part a little for clearance, and it could be put back as it was.
- If the car won't go into gear afterwards, see the adjustment section in Gear cables: faults, choosing and adjusting.
Help wanted
There are no torque figures for any of the bolts, and the guide was written for one set of Cablecraft cables, so we don't know whether the rod ends are always too long or whether current cables come with the right length and the retaining groove. We also don't have a photo of the routing round the handbrake lever. If you have done this, please tell us how it went and send photos.