
This was written in 2010 after the author searched and found nothing. He says it really is an easy job but a faffy one without a pit or a lift. The photos carry the Photobucket watermark.
Removing the old cable
- Jack up the rear and support the wheels. The author used bricks as he had no axle stands, with the front wheels chocked on both sides and a jack on each side for safety.
- Remove the undertray.
- Loosen the adjustment bolts on each side of the car with a 19 mm spanner.
- Remove the retaining "R" pin from the lower side of the crescent-shaped link between the primary and secondary cables. He jabbed a 3 mm Allen key into the end and pulled it free.
- Remove the securing bolt (the one the R pin was in) from the top of the crescent, and the secondary cable should free itself from the primary cable.

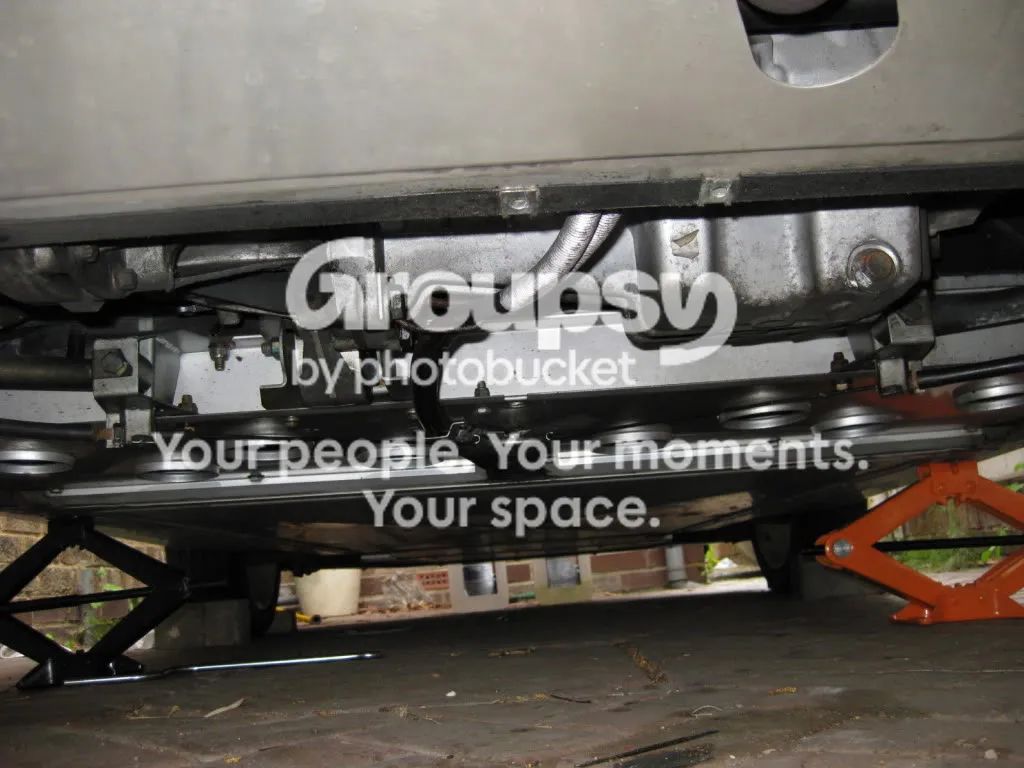
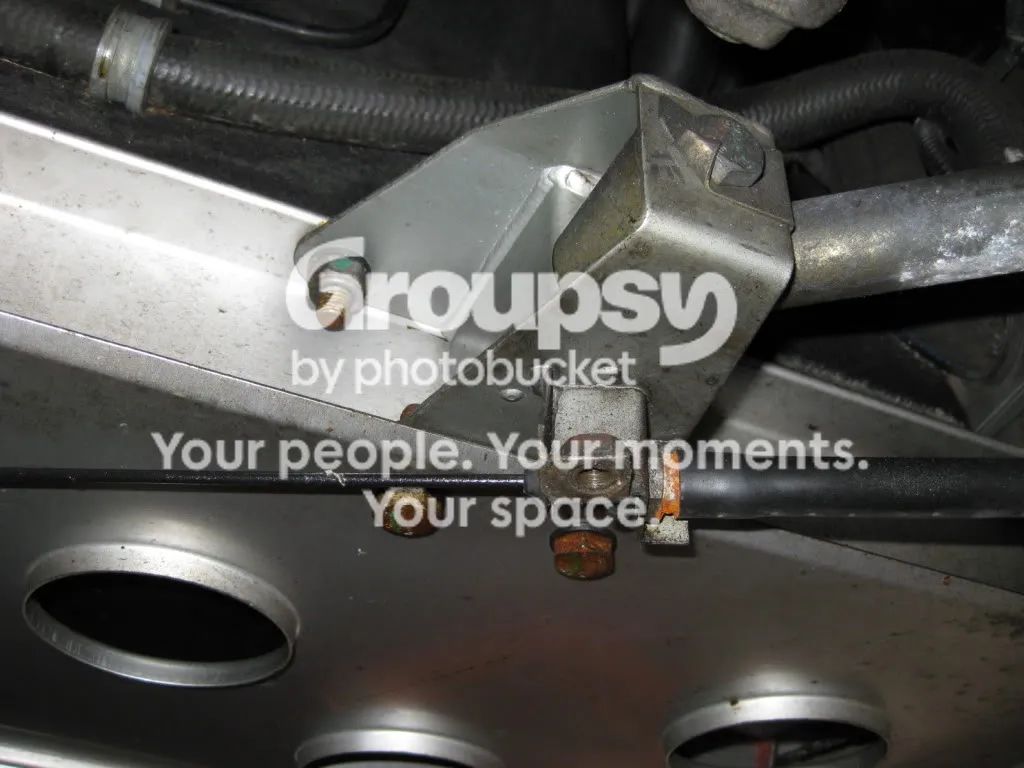

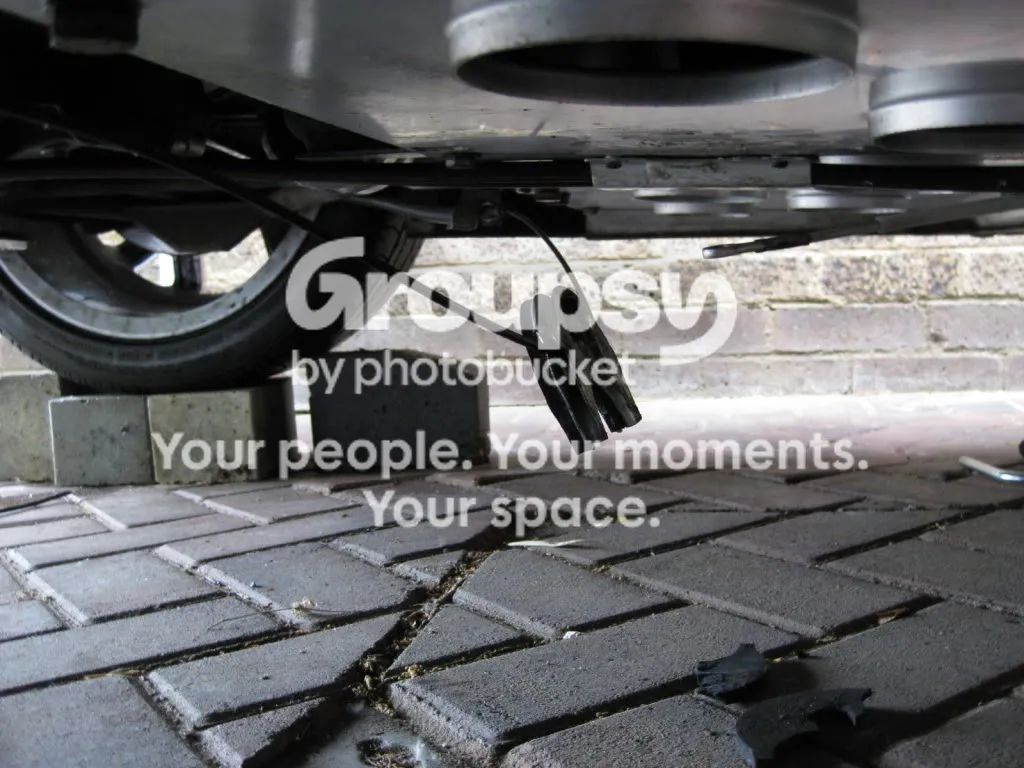
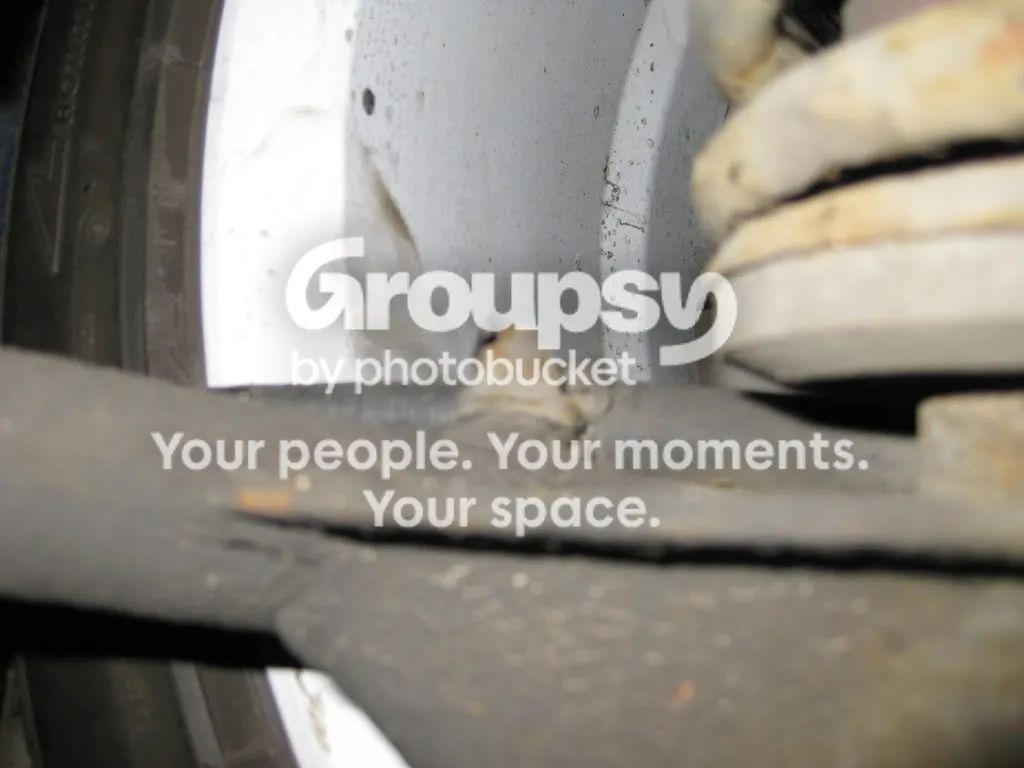
- Undo the P-clips that secure the cable to the wishbone. They are hard to get at from underneath, and definitely easier through the wheel arch if the wheels are off (a big plus if you have axle stands). If not, you can reach them by sliding under from the rear to about waist deep. The P-clip's 10 mm nut may need the rubber edges pushed away from it so the spanner can bite on the edges without rounding it off. Replace the clips if you can, as they are likely to have corroded badly.
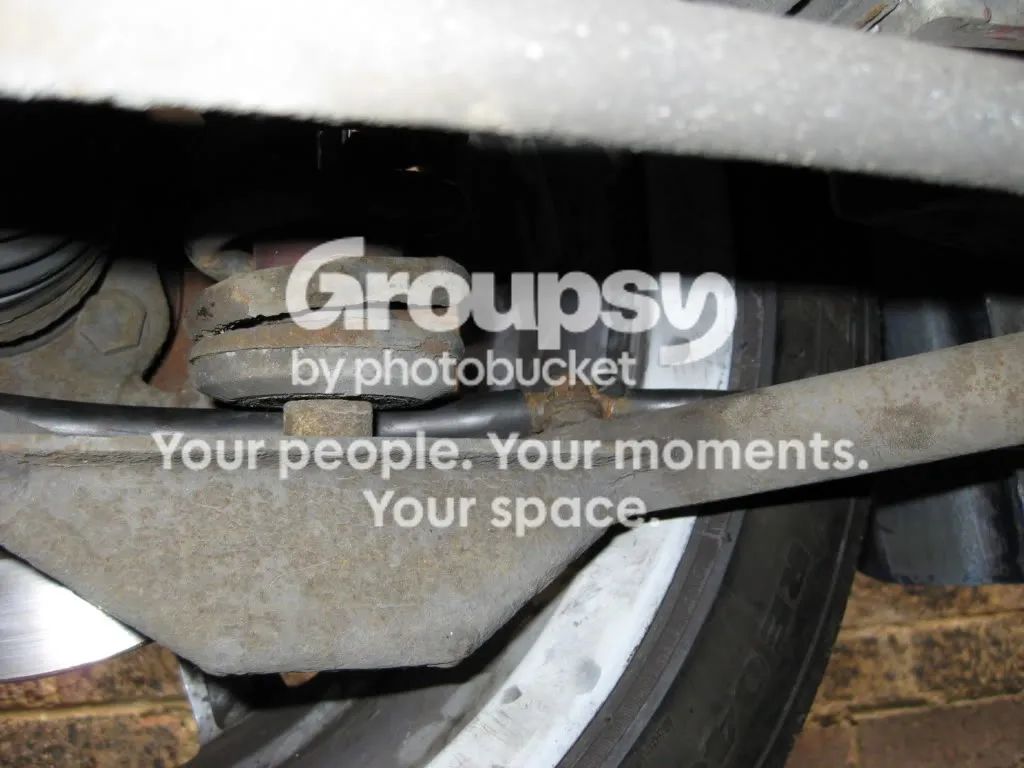
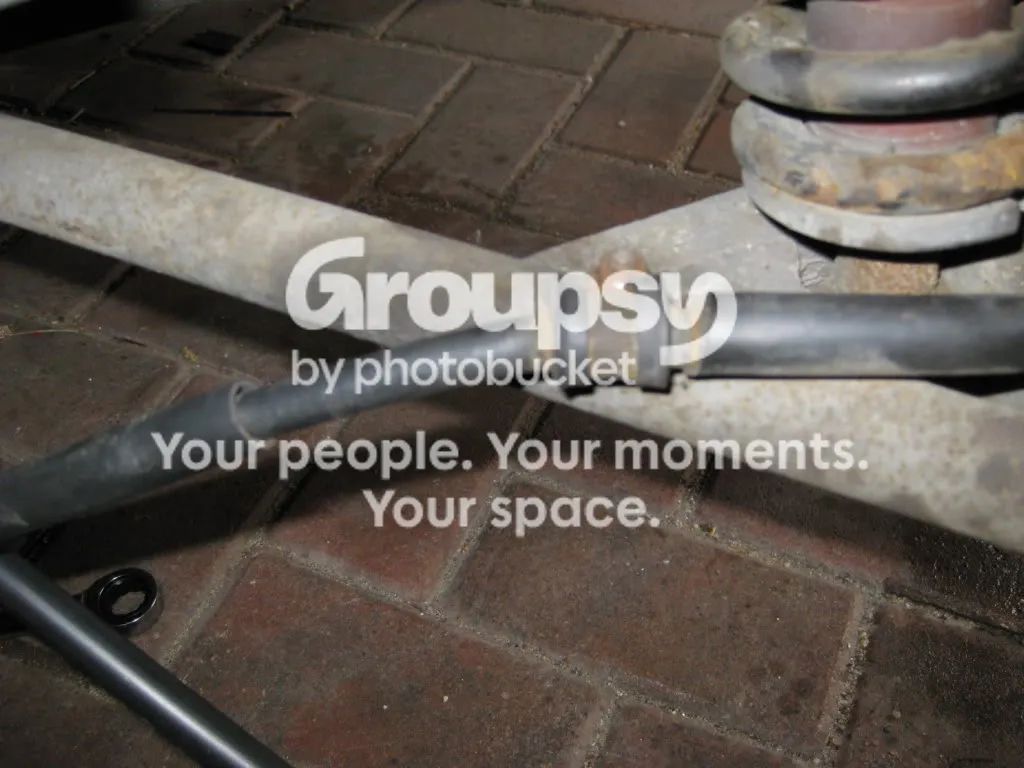
Fitting the new cable
Refit in the same order as removal: crescent to the primary cable, then run the new cables towards the P-clips and fit them.

- The P-clip positions on the Elise Shop cable. They sit about 6 to 7 cm too close to the centre. This isn't a big problem: cut the length of outer sheathing needed from your old cable and gaffer tape it in place.
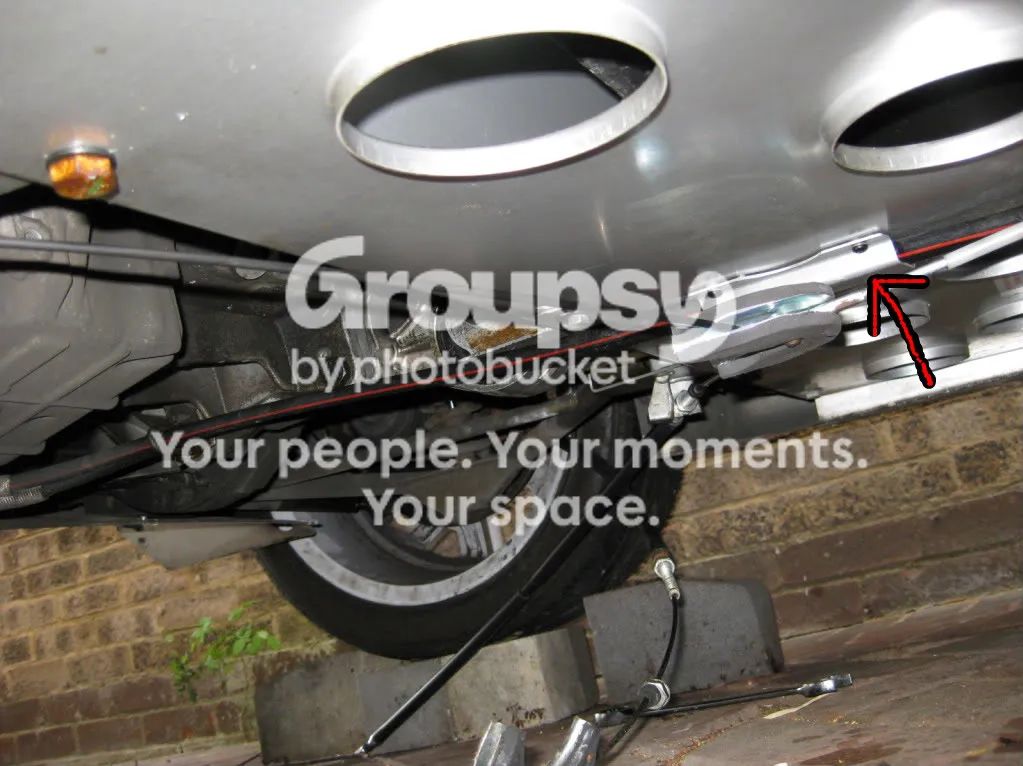
- Foam for the gear cables. Fit a thin piece of foam along the tunnel for the gear cables. The author only had 7 mm foam and planned to redo it with thinner. The photo has a red and black arrow where the foam goes. The thread doesn't say what the foam is for.
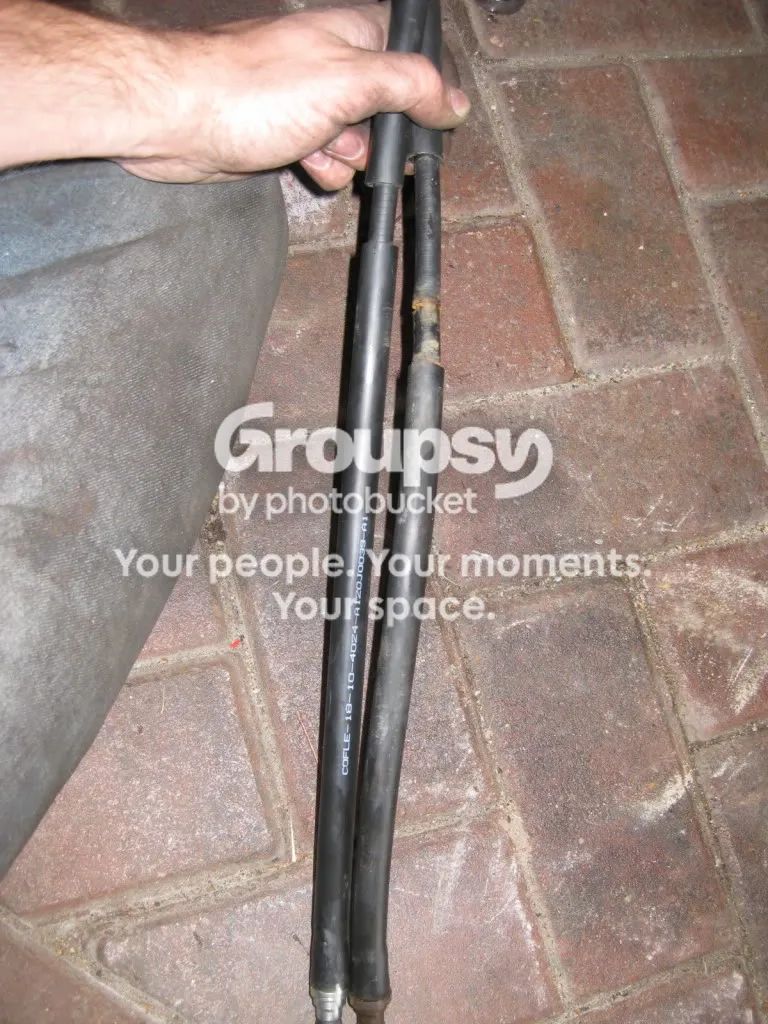
At the calipers
- Loosely fit the P-clip, then jack up one side at a time off the bricks and take the wheel off.
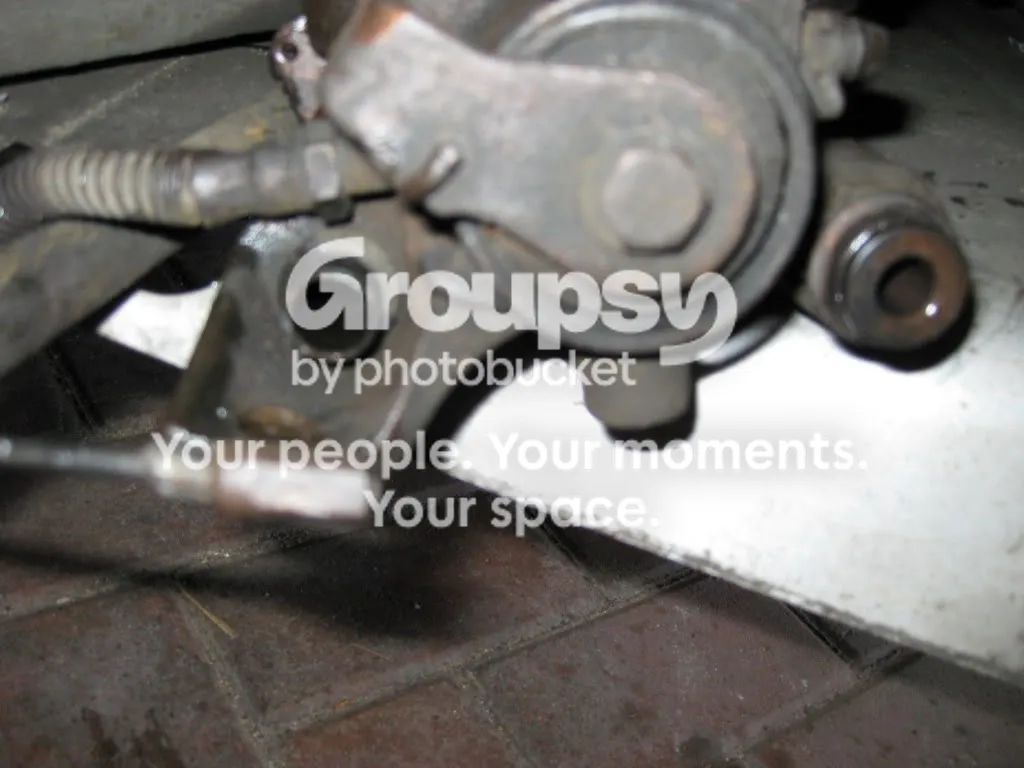
- Remove the old handbrake cable from the caliper and pull it out of the hole just below the caliper on the hub.
- Run the new cable along the wishbone, through the hole and attach the end to the caliper. You shouldn't need to adjust anything on the caliper or pads, as long as you leave enough slack in the cable. Secure it with the P-clip so it doesn't foul the wheel, tyre, hub or wishbone, then repeat on the other side.
Adjusting the cable
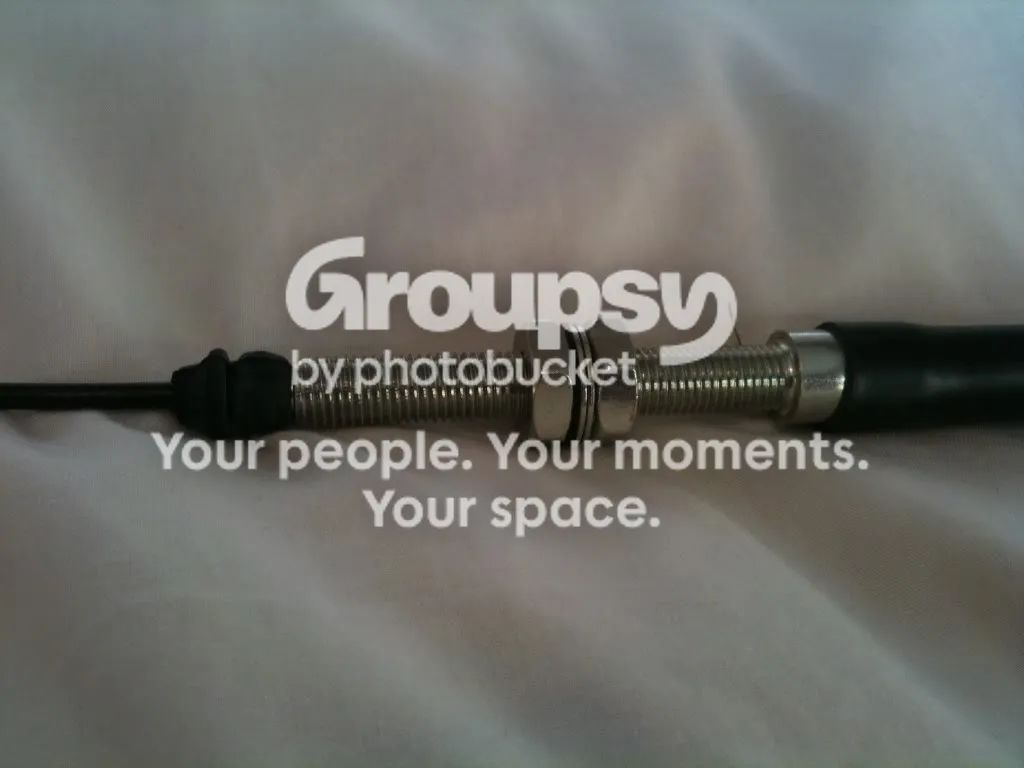
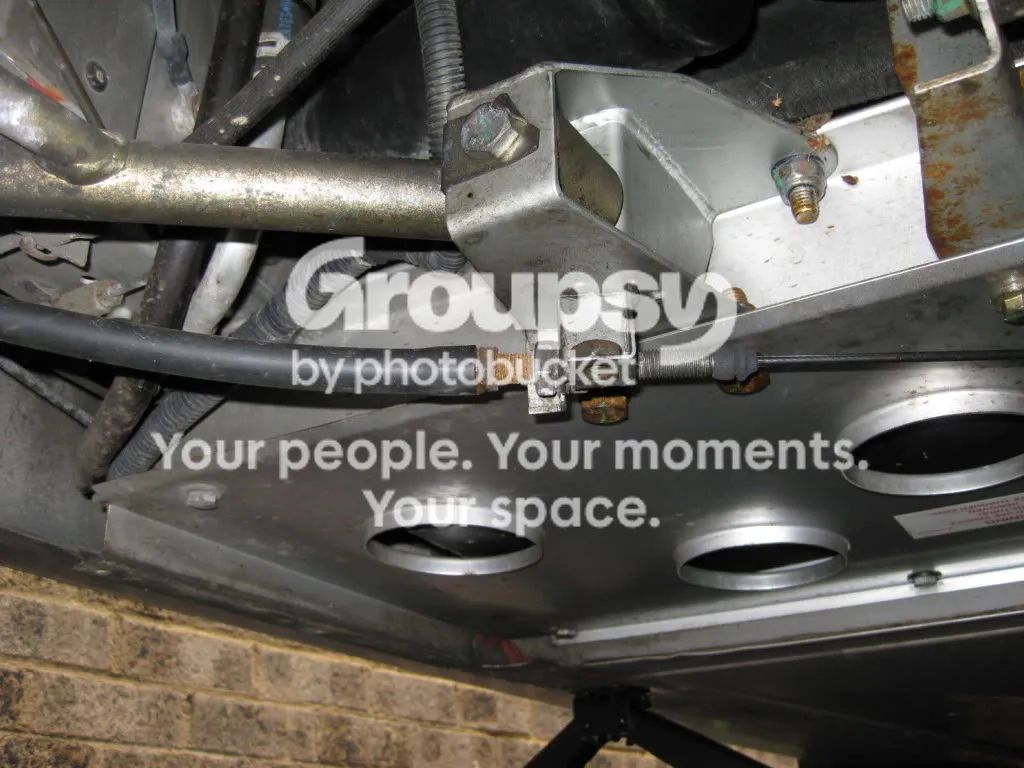
You want enough slack for the caliper to return fully, but not so much that the handbrake needs a silly number of clicks. The adjustment is made on one side only, the one whose mounting has two bolts and washers. That is the passenger or the driver's side depending on which way round you fitted the cable.
- Pull the cable towards the wheel until it is tense.
- Wind up the securing bolt on the wheel side of that bracket.
- Then back it off just far enough to see the crescent drop 2 to 3 mm.
- Tighten all the bolts, refit the wheels and the undertray.
This is the author's own tip, and it may not be right for every car. Adjusting just means altering the bolts in the last picture with the handbrake off.
Tips from the thread
- Check the caliper lever moves freely. While the cable is off, move the caliper arm by hand. They can seize inside, and the handbrake can seem to work while pulling on only one side. See the rear caliper strip-down guide if one is stuck.
- Oil cooler rattle. In the last photo the oil cooler hangs just above the wishbone mount, and if it touches the mount it can cause a rattle. One owner says it took three years to find. Cable-tying it tight to a nearby beam had held up for five or six weeks of use and heat.