
This is suspension. Support the car on axle stands (see Jacking points), and check every bolt is tight before driving. Taking the wishbones off disturbs the geometry, so plan for an alignment afterwards (see Wheel alignment).
Upper wishbone
- The upper rear bolt looks like it fouls the steering rack. Turn the steering to full lock and the bolt simply comes out. The workshop information system (TIS) just says to remove the bolt, and the owner who asked about it was worried it would foul the rack.
- The lower bolt is easier to undo with a long ratchet and two 12 inch extensions, worked from inside the footwell (the thread doesn't say exactly which wishbone, but it is in the upper wishbone discussion). The rear upper wishbone bolts can be reached with a ratchet and a knuckle joint.
- An alternative for the upper rear bolt: slide a 17 mm open-ended spanner in beside the shock mount, and use a ratchet spanner on the side by the steering rack, after loosening with a normal spanner first.
- Track rod end: one owner removed it for more clearance, but the thread turned with the nut and he had to cut the nut off with a rotary tool. He then needed a new track rod end, drop links and shims.
Lower wishbone
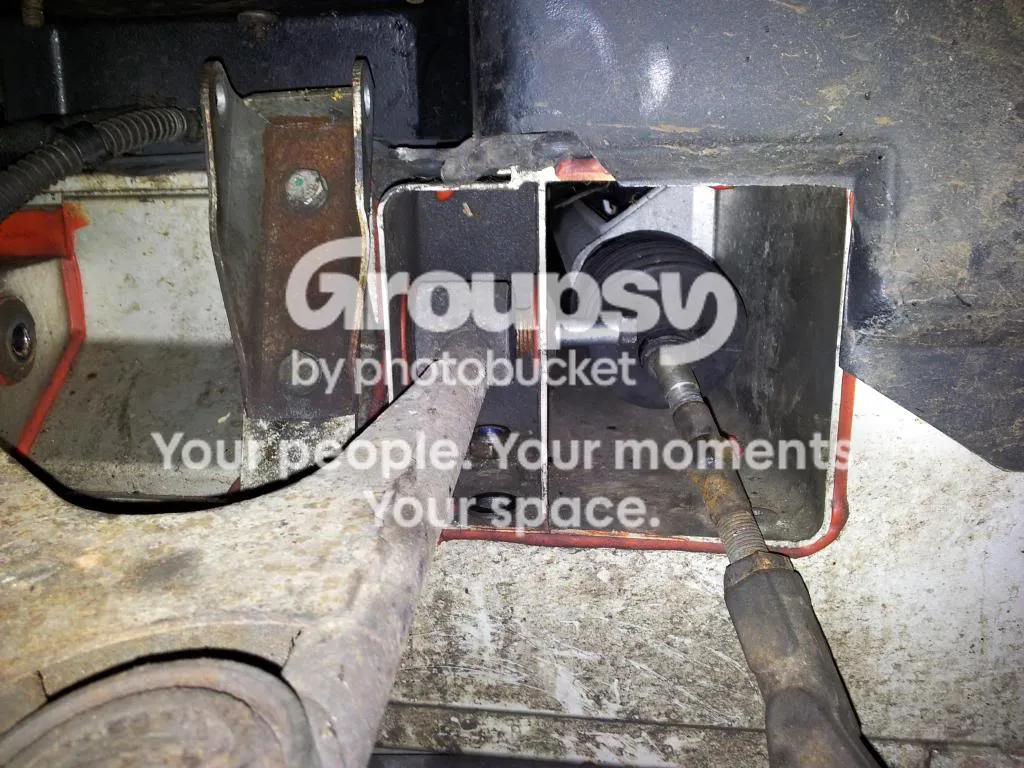
- Reaching the nut. The front anti-roll bar is in the way. Two options from the threads: drop the front undertray, or drill out the rivets on the alloy bracket (the cover) and put pop rivets back afterwards. One owner says lots of people don't replace the alloy covers afterwards. Owners differ on the undertray: one says it is half a dozen bolts, another counts a dozen, often corroded, with half of them under a splitter bolted through the front clam, so he went for the cover. Don't let the nut roll back once it is loose, because it is a pain to fish out.
- Anti-roll bar link bolts: if the nut is stuck, loosen it until it is level with the top of the thread, then give it a sharp tap with a hammer and the bolt will drop down.
- Wishbone-to-hub ball joint. Undo the nyloc nut, but the joint is a tapered fit up into the hub carrier and won't come out on its own. Use a screw-type expanding wedge separator (one owner mentions Halfords and Laser or Britool tools; a two-legged puller was suggested as an alternative, though clearances may be a problem), fitted between the hub carrier and the joint and opened up. Often a blow with a heavy lump hammer on the exposed thread of the ball joint is needed to release the taper while it is under tension from the wedge. Screw an old nut on first and use a punch, so you don't damage the thread. The same owner would not recommend the hammer-in type of separator for these cars. The steering arm to hub joint comes apart the same way, but releases upwards and is probably a little easier.
- Corrosion can make the joints harder to release, and the same owner says you sometimes have to get rough.
Shims and geometry
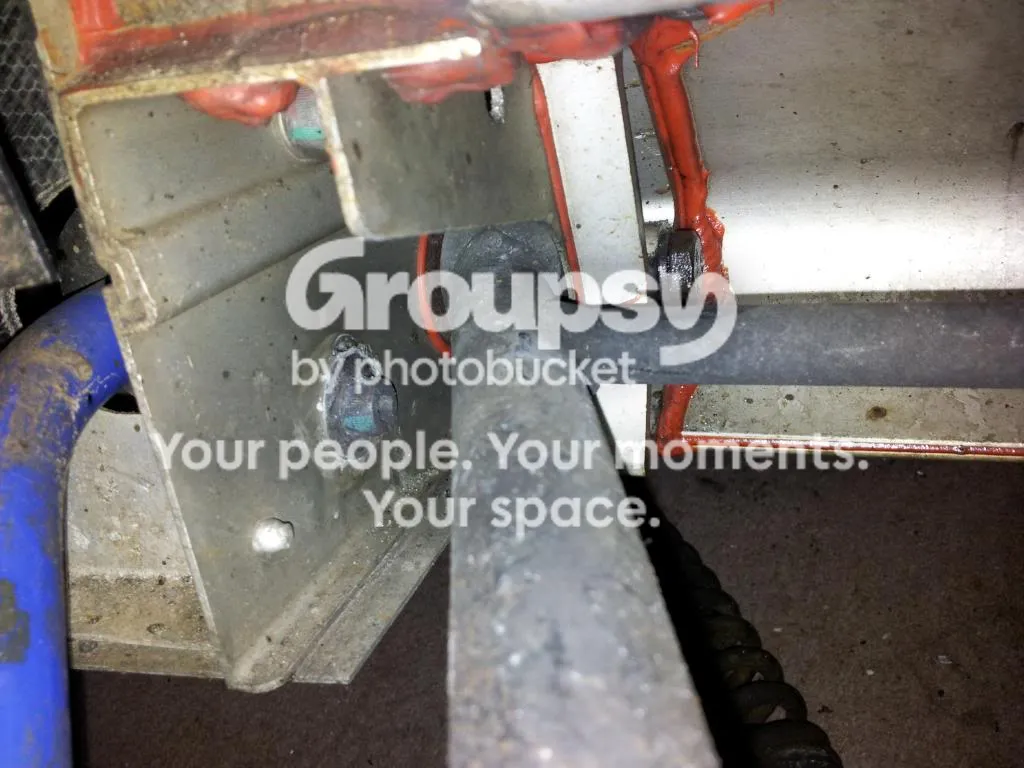
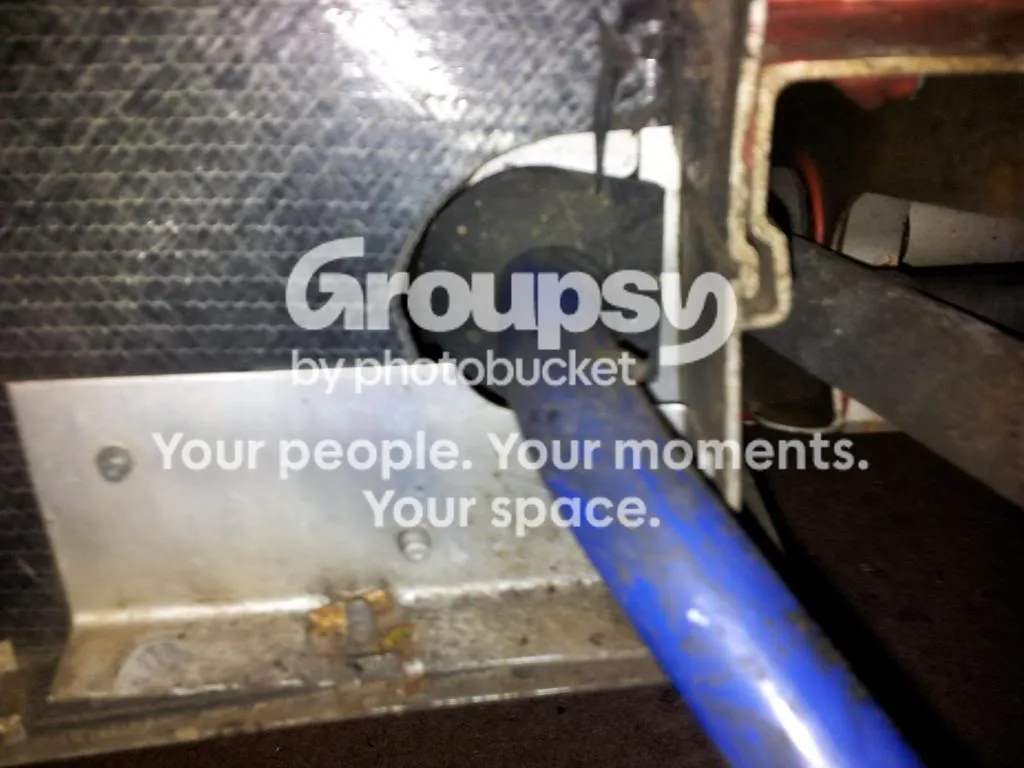
- Put the shims back exactly where they came from. The castor shims are washers on the inboard pivots, either side of the joint on the bolt that passes through it. One owner wasn't sure whether they are on the lower or upper wishbone. Keep the number and position, or the geometry changes.
- Checking the castor: one owner suggested measuring the castor on the good side and setting the new wishbone to match: hold a spirit level vertical against the lower ball joint and measure the gap to the upper ball joint, which gives a relative castor measurement. (This is a rough check, not a replacement for an alignment.)
- Camber shims on the top wishbone can be tight to fit. One owner ground a point on an old pivot bolt, pushed it through the shims to line them up, then swapped in the new bolt.
- After removing and refitting the wishbones, have the geometry redone. The threads don't say how far out it ends up if you only unbolt at the ball joints.
Help wanted
There are no torque figures in these threads, and the photos are from the original questions. For torques see Torque values and check against TIS. If you have photos of the lower nut and bracket, or know the right torques, please tell us.