
The soft top is held taut by two steel cables, one at the front and one at the rear, each running through a tunnel in the hood fabric. They rust and fray with age and can snap, often when the hood is refitted badly or in a hurry. Fitting a new cable is a simple job in principle, but the tunnel is stitched very tight on many hoods. The pictures carry the Photobucket watermark.
Don't drive with a broken front cable. At speed the front of the hood lifts and channels water into the cabin. If you have to move the car, fit the hood as tightly as you can and expect it to leak.
Causes
- Rust and fraying with age. One cable snapped with half its strands already frayed, and the owner reckoned it had given about three months' warning. Rusty cables that haven't frayed may last a good while.
- Fitting the hood misaligned. One owner fitted his in a hurry in the rain without lining it up properly, which stressed the cable. His old adjuster had bent, and the cable then snapped.
- Over-tightening. See Soft top sagging and leaks.
- Another owner got about 6 years out of his originals on an NA, folding the hood every time he used the car.
Which cable to buy
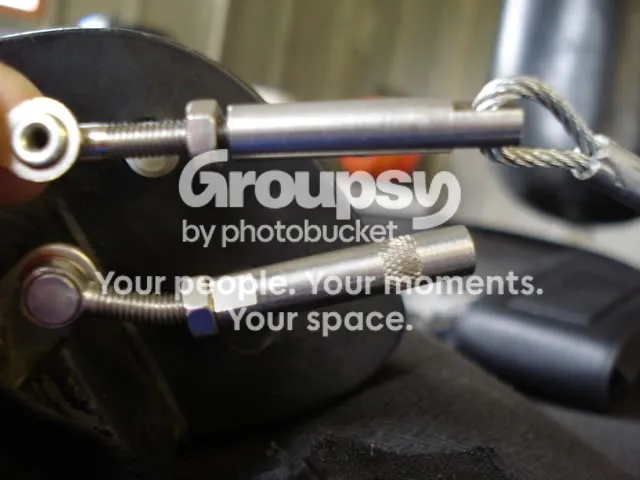
- Vauxhall part. Has an adjuster that lets the cable rotate freely, so the length is quick to change.
- Aftermarket made-up cable (about £30 in 2009). Stainless, with a more secure end fixing than the original and no weak spot at the adjuster. One owner who fitted one of each said the aftermarket one was better made and easier to feed through. Its drawback is that you can't adjust the length without taking out the bolt under the fabric (see below). For a cheaper home-made option see the bow string alternative.
- Make-your-own cable: one owner suggested feeding plain 2 mm coated stainless cable through and fitting end fittings afterwards. The supplier's reply was that the aftermarket cables are crimped with a 25-ton hydraulic press, not mole grips, and that hand-spliced cable is much weaker and can slip. Nobody in the thread tried it.
Fitting
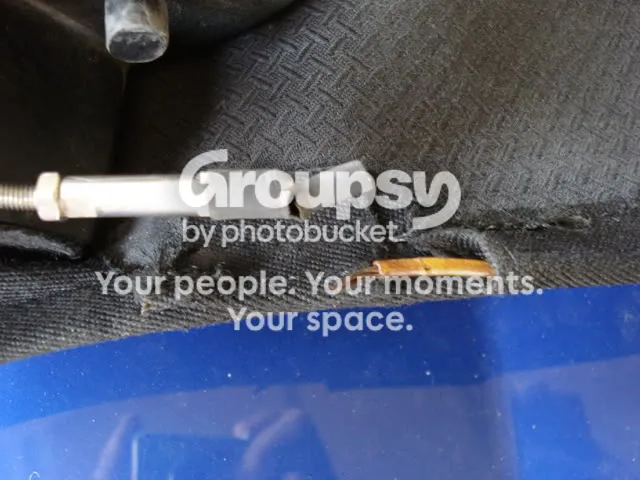
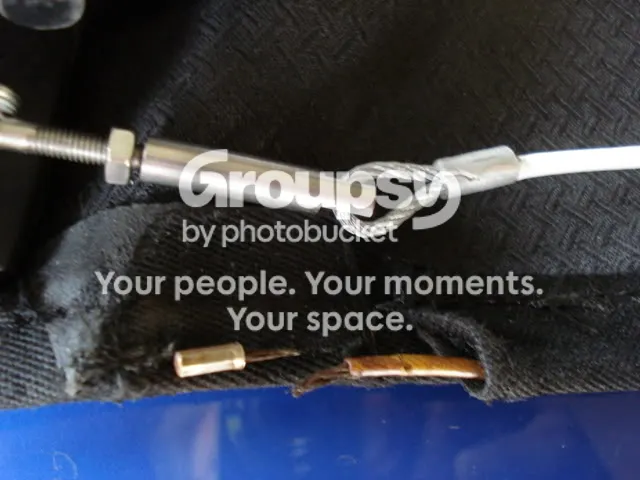
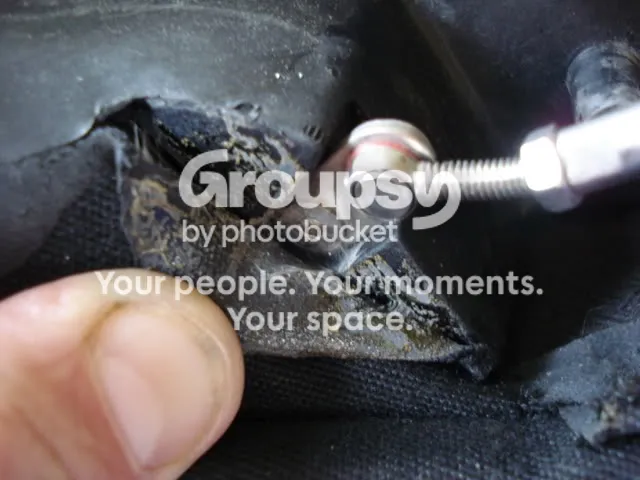
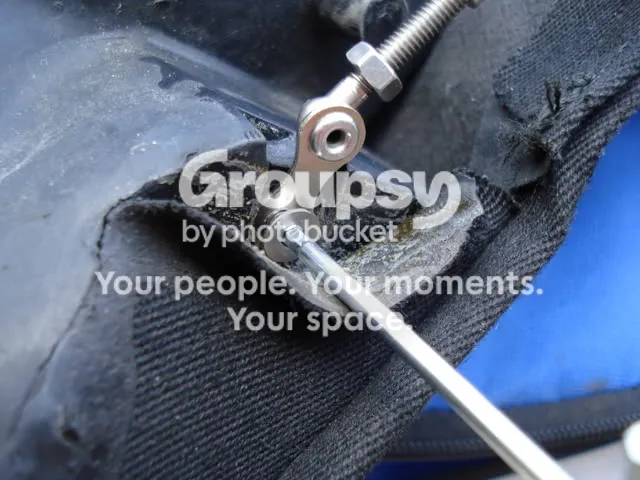
- Peel back the fabric at each end of the cable. The cable is bolted to the hood end plate under a flap of fabric that is glued down. Peel it back to expose the bolt.
- Undo the bolt with a 3 mm Allen key. It can be stiff.
- Pull the new cable through the hood tunnel as the old one comes out. See the methods below.
- Bolt both ends back and check the fit of the hood.
- Adjust the tension (see below), then re-glue the fabric flap. One owner left his unglued for a while in case the cable stretched.

Getting the new cable through
This is where most of the time goes. Hoods differ: some pull through easily, some are stitched too tight even for a pencil. Pull in a straight line. One owner who didn't tore the stitching between the cable loop and the main hood and had to repair it with a needle and thread.
- Tie or screw the new cable to the old. Several owners attached the new cable directly to the old one (zip tie, duct tape, or by screwing the new cable onto the old end) and pulled it through. Some report it went through in 20 minutes.
- Reduce the bulk at the joint. One owner hooked the old cable through the bolt hole of the new one and taped it with strong duct tape, wetting the end to help it slide. Another used a bit of wire coat hanger through the bolt holes of both cables, joined to the intact end of the old cable so the join couldn't come apart halfway.
- If the joint keeps coming apart, pull the old cable out the other way and use a string or para-cord instead. One owner pulled the old cable out with string taped to it, tied the new cable end to the string, and then used a double length of string so the knot didn't jam. One owner looped the para-cord back through the hood rather than knotting it to the cable, because a knot would not fit.
- Use a coat hanger. Remove the old cable completely (snip the ends off if you need to). Straighten a metal coat hanger, push it through the tunnel and bend a hook in the end. Hook the new cable on and pull it back, smaller end first.
- Unpick some stitching if you must. Several owners had to. Some hoods have two lines of stitching along the tunnel, and removing one gives enough room. Another owner found one section stitched narrower than the rest. Another removed a line of stitching on a rear cable, then removed the eye with the adjuster and taped just the barrel of the adjuster to the cable and pushed it through. Do this only when pulling has failed, since you then need to restitch.
- Bulk matters. The barrel of the aftermarket cable can't be unscrewed, which one owner felt makes it a tighter fit through the tunnel than the Vauxhall cable.
Adjusting the cable
- Vauxhall cable: the cable is free to rotate in the adjuster, so you can change the length quickly.
- Aftermarket cable: turning the adjuster rotates the whole cable inside the tight tunnel, and you can hardly manage more than a couple of turns. It is easier to unbolt the adjuster end of the cable and adjust it with it free. Re-glue the fabric afterwards.
- Don't over-tighten. See Soft top sagging and leaks.
Help wanted
The thread has no cable lengths, part numbers, or torque for the end bolts, and the original post doesn't say whether front and rear cables are the same length. If you have part numbers or measurements, please send them. We would also like to know whether the aftermarket cables are still sold.