
This illustrated guide, based on the original PDF, covers removing the front clam on a VX220. It also applies to the Speedster. Throughout, "offside" means the driver's side in the UK and "nearside" the passenger side.
Raising the car
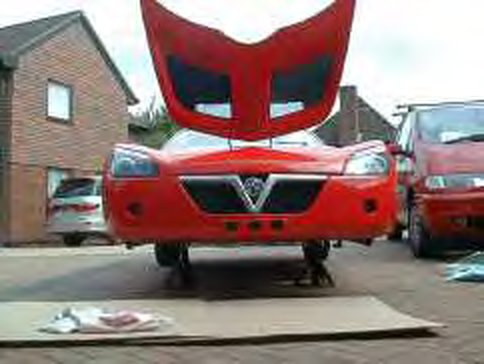
- Loosen the front wheels and raise the front onto axle stands under the chassis (not under the wheels, which you are going to remove). Choose a strong area of chassis, and put wood between the stand and the car to prevent damage. Jack from the centre of the car at the front, to stop any chassis twisting.
- Remove the front wheels and put them out of the way. Keeping the bonnet open for most of the work is helpful.
Inner wheel arches
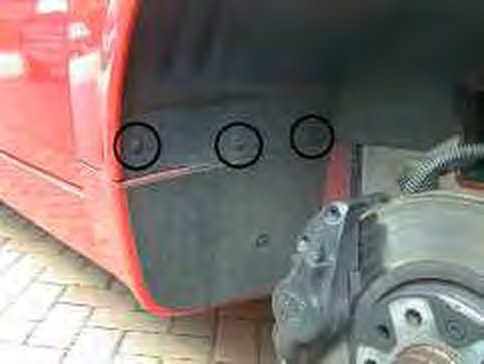
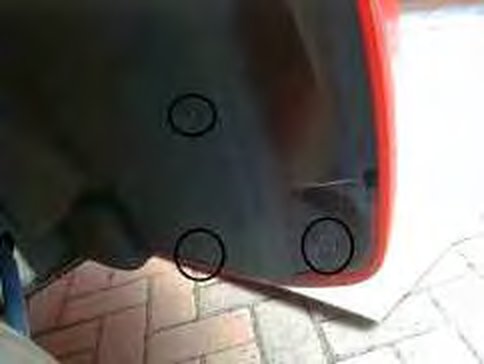
- Remove the flimsy plastic inner wheel arch from the offside. It can be fully removed easily, which lets you see what you are doing. Take out the three screws shown, from inside the offside wheel arch.
- Pull the arch down at its outside edge, then remove it fully and put it out of the way.
- Remove the same screws on the nearside, but note that you can't take that inner arch off the car, because items are attached to the top of it (such as the fuse box and the tyre inflator canister). Leave it loose on the car and pull it away from where you are working.
Electrical connections
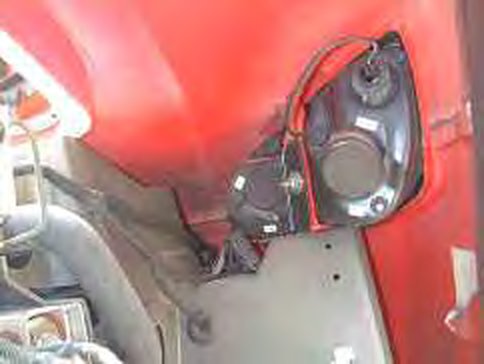
- Headlamps. Look up into the offside wheel arch to see how the lamp is fixed: one 13 mm nut, a washer and a black plate, and an electrical plug at the bottom left of the unit. Remove the nut, washer and plate and push the lamp unit carefully forward, off the car. Unplug the connector (squeeze and pull). Put the plate, washer and nut back on the headlamp so they don't get lost, and put the lamp somewhere safe. Do the same on the nearside.
- Indicator repeaters (fog lights). At the rear of the offside wheel arch, disconnect the wires that plug onto the end of the repeater light assembly (squeeze the plug and pull it off). Repeat on the nearside.
All the electrical connections are now disconnected, and it is time to start on the screws that hold the clam on. Do the hard ones first.
Removing the fixings
- Prepare an area away from the car for the clam, such as old carpet or cardboard.
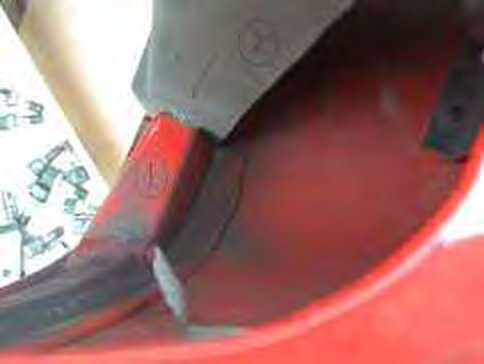
- 13 mm bolts behind the headlamps. Through the headlamp aperture, looking vertically down, a 13 mm bolt passes through the grey panel (marked 2 in the photo) and into the red fibreglass block (marked 1). On the offside, hold a 13 mm spanner in your right hand and feel for the bolt head, then undo and remove it. Repeat on the nearside.
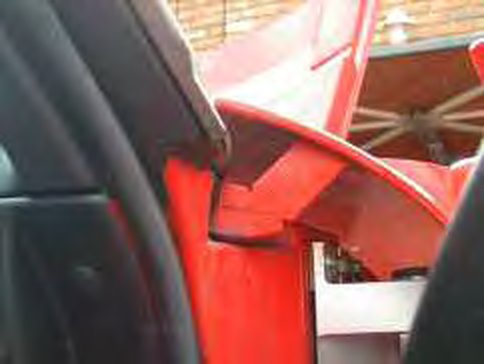
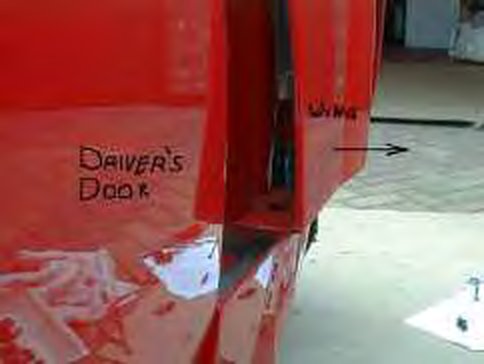
- Door hinge brackets. Open the driver's door and look above the hinge. Remove the 6 mm Allen screw through the red bracket. There may be spacers between the bracket and the body. If so, note what's there so they can be replaced when you reassemble. Do the same on the passenger side.
- At the driver's door, remove the second 6 mm Allen screw shown, and repeat on the nearside.
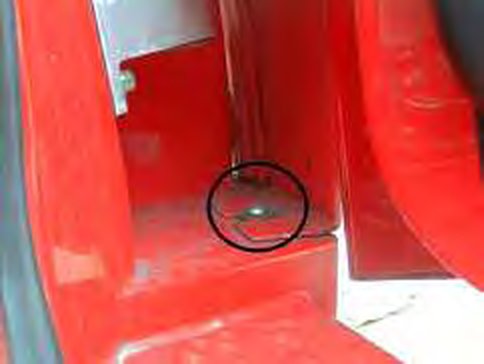
- From inside the offside wheel arch, remove the screw shown, and repeat on the nearside.
- Under the nose (behind the number plate), remove all of the 8 mm bolts that attach the clam to the under tray.
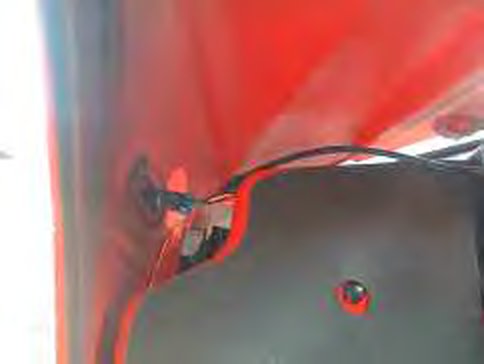
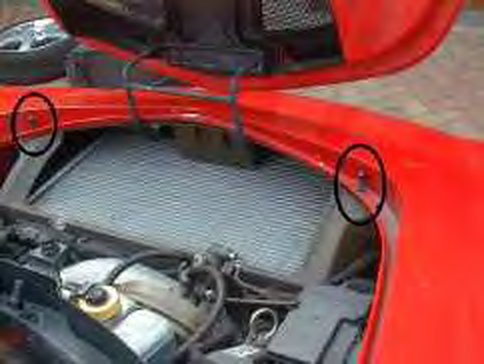
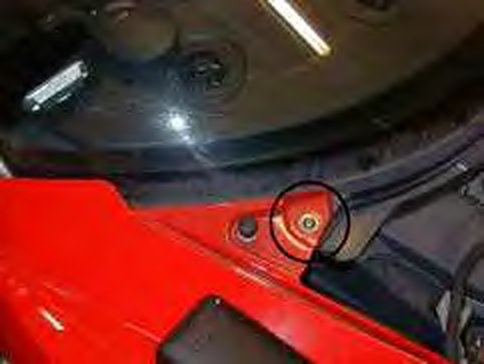
- Under the bonnet, remove the two screws shown. They have rubber boots that push-fit onto the Allen bolts. The bolts pass through the clam and the radiator surround, and are secured with a washer and a 13 mm nut.
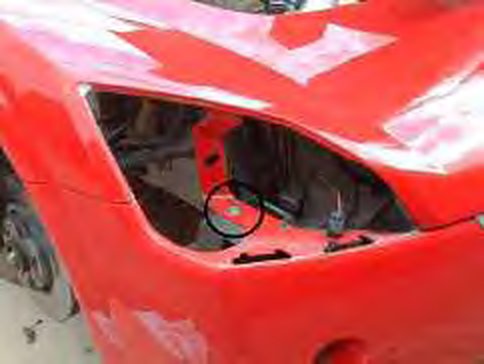
- Remove the 13 mm bolt shown beneath both headlamps. Do not remove the small screw just in front: those hold the fog lights to the clam and don't need to come out.
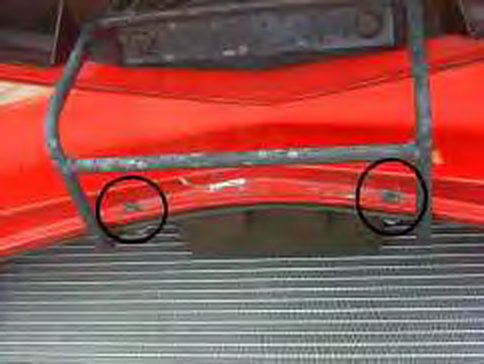
- Remove the two screws shown in the photo of the radiator surround area. These have a rubber washer between the clam and the radiator surround, and are again held with a washer and 13 mm nut.
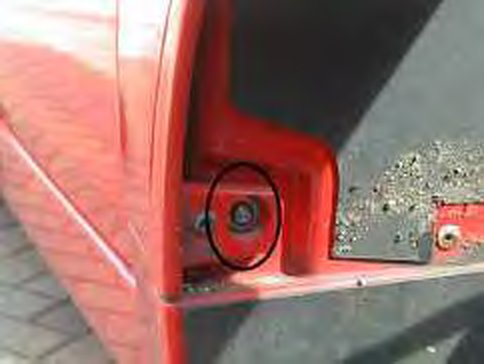
- Finally, remove the screw shown from both sides of the car. These also have rubber washers between the clam and the car. All the screws are now out.
Taking the clam off
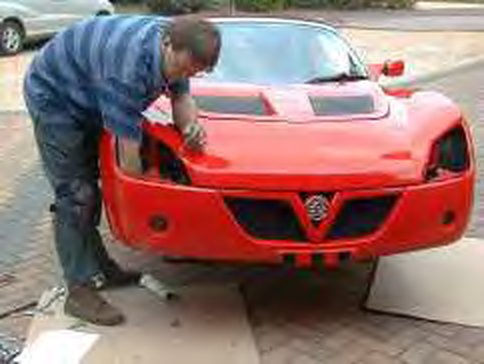
You now need two helpers: one to hold one side of the clam, and the other to open and close the bonnet when needed for clearance. The front of the bonnet is close to the clam when the bonnet is fully open. The clam should then slide off the front of the car.
Refitting
Use copper grease on reassembly, and take the chance to grease the bolts. Refit in reverse order, replacing any spacers at the door brackets as you noted them.