
This is a write-up of changing the standard tank for a Pro-Alloy one, with additions from other owners. The pump housing moves across to the new tank, so the job is partly a drop-the-tank job and partly a cutting and refitting one. Expect it to take a long time.
Getting the car ready
- Remove both rear under trays.
- Raise the car one corner at a time and support it on bricks. Chock the front wheels.
- Leave the car in gear with the handbrake off, so the cables and handbrake can be moved freely.
Gear cables
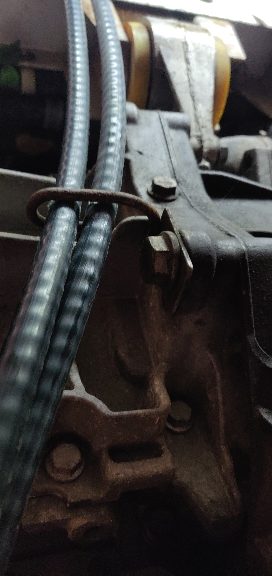
- In the engine bay, remove the bolt that locates the gear cables, and keep the bushes.
- Lever the cable ends off the selector on the gearbox.
- Under the car, undo the 10 mm bolt on the hook that guides the cables.
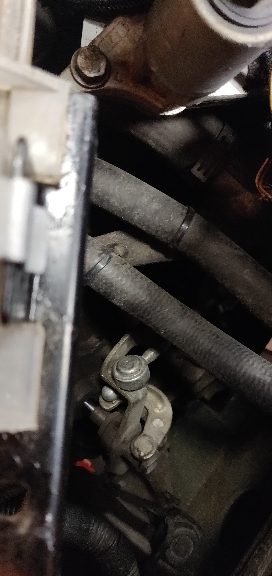
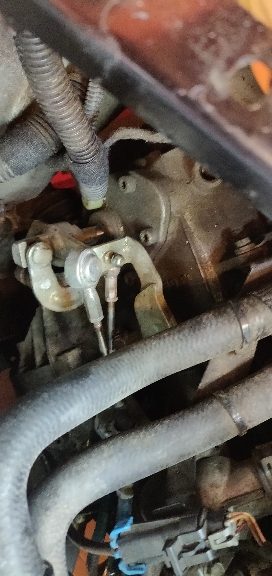
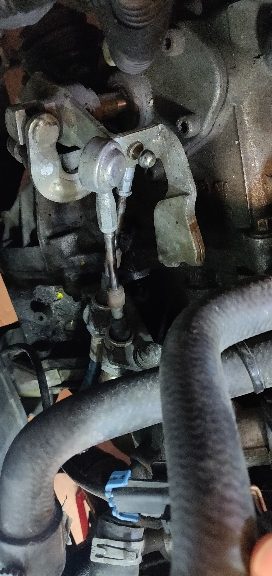
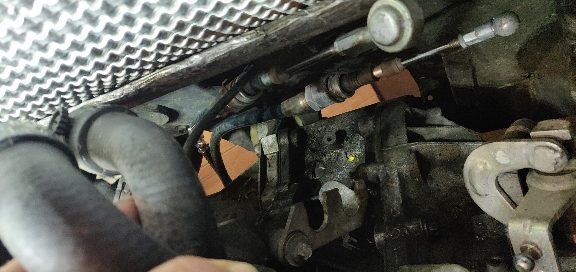
Handbrake and shear panel
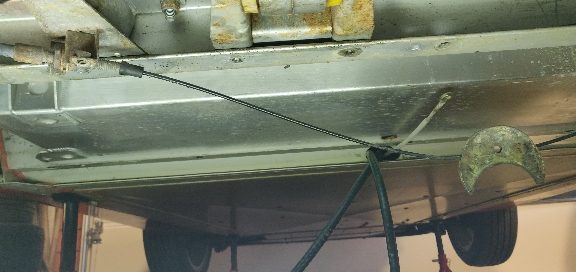
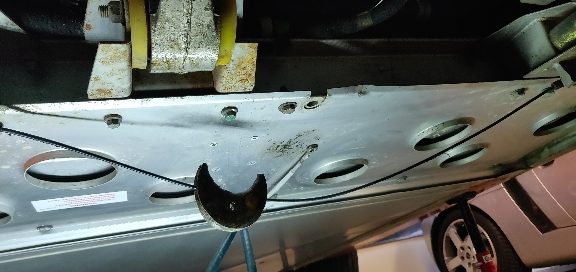
- Undo the two bolts under the shear panel. If you have a Cornering Force roll bar, unbolt it from the driver's side wishbone.
- Detach the handbrake compensator by removing the R clip and pushing the pin through. The original author did this instead of detaching the cable at the caliper, as the factory manual suggests.
- Remove the shear panel: five 13 mm bolts nearest the cabin, four 17 mm nut-and-bolts at the wishbone mounts, two 10 mm engine mount bolts and two 13 mm bolts at the rear corners.
Optional: reaching the inspection hatch from inside
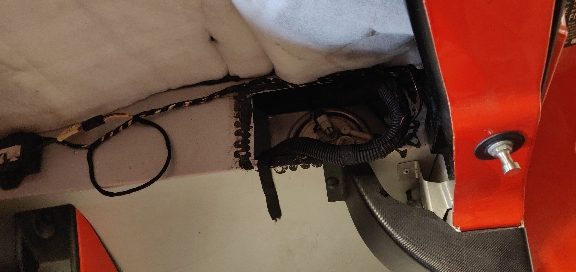
It isn't essential, but removing the passenger seat and the rear parcel shelf lets you reach the fuel pump inspection hatch. Stripping more of the interior is the way to reach the canister side.
Lowering the tank
- Put two jacks under the tank and remove the four 13 mm bolts holding it.
- Lower it until the driver's side stops against the evap hoses and the filler neck.
- Remove the wheel and the arch liner. Cut off the three evap hose clips (the crushed type) and cover the pipe ends with gaffer tape.
- Undo the two Jubilee clips at the filler neck, then lower the tank further.
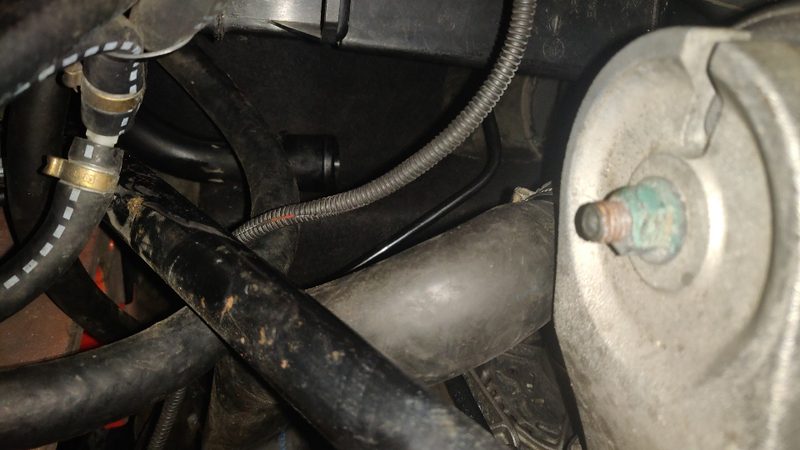
Fuel lines and pump
- Remove the inspection hatch.
- Unclip the pump power plug.
- Press the buttons at the sides of the fuel line connectors and pull the lines off. Tape the open ends.
- Slide the tank out.
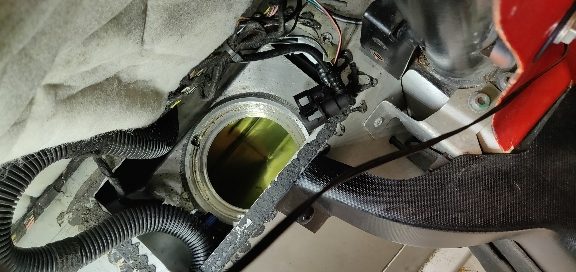
Swapping to the new tank
- Cut a bigger access hatch in the new tank. See Fuel pump replacement, which covers enlarging the inspection hatch and removing the housing.
- Move the pump housing across. The circlip is tough to fit into the Pro-Alloy tank. The pump guide has tips on the blue seal (a new one each time, chilled in the freezer first) and the circlip.
- Transfer the fuel and the hoses.
- The Jubilee clips at the filler neck left almost no clearance once the tank was up, so fit one small clip with the tank already in place.
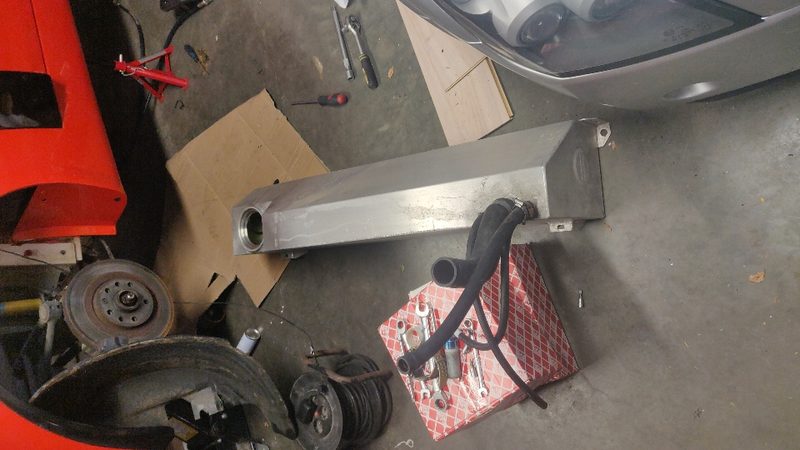
Refitting
Refit in the reverse order. The handbrake cable was refitted using a trolley jack and a scissor jack to hold the tension while it went back on, and the caliper pistons had to be wound back as the handbrake was applied. Afterwards, check the handbrake adjustment, the gear change and that there are no fuel leaks before driving.
Notes from other owners
- 60 litre tank: one owner fitted the larger tank. These are his notes, not a general rule.
- Bolt lengths: one owner gave bolt lengths for the cover over the tank by the bulkhead; check the thread for the exact figures.
- Fuel gauge (2024): the gauge was slow to register after the swap, and about 15 litres were still in the tank when the low-fuel level showed. Don't trust the gauge until you've checked it against a known fill.