
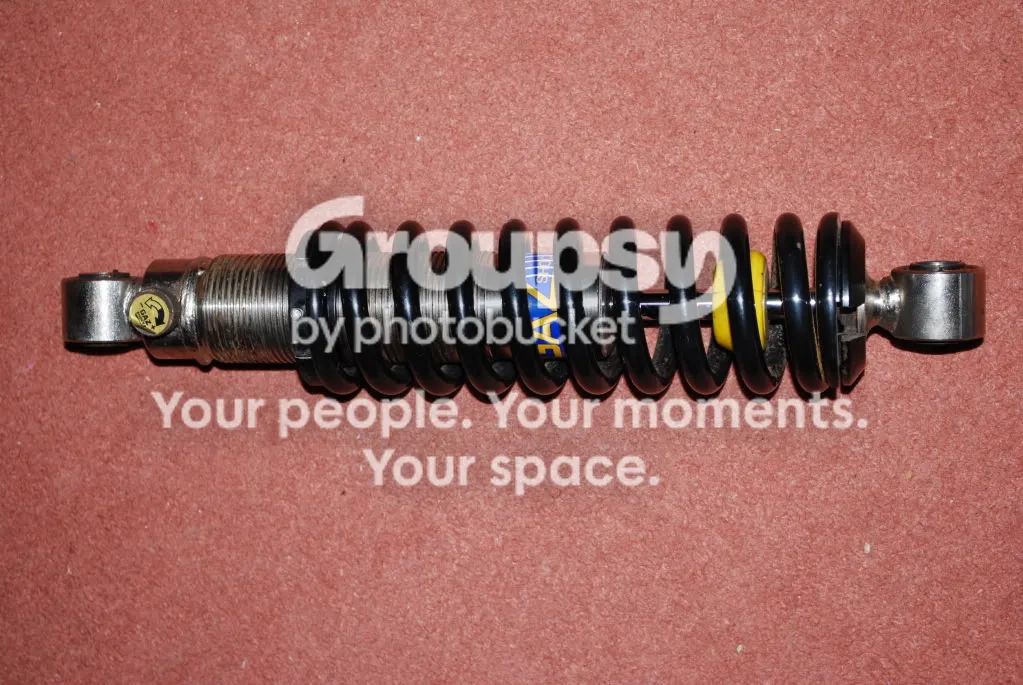
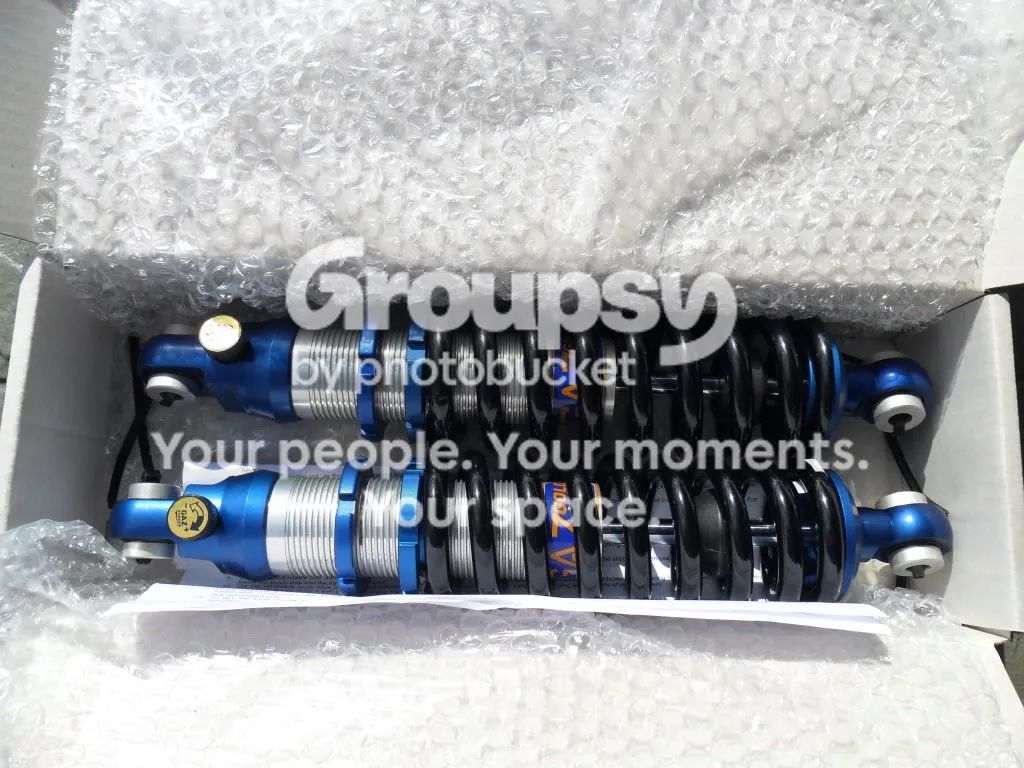
This was written in 2009 after several people asked the author for help. It shows changing from standard Gaz shocks to the Gaz Gold Pro kit, although the principle is the same for all types. The car went from 325 front and 375 rear springs to 425 and 475. The photos have the Photobucket watermark. After the first post the thread adds a lot from other owners who fitted the same kits, and this page folds them in.
Before you start
- Loosen the wheel bolts on the side you will work on first, by about a quarter of a turn.
- Set the rebound on the new shocks now, so you don't forget later. For the Gaz, the original author uses 12 rear and 9 front from soft: turn the knob fully anticlockwise, then turn that many clicks clockwise. Those are his own settings, and other owners' are below.
- Jack the car from the side, and support it with something stable under the chassis rail, making sure nothing sticks out towards the fibreglass sill.
- If you are going to a lowering kit, you may need a low-profile jack to start with, otherwise you might not be able to lower a standard jack enough to get it out. If that happens, put something like a 1 inch scaffold board under the rear wheels so the jack can be removed.
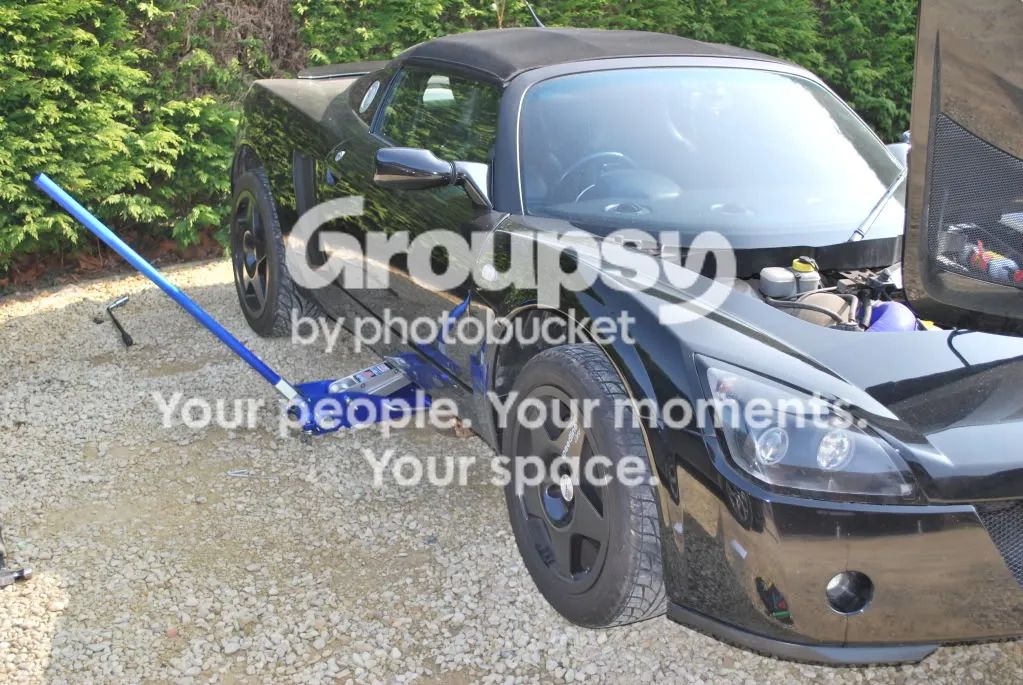
Front shocks
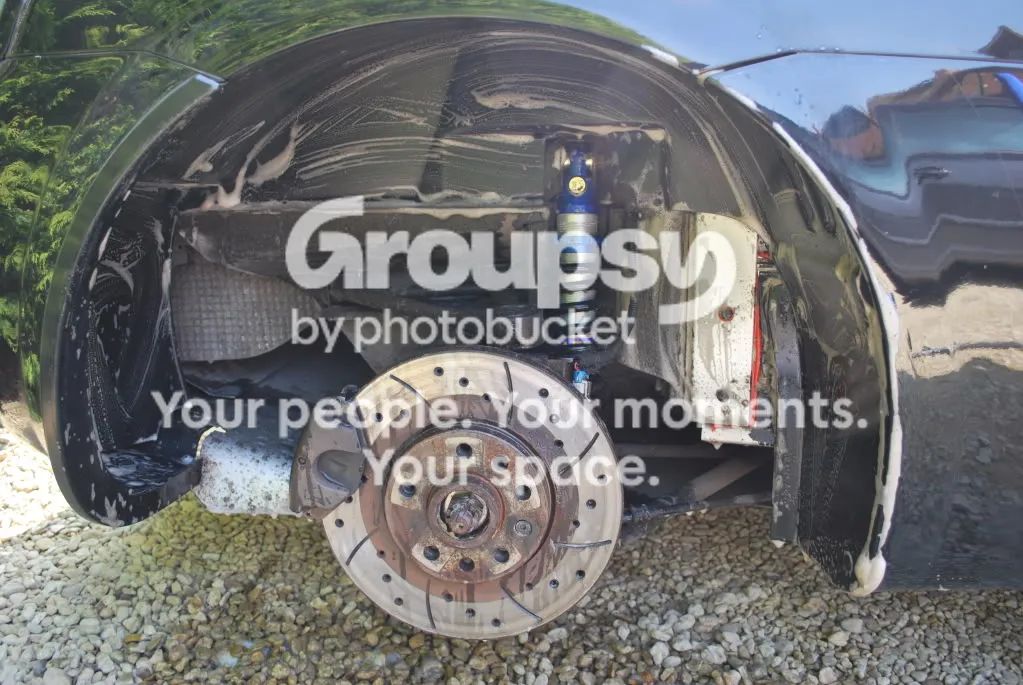
Start with the front and take the wheel off. At the front, the top of the shock is mounted to a bracket bolted to the chassis, with a supporting arm for the ABS on the driver's side. The lower connection is on top of the lower wishbone.
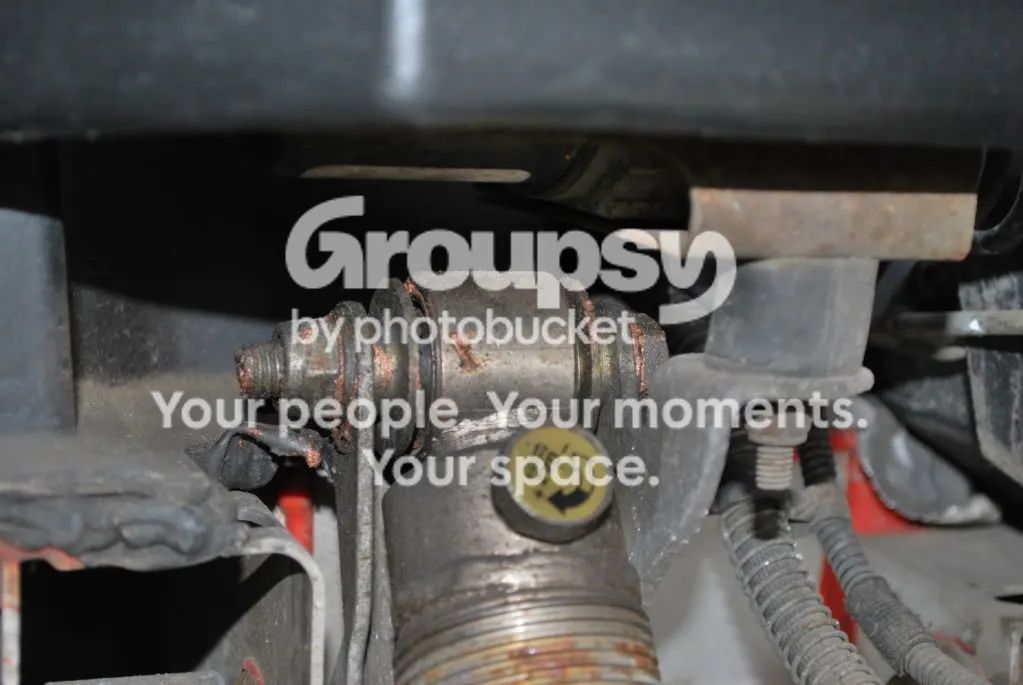

- Loosen the top bolt with a 17 mm socket and a 17 mm spanner. Don't remove it yet.
- Loosen the lower bolt in the same way. Access is awkward: put the spanner on the rear nut and the socket on the bolt that faces forward.
- Support the weight of the hub from the bottom of the brake disc. The original author uses his knee, and says there are probably other ways.
- Remove the top bolt. The assembly will drop slightly. Supporting the hub matters even more at the rear, where the wishbone can bang on the subframe as it drops.
- Remove the lower bolt and lift the shock out.
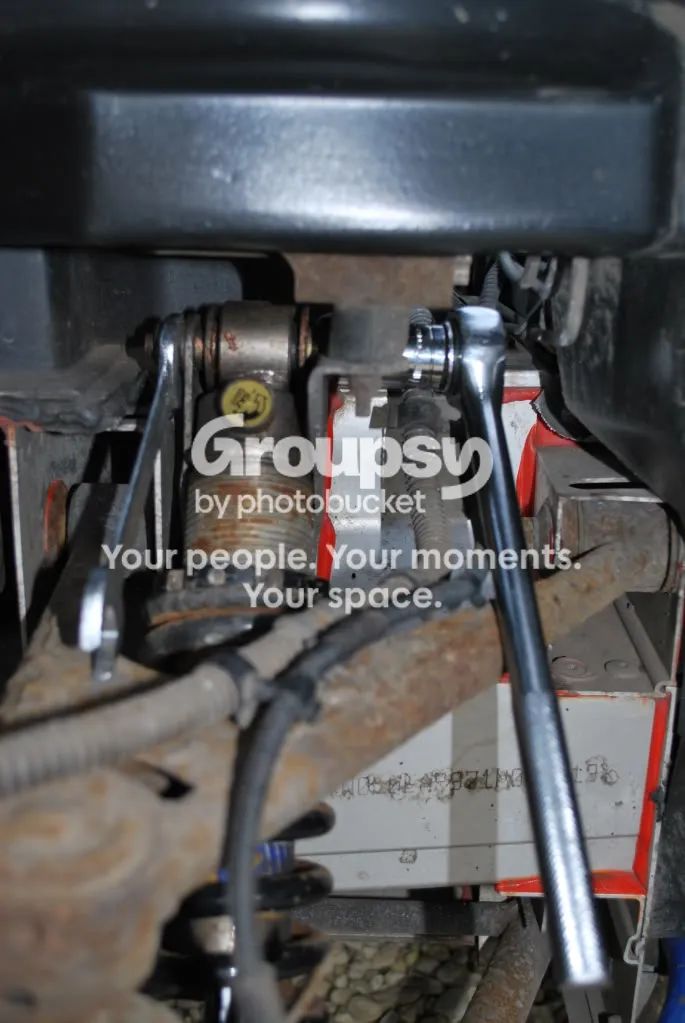

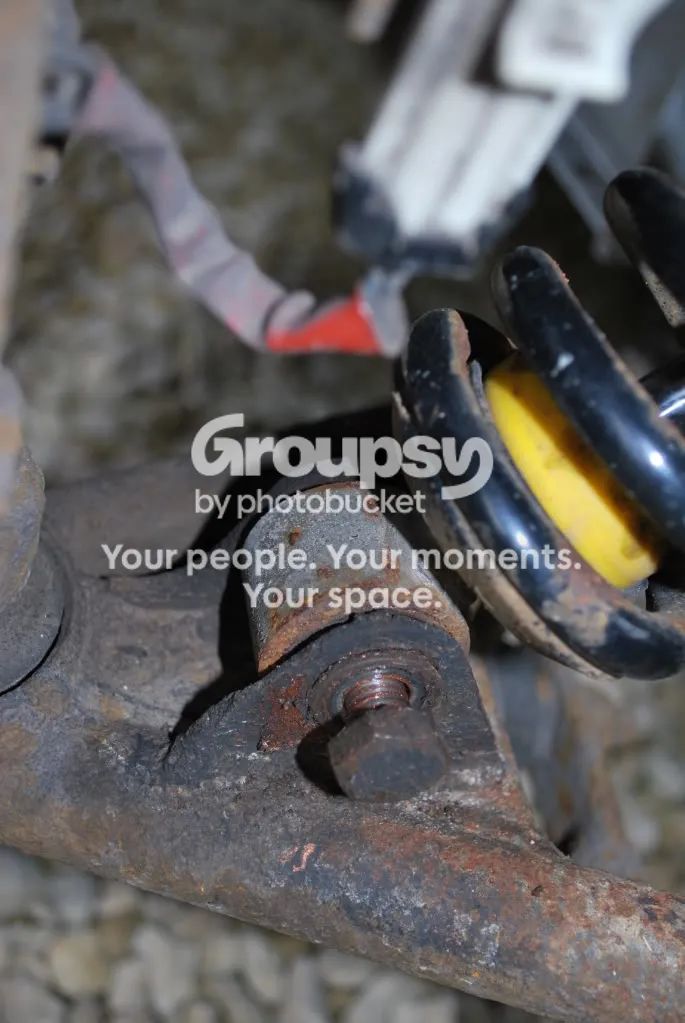
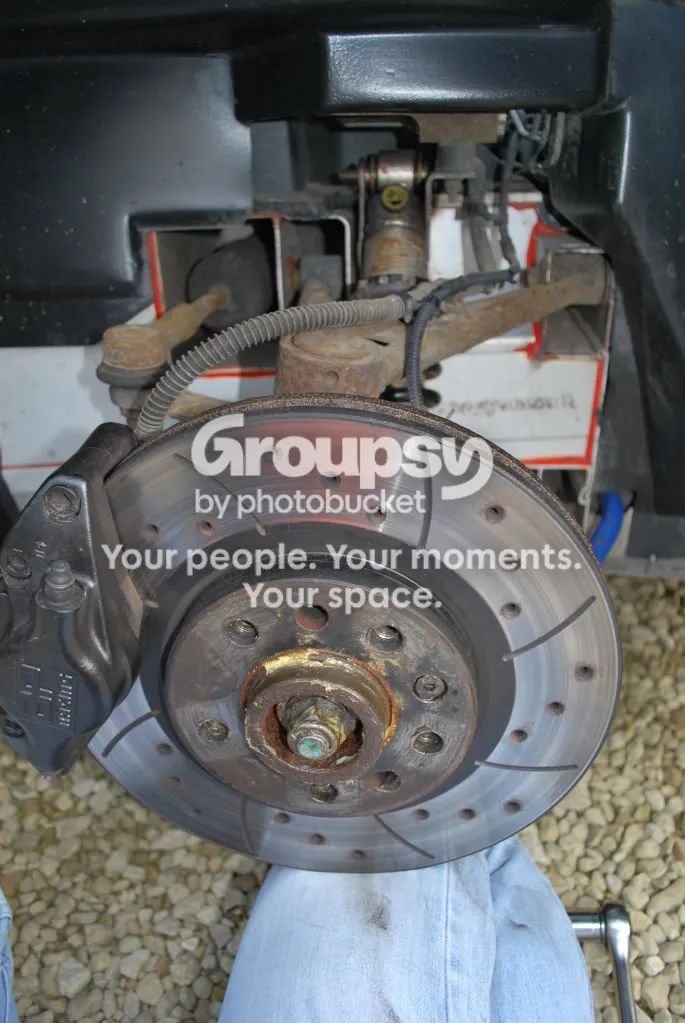

The caption for the lower bolt photo was missing from the thread, as the same photo was posted for both steps, so the lower bolt step has no separate picture here.
Setting up the new shock
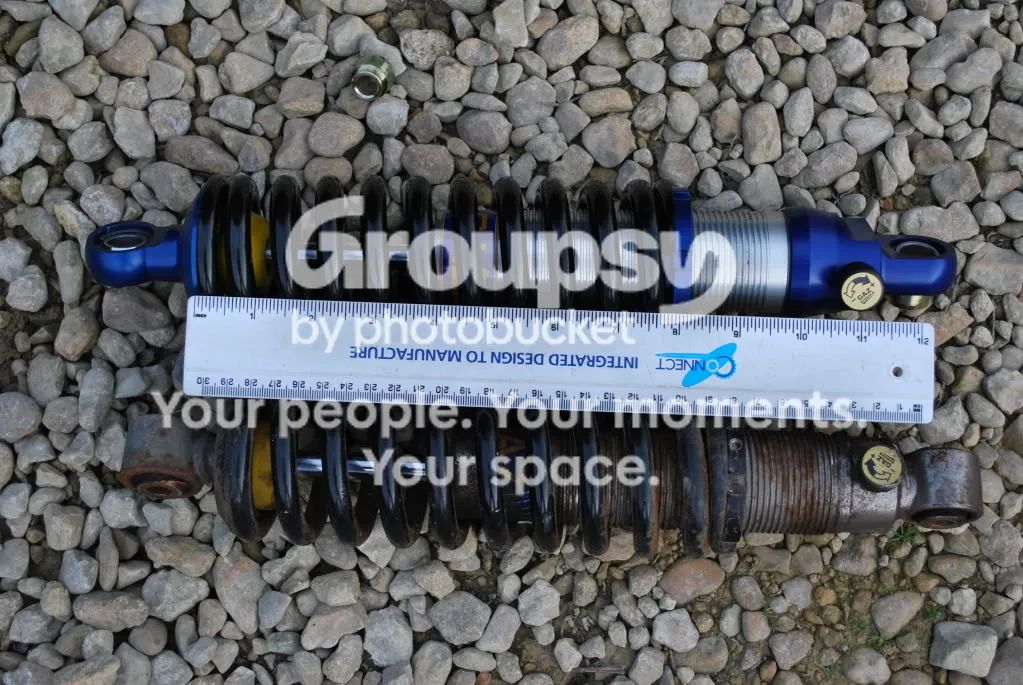
Assemble the new shock, and measure from the top adjusting collar to a point at the top of the shock body (such as the adjusting knob), and write it down for reference. Each time you adjust, write the figure down, because you will use it to set the height on the opposite side.
Refitting
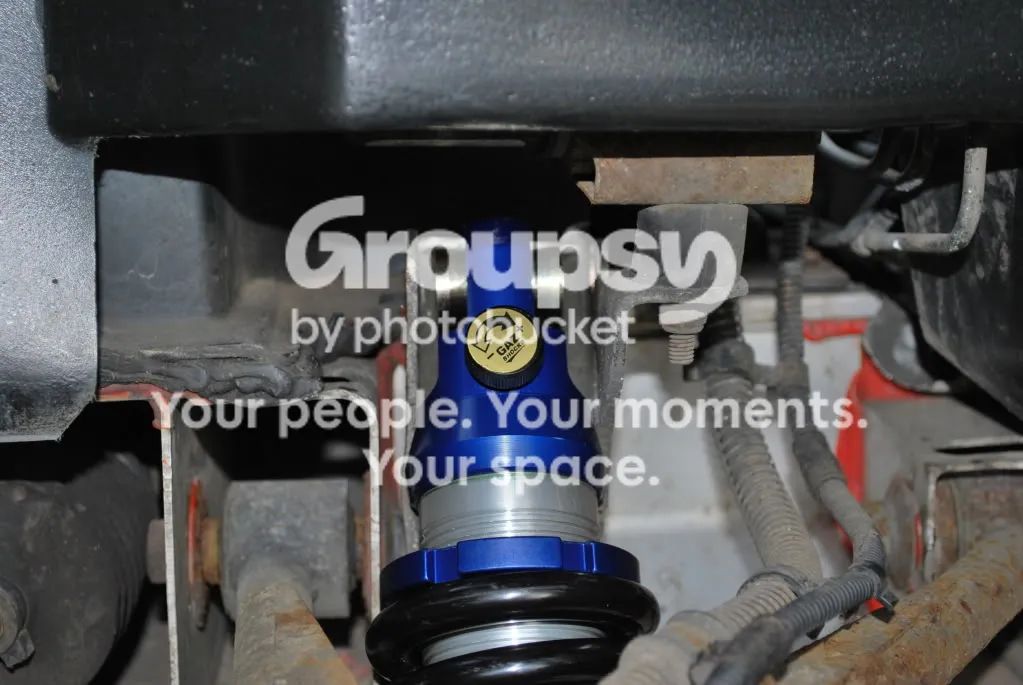
Refitting is essentially the reverse. With the Gaz Gold kit, the original author had to bend the lower part of the shock's top mounting bracket to fit the wider body. This won't be a problem on the standard kit, and Nitron shocks are wider still and come with a complete replacement top bracket for the front driver's side. At this stage it may be best to put the wheel back on finger tight and lower the car, to see where it sits, and adjust again if needed.

One owner suggested fitting the front lower bolts the other way round, which gives easier access to the drop link nuts.
Rear shocks
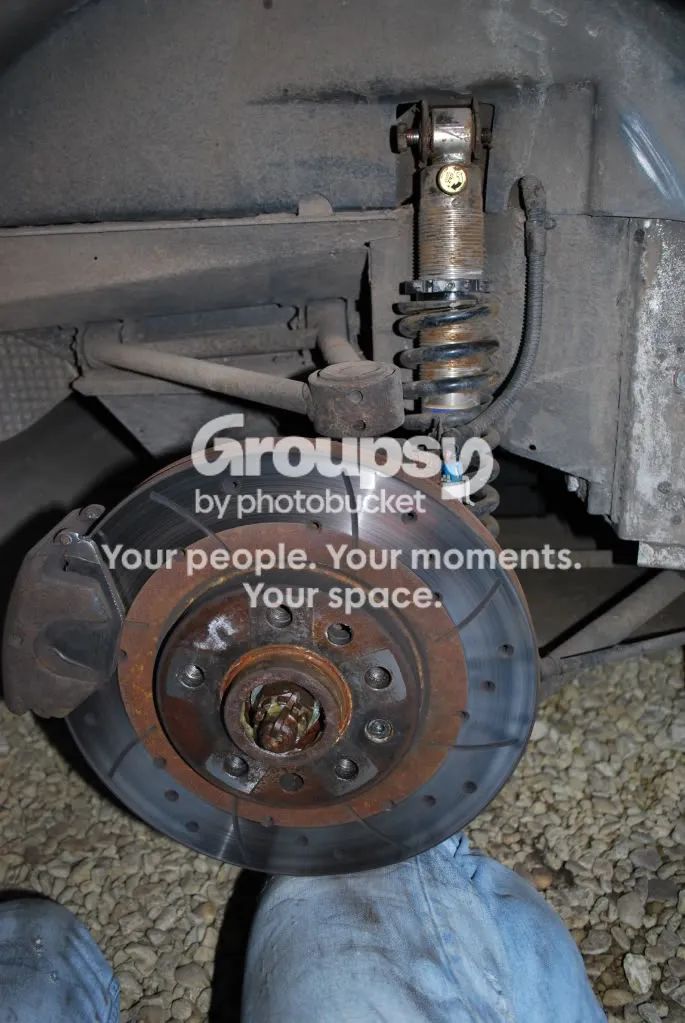
The rear is similar. The top mount takes a 17 mm socket and a 15 mm spanner, and the bottom mount is 17 mm and 17 mm, this time reached from the underside of the lower wishbone. Support the assembly so it doesn't drop, and lower it in a controlled way. It is worth giving everything a good clean while you are in there.


Problems and fixes other owners found
The front driver's side top bracket
This is where most people struggled. The Gaz Gold body is wide and the bracket is tight.
- Rubbing (2009): one owner's MOT highlighted possible rubbing between the off-side front shock and the upper mount. Nitron sell a revised bracket, though they may not sell it without a shock kit, or you can give the lower part of the bracket (below the relief hole) a gentle tap with a hammer to move it a few millimetres.
- Taking metal off (2009): one owner's Golds came with an extra locking adjuster on the height adjustment, so even with the mount bent back the shock body fitted, but the height could not be fully adjusted. He used a Dremel to take about 5 mm off each edge of the mount, and says this saves hours of swearing. His set was only the fourth sold, and the people who set his ride height said it would not be possible to adjust fully without that. Another member said that was not clear to him, and asked for pictures.
- Hammer or file (2011): start with the off-side front and gently hammer the edges of the top bracket, and the shock body fits straight away. One owner's bracket wouldn't respond to hammer blows, so he filed it down and now has about 2 mm of clearance.
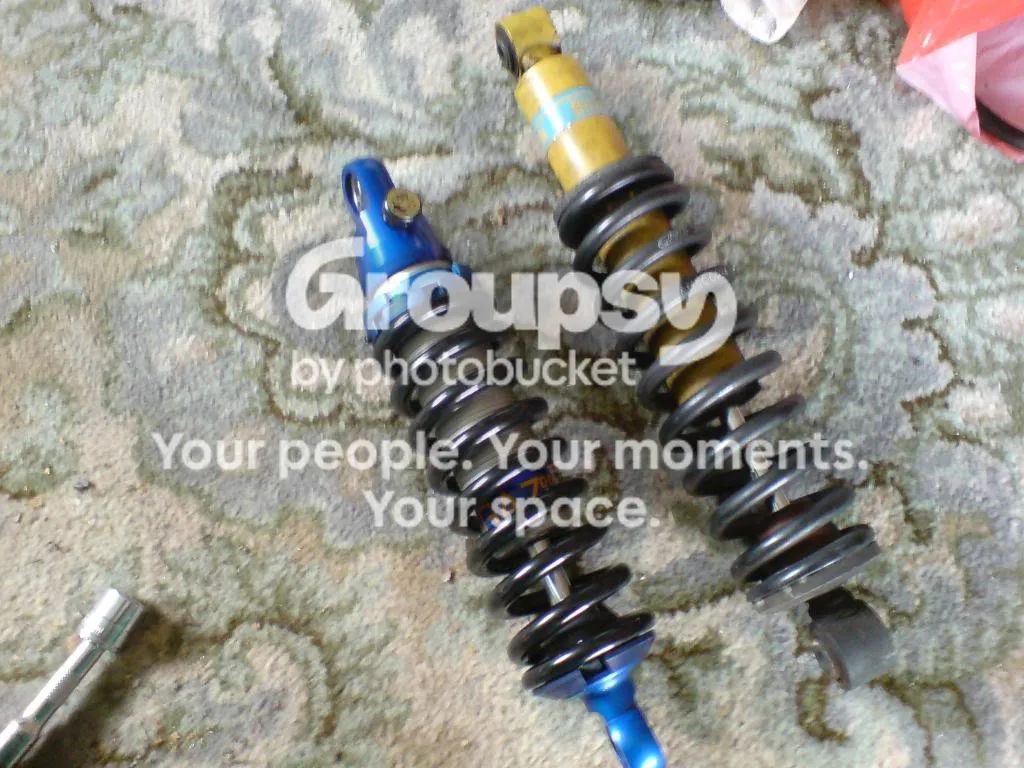
- The collars: the kit supplies collars, also called spacers or collets, two at each end of each shock. The bottom ones are a snug fit, and it helps to shave a few millimetres off before fitting. 5 mm is thought excessive.
The thread doesn't discuss whether bending, filing or cutting the bracket affects its strength, so think about that before you do it.

Rear lower spacers
The original author shaved about 1.5 mm off the spacers for the lower rear mounting to get a nice fit in the wishbone mount, and later said he took around 1 mm off the overall width. Another owner's were all the same size and went in with a little persuasion.
With an uprated front anti-roll bar (2013)
If you have an uprated front anti-roll bar, the front suspension doesn't flop down as described and the shock won't release easily. One owner found it difficult, because the bar was compressing the springs quite a lot, even with the wheel off the ground. Jacking up the hub made it worse: it needed more weight on the hub. He used a second jack to raise the other side of the car slightly, which lowered the bar's position and released the spring compression. With hindsight, he thinks dropping the side that has the wheel off might have worked and wouldn't have needed a second jack.
Bolts and torque
- Size. A 2012 post gives the rear top and bottom shock mounts as M10 x 60, 8.8 grade, the front top as M10 x 70 8.8, and the front bottom as M10 x 60 8.8. In 2009 another owner had read them as M10 x 70 and M10 x 55. A 55 mm bolt was doubted as a standard length, so the two lists don't agree on the 55 mm one. Check yours against the old bolt.
- Replace them? One owner's looked well corroded, especially at the back. The original author's were in very good condition at nearly 60,000 miles, and he asked whether it was just road grime. He couldn't see any markings on the heads, and the EPC doesn't say. His advice was standard 8.8s if you can't find other information, and not stainless. The drop link question (asked in 2012) wasn't answered.
- Torque and thread lock. 45 Nm was quoted from the SELOC wiki and confirmed. You don't need thread lock but could buy new bolts, though one owner didn't bother. That is his view, and it comes from one owner.
Adjusting the shocks
- Locking rings. The C-spanner is in the box, you won't need a spring compressor, and you should loosen and tighten the Allen key lock nut before and after moving the rings. There should be a grub screw on the rings. One owner could find no grub screws on his, only two rings that lock against each other. The grub screw should be on the top ring but isn't really needed. The thread doesn't say what the 3 mm Allen key in the tool list is for, though it is probably the grub screw.
- Ride height. The body is shorter so you can't get the original ride height at the front, so just set the height you want. One car sat almost exactly where it was on the old shocks at first, and later about 1 cm lower than original all round. Another owner had bump steer at 110 and went to 130 front and 140 rear (units not given, and probably millimetres). A specialist set one pair of fronts at 125 mm.
- Damping settings people used (starting points, not recommendations).12 rear and 9 front from soft. 7 front and 9 rear, then 8 front and 10 rear, which was more responsive and better at settling over bumps. A Turbo with 425 front and 550 rear springs: 5 front and 8 rear at first, then 12 front and 10 rear on the road and 14 front and 12 rear on track, adding one click if you get a double bounce until it stops. 10 front and 10 rear, out of 20 clicks. Another suggestion is to count the clicks from hard to soft, then set the rear at 70% soft and the front at 80% soft and see how it goes. The valving in the Golds is much harsher than in the standard shocks, and counted from the negative setting. The members count the clicks in different ways, so check which direction yours is.
- Spring rates. 425 front and 475 rear, and a bit harsher than before, but not by much. One Turbo owner chose 425 front and 550 rear, because it weighs more. 550 at the rear was called "a bit much", with a plan to go back to 500, while others have read posts of people using 600 on a Turbo without problems. 425 and 475 with the uprated 2 inch bump stops was suggested for the Turbo.
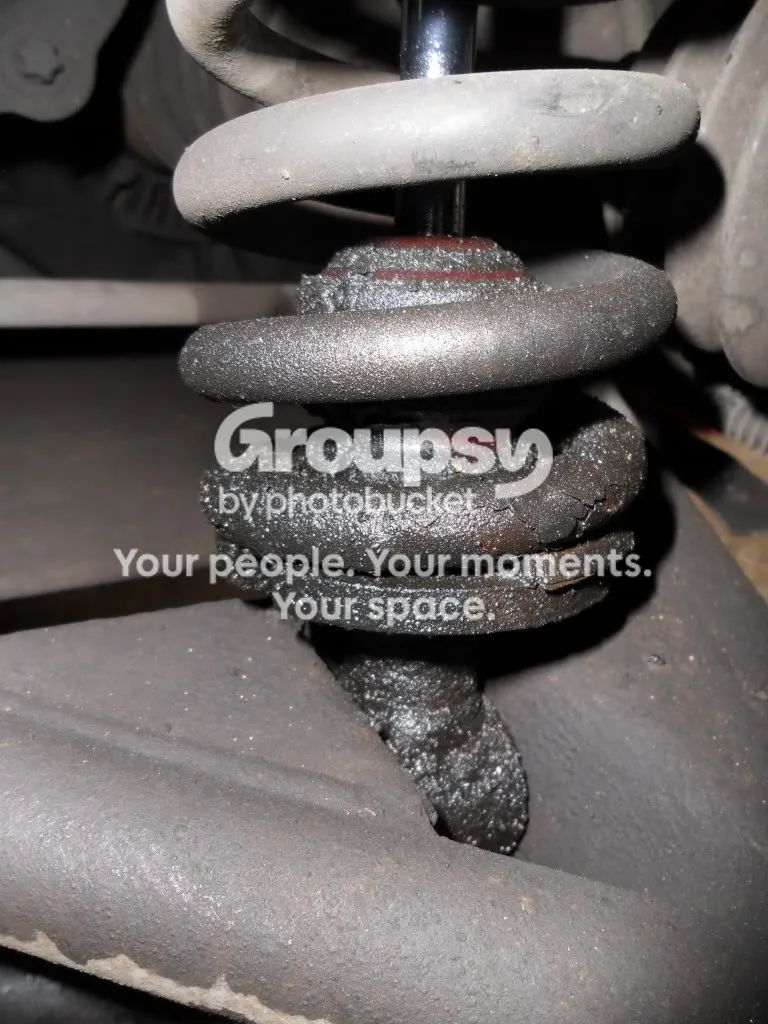
- Bump stops. The rear bump stops on the Golds are quite a bit bigger, and are expected to be fitted to all shocks from now on, after pictures of trouble others have had. One owner posted a photo of the broken shock that prompted his change, though the thread doesn't describe what failed.
After fitting
- Wheel alignment. If you keep roughly the same ride height there shouldn't be a problem with the geometry, and even lowering affects it only marginally, though that depends how far you go. One owner had his checked after changing from Bilsteins to Gaz, and the settings had barely changed, to the point they didn't charge him. Another disagrees: geometry should be done after lowering, because it changes the camber, and handling and tyre wear depend on it. A third had his done a couple of weeks after fitting, and says to get the ride height where you want it first, or the geo will cost at least another £40. See also the rear toe links guide.
- Let the springs settle before final adjustment.
- Ride. One owner called the ride "amazing" after a 100-mile drive, though he thinks the springs rather than the dampers reduced dive under braking, and the ride is a bit harsher on stiffer springs. Another decided to stay with standard for now because the roads are rubbish.
- Time. One owner did the other three corners in a couple of hours, and calls himself a mechanical numpty. Another did his in a day without a hitch. It is called one of the more satisfying and less annoying jobs on the VX.
- Which way up? One member says twin-tube dampers are normally fitted the other way up because the gas chamber and valving rely on gravity, but that this matters less with the Gaz because its gas chamber is in a bag. He adds that the standard Bilsteins are monotubes. That is one member's comment, and the thread doesn't say whether the Golds are mounted either way up.