
Symptoms and checks
- Hard pedal, especially at the top of its travel, getting worse over time
- Hose split or frayed at the ends, particularly at the servo end
- Soft spots along its length, which may only show once the hose is out
- No red stripe means it's probably the original hose. A striped one can still be old: one warranty replacement needed doing again six years later, and even a new genuine hose has split at the ends.
Vauxhall's records about whether the campaign was done aren't reliable, so go by what you can see.
Which hose?
- Genuine Vauxhall 93188760 is the reference part.
- Vacuum-rated hose of the right size from a specialist supplier also works. Vacuum-rated hose from CBS Online was reported as the cheapest option.
- Avoid generic silicone hose. A lot of it isn't rated for real vacuum and collapses, especially when hot.
Replacing it: the pull-through method
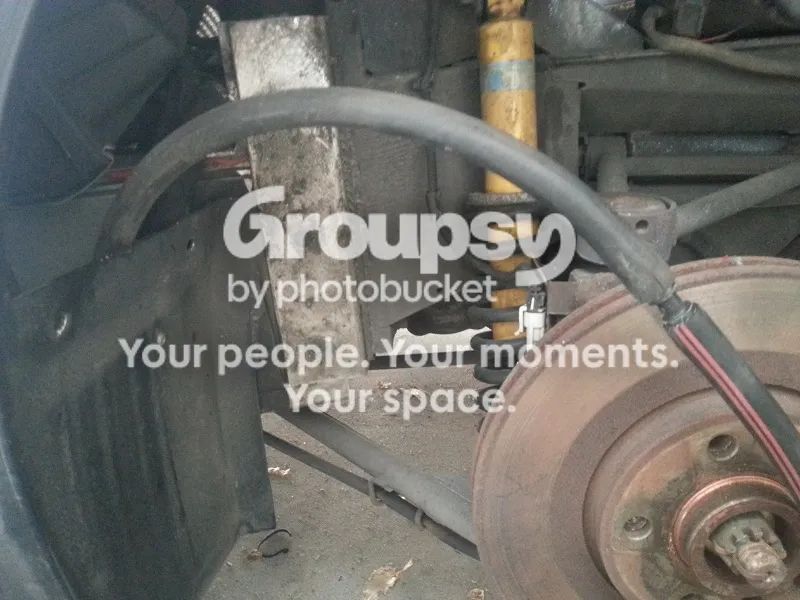
The hose runs down the nearside sill. You don't need to remove the sill or go to a bodyshop: use the old hose to pull the new one through.
- Raise the car and remove the undertrays so you can see where the hose enters the sill.
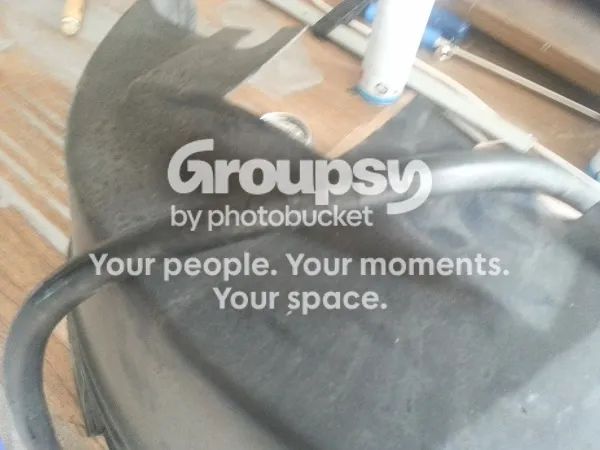
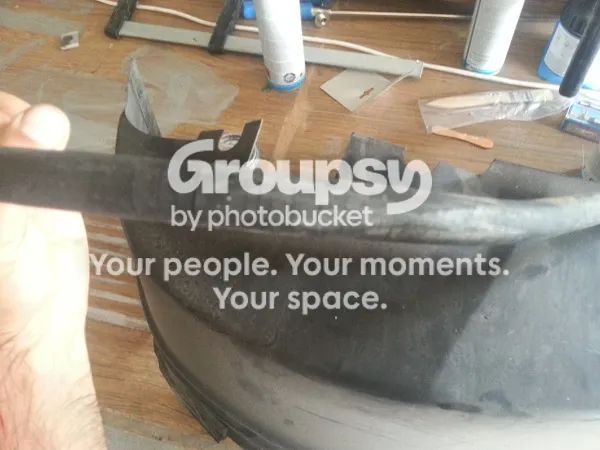
- Remove the nearside rear wheel and the two plastic clips at the leading edge of the inner wing. Push the liner in so you can see into the sill.
- Disconnect the engine end and pull that end of the hose out through the gap at the inner wing so it's straight.
- Join the new hose to the old one. This is the critical step. The join has to be strong but no fatter than the hose, so you can't use jubilee clips. Lace the hoses together with stainless wire, or make a short double-ended barbed joiner. Make sure nothing can snag, and coat the hose generously with washing-up liquid.
- Remove the nearside top sill cover (the black trim that gets scuffed). You can now reach into the front of the sill.
- Pull the old hose forward so the new one follows it along the sill. A helper feeding from the back makes this much easier. When the join comes out of the sill opening, separate the hoses.
- Under the front bonnet: remove the wiper motor rain shield. It helps to also remove the fuse carrier with the two 50 A fuses (held by two 8 mm nuts near the wiper motor).
- Through the bulkhead. A clip at the top of the chassis won't let the join pass, so pull the old hose out at the front, feed the end back into the hole, have a helper with small hands pull it back to the sill opening, re-join the hoses and draw the new one through. This bend is the hardest part, and the washing-up liquid really helps here.
- Pull to length in stages rather than yanking on the end, then route and clip the new hose exactly as the old one was.
- Reconnect both ends and fit the non-return valve the right way round (flow arrow pointing towards the engine).
- Refit everything. Make sure you reconnect the wiper motor: one garage left it unplugged after doing this job.
- Test: with the engine off, pump the pedal until it goes hard. Hold it down and start the engine. The pedal should drop slightly as the vacuum builds. Then test the brakes at low speed before going on the road.
Joining the hoses: what owners used
The join is the part people worry about, in particular whether wire pulled tight enough to hold will cut into the rubber.
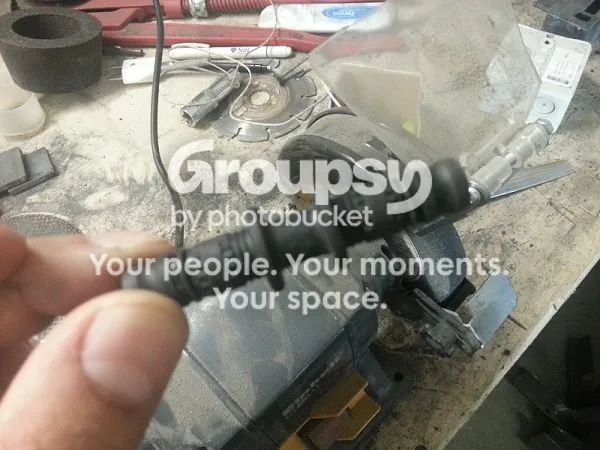
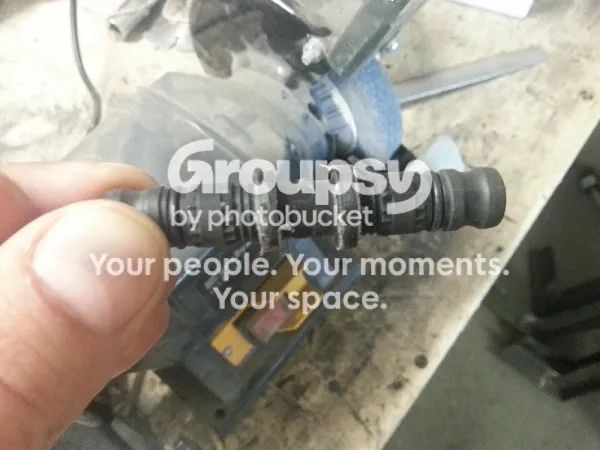
- Barbed joiner: a double-ended barbed fitting turned from an old bolt. It takes a little faith, but it works.
- Garden hose connector: one owner found it such a tight fit that he used no wire. He would add tape if doing it again, and ground off the wide bits in case they caught.
- Stainless wire: the original method, as above.
Tips from a 2013 job
- Unclipping the hose at the clip you can reach is optional. The hose may not budge when pulled, until a last tug brings it through.
- You have to keep feeding the hose from the other end. Two people saves time, though it can be done alone.
- Pulling it through from the front seemed easier, until it stuck. If you can't push the new hose through from the passenger compartment, push the old one back, reattach it and add washing-up liquid. A grommet may fall onto the sill floor, so refit it afterwards.
- Pull the hose from the engine bay to the access hole in the sill, then from the sill to the servo. The sill to servo run is the hardest part.
- Expect cuts from the sill edges, so wear the gloves in the tool list.
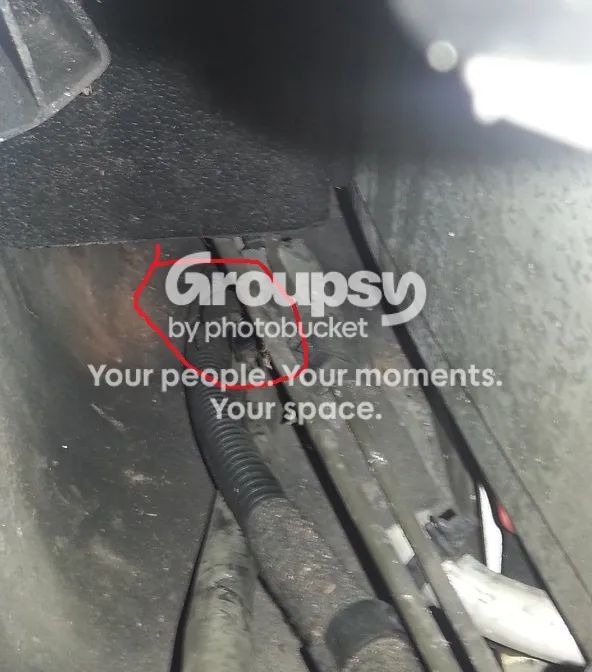
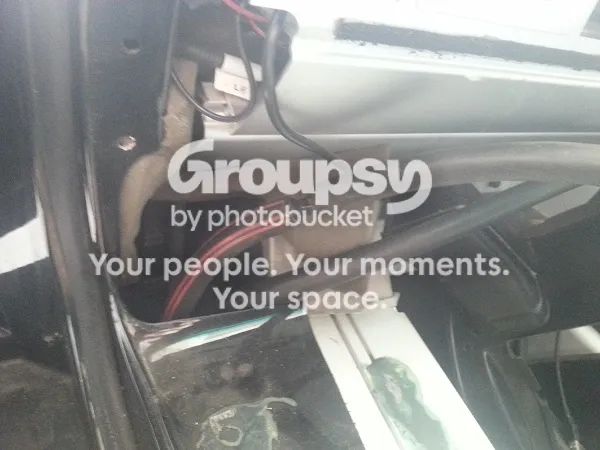
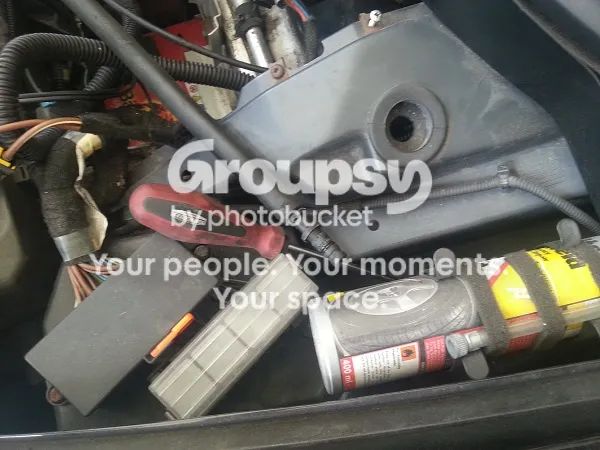
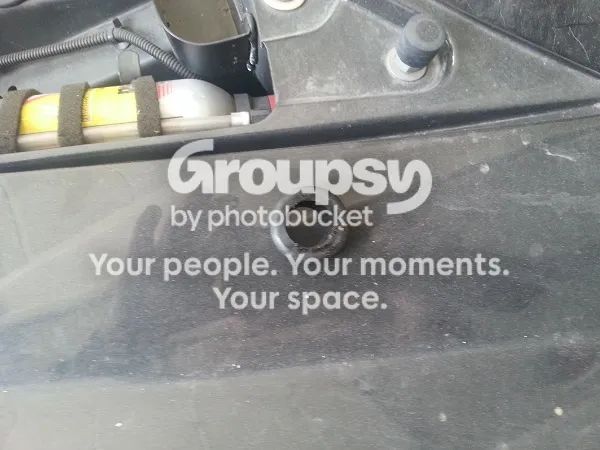

The hose at the engine end, and the non-return valve
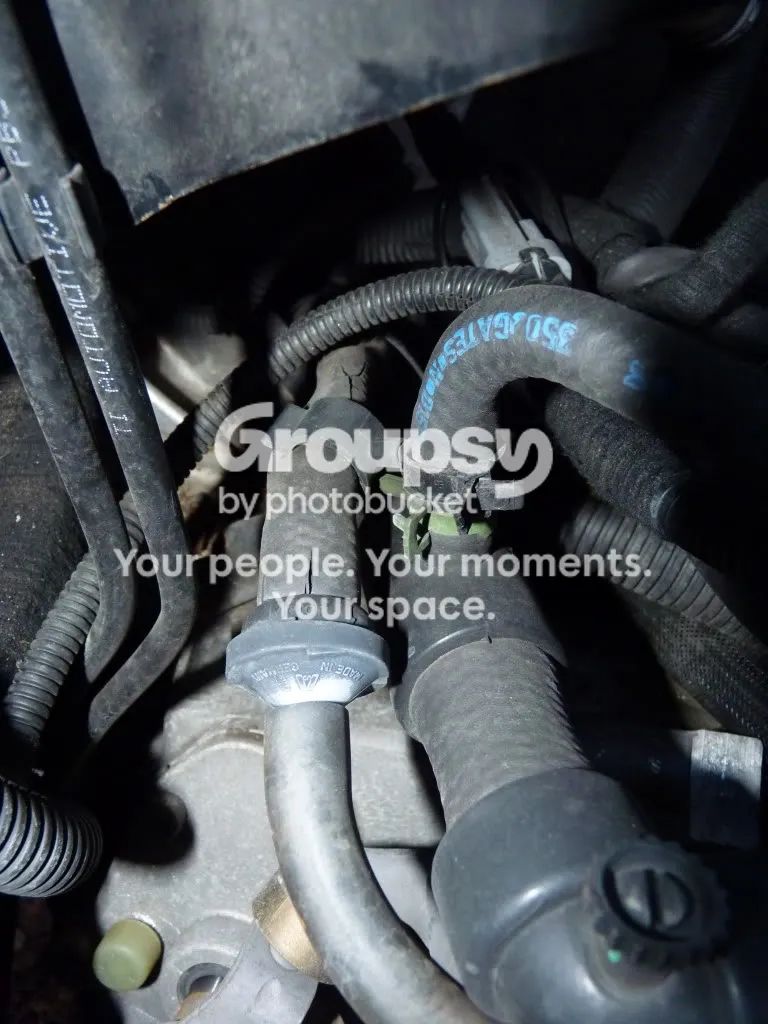
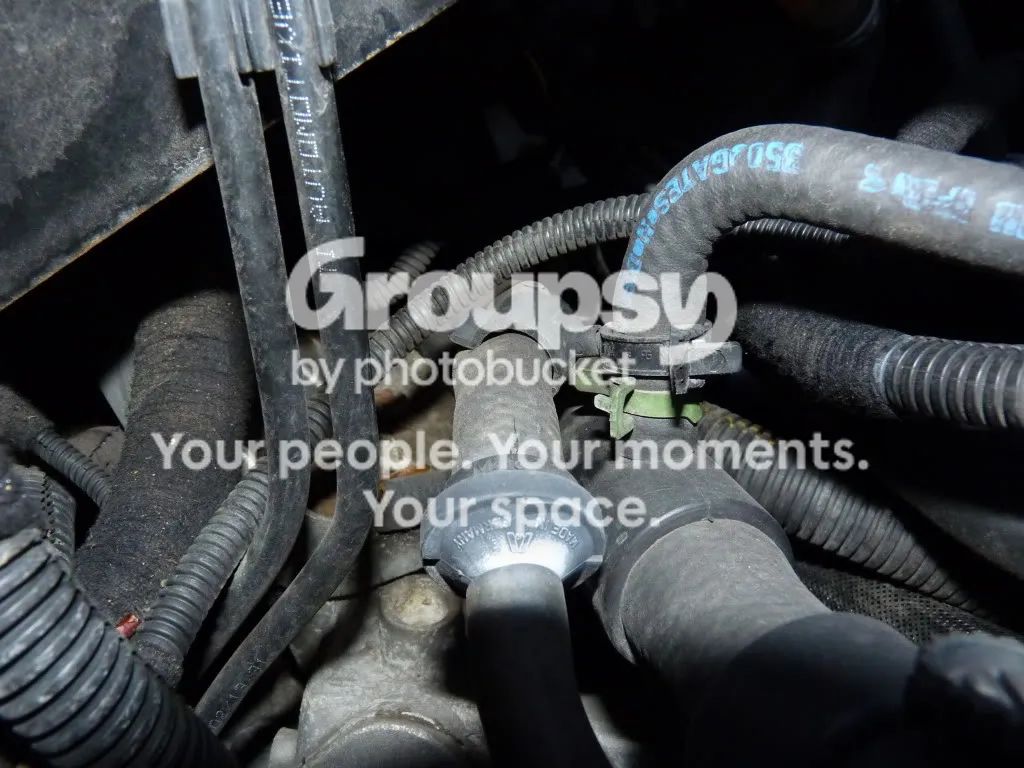
- Also replace the piece between the valve and the manifold. It may be the same hose, though sometimes slightly smaller. It was the same size on at least one car and is well worth replacing. Remember which way the valve goes.
- Check the one-way valve. It sits near the inlet manifold, and if it fails, particularly on a Turbo, it causes similar symptoms to a bad hose.
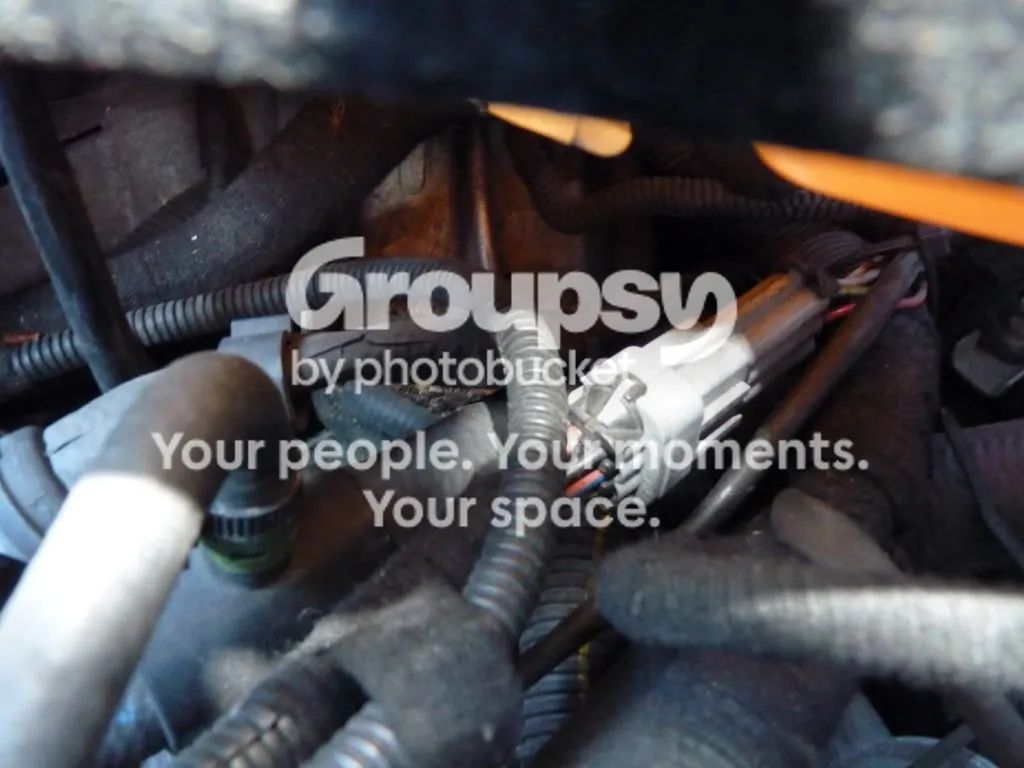
- Photos of the engine end are from a car whose old hose had collapsed. The thread has nothing more on where it attaches in the engine bay.
If the brakes are still poor afterwards
One owner's old hose, which he thinks was the original, was in shocking condition, yet was still holding vacuum. Driving with it disconnected made a big difference. After the new hose the brakes were a bit better but still not great, and he wondered about the servo. Another had one good pump of the pedal and then nothing, and asked whether it was the hose or a failed servo. Nobody confirmed which, so check the non-return valve too, as above.
Where to buy. The genuine part is available from Autovaux (number 93188760). Whether you can replace just the damaged end sections and join them to the old hose wasn't answered, and trimming an inch off is only a temporary fix.
Time
One experienced owner puts it at 30–60 minutes. The original guide author found it fiddlier, mainly getting through the bulkhead. Allow a couple of hours the first time.